
S15/T15 Sonoma P/U 2WD L4-2.2L VIN 5 Flex Fuel (2001)
1.
If replacing the HVAC module, transfer the components from the old heat/vent module as necessary.
Important:
Before installing the HVAC module to the vehicle, ensure that the HVAC module mounting studs are located in the proper positions.
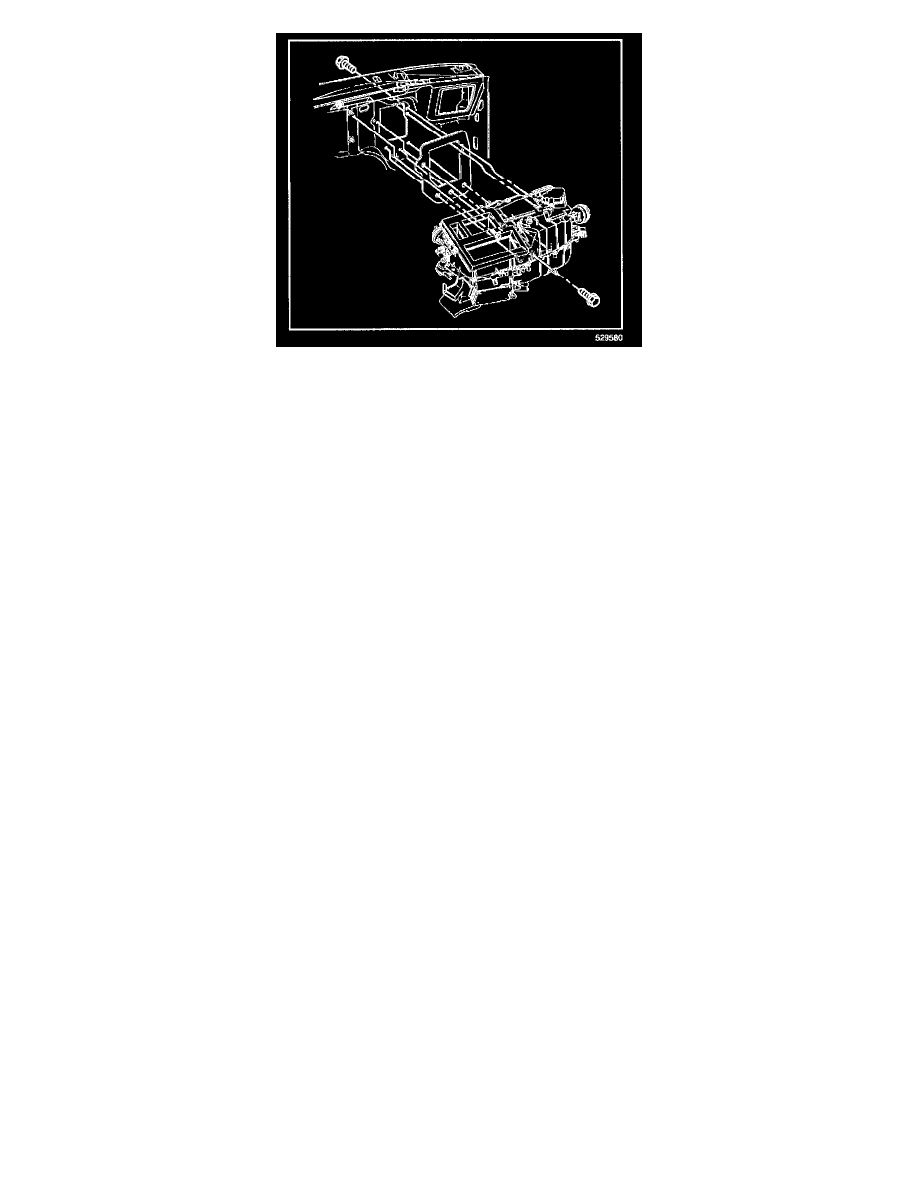
2.
Install the HVAC module to the vehicle.
3.
Connect the heater hoses to the heater core.
4.
Connect all of the vacuum lines to the heater assembly.
5.
Connect all of the electrical connectors to the HVAC module.
6.
Install the bottom right HVAC module mounting bolt from inside the vehicle approximately halfway into the threads.
Notice:
Refer to Fastener Notice in Cautions and Notices.
7.
On the Utility only, install the HVAC module mounting stud located at the lower right side of the heater core to heater hoses connection in the
engine compartment.
Tighten
Tighten the HVAC module mounting stud to 4.5 N.m (40 lb in).
8.
Raise the vehicle.
9.
On the Utility only, install the bottom right HVAC mounting studs. Ask an assistant to pull the bottom right corner of the HVAC module back
from inside the vehicle.
Tighten
Tighten the heat/vent module mounting studs to 4.5 N.m (40 lb in).
10.
On the Utility only, install the A/C evaporator and blower module heat shield bracket.
11.
Install the heater/vent module mounting nuts.
Tighten
Tighten the HVAC module mounting nuts to 4.5 N.m (40 lb in).
12.
On the Utility only, slide the A/C evaporator and blower module heat shield into the original position.
13.
On the Utility only, install the A/C evaporator and blower module heat shield screws.
Tighten
Tighten the A/C evaporator and blower module heat shield screws 2.2 N.m (19 lb in).