
S15/T15 Sonoma P/U 2WD V6-262 4.3L VIN W CPI (1994)
Removing The Coil Snap Ring
-
Remove. the snap ring. Remove the coil.
Assemble
Install or Connect
Tools Required:
J 6435 External Snap Ring Pliers
J 29640 Shaft Protector
J 29886 Driver Handle
J 37872 Spanner Wrench
J 38467 Bearing Remover and Installer
1. Clutch coil and snap ring retainer.
-
The coil flange protrusions must match the hole in the front housing to prevent coil movement and to correctly place the lead wire.
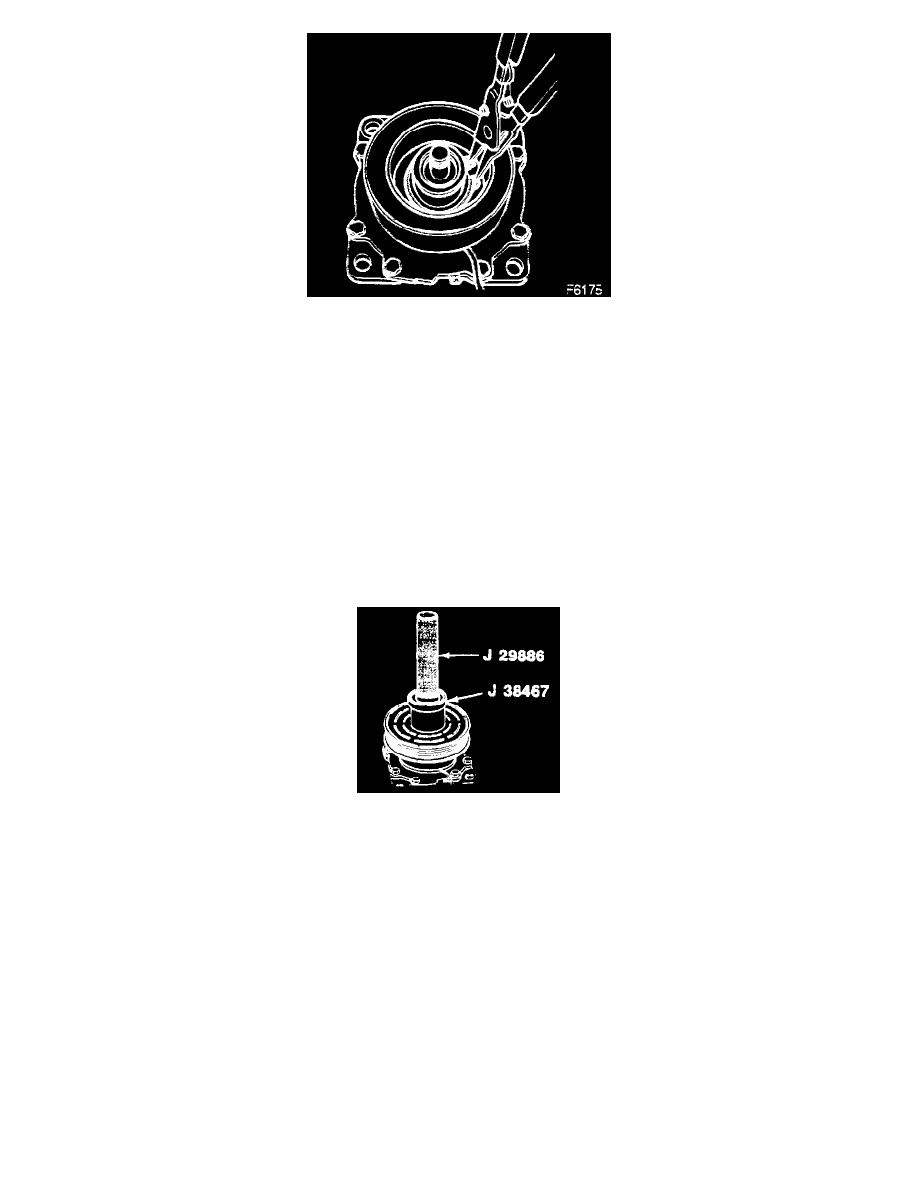
Installing The Rotor Pulley
2. Rotor pulley to the front housing hub and align.
-
Place J 38467 into the bearing cavity with the outer edge on the rotor bearing outer race.
-
Place J 29886 into the ring.
-
Use a hammer to tap the end of J 29886 to guide the rotor until it bottoms out against the compressor front housing hub. Listen for a distinct
change of sound during the tapping process.
3. External front housing snap ring with J 6435.
4. Front plate assembly.
-
Align the front plate keyway to the compressor shaft key.
5. J 29640 to the compressor shaft.
-
Tap the front plate to the shaft until the plate bottoms to the clutch shims.