
S15/T15 Sonoma P/U 2WD V6-4.3L VIN W (1996)
Clutch Master Cylinder: Service and Repair
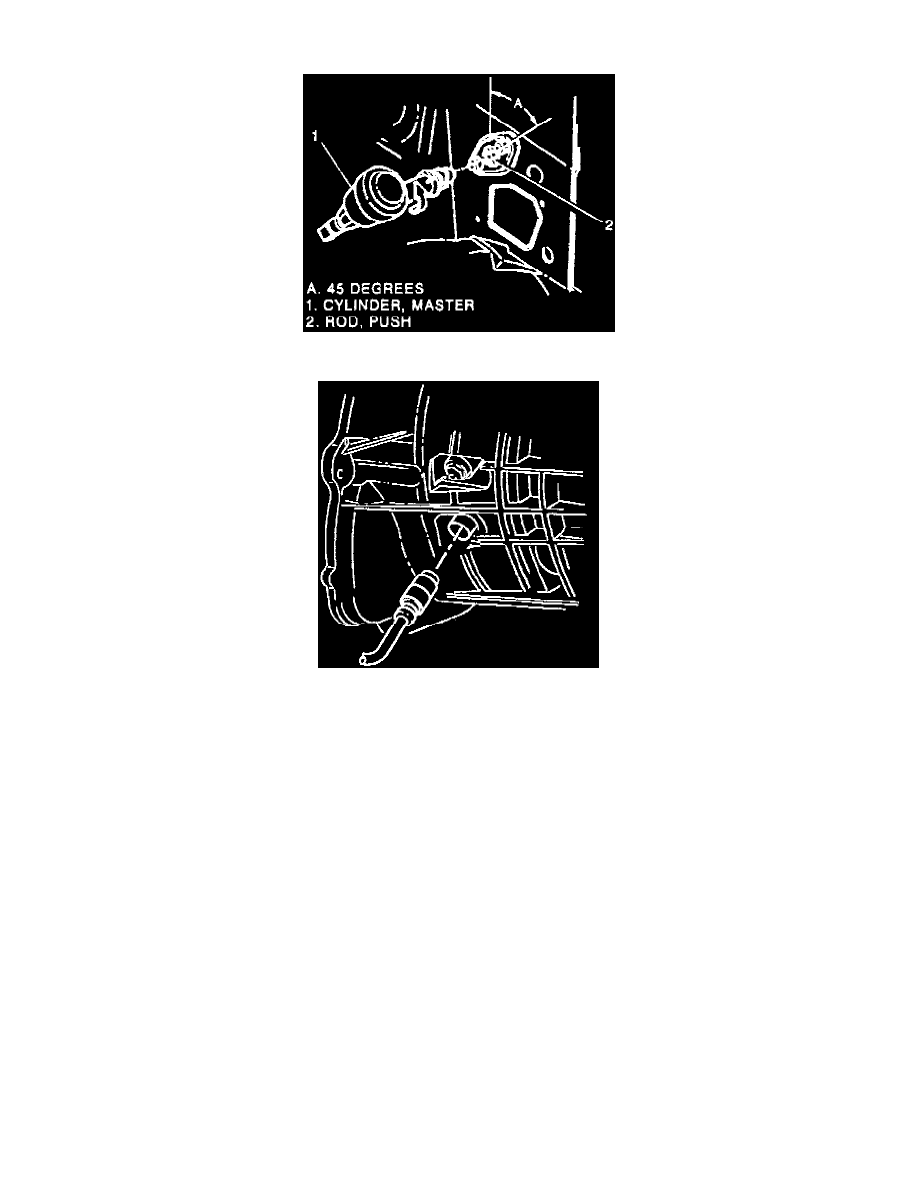
Fig. 2 Clutch Master Cylinder Removal.
Clutch Slave Cylinder - Bleed Screw and Quick Connect Coupling
NOTE: If servicing a vehicle that requires master cylinder, reservoir or tubing replacement a complete pre-filled, pre-bled unit must be installed.
SPECIAL TOOL REQUIRED (or equivalent)
-
J-36221, Quick connect coupling disengagement tool.
REMOVE OR DISCONNECT
1. Lower filler panel.
2. Left side A/C duct as necessary.
3. Push rod from clutch pedal.
4. Clutch line from the concentric slave cylinder quick connect coupling using one of the following methods:
-
Use two small flat head screw drivers at 180° from each other to depress the white plastic sleeve on the quick connect coupling to separate the
clutch line from the concentric slave cylinder.
-
Use tool J-36221 to depress the white plastic sleeve on the quick connect coupling to separate the clutch line from the concentric slave
cylinder.
5. Tubes and clips from wiring harness bracket and sheet metal.
6. Master cylinder from cowl panel, rotating 45° clockwise.
INSTALL OR CONNECT
1. Master cylinder to cowl panel by holding master cylinder at 45° angle and rotating counterclockwise. Use care not to over rotate master cylinder or
damage may occur.
2. Clutch line to the concentric slave cylinder quick connect coupling. Clutch line MUST be routed and secured as installed in the assembly plant.
3. Tubes and clips to wiring harness bracket and sheet metal.
4. Push rod to the clutch pedal.
5. Lower lefthand side air conditioning duct.