
Safari Van 2WD V6-4.3L VIN X (2003)
Trunk / Liftgate Shock / Support: Service and Repair
Strut Replacement - Liftgate
Strut Replacement - Lift Gate
Removal Procedure
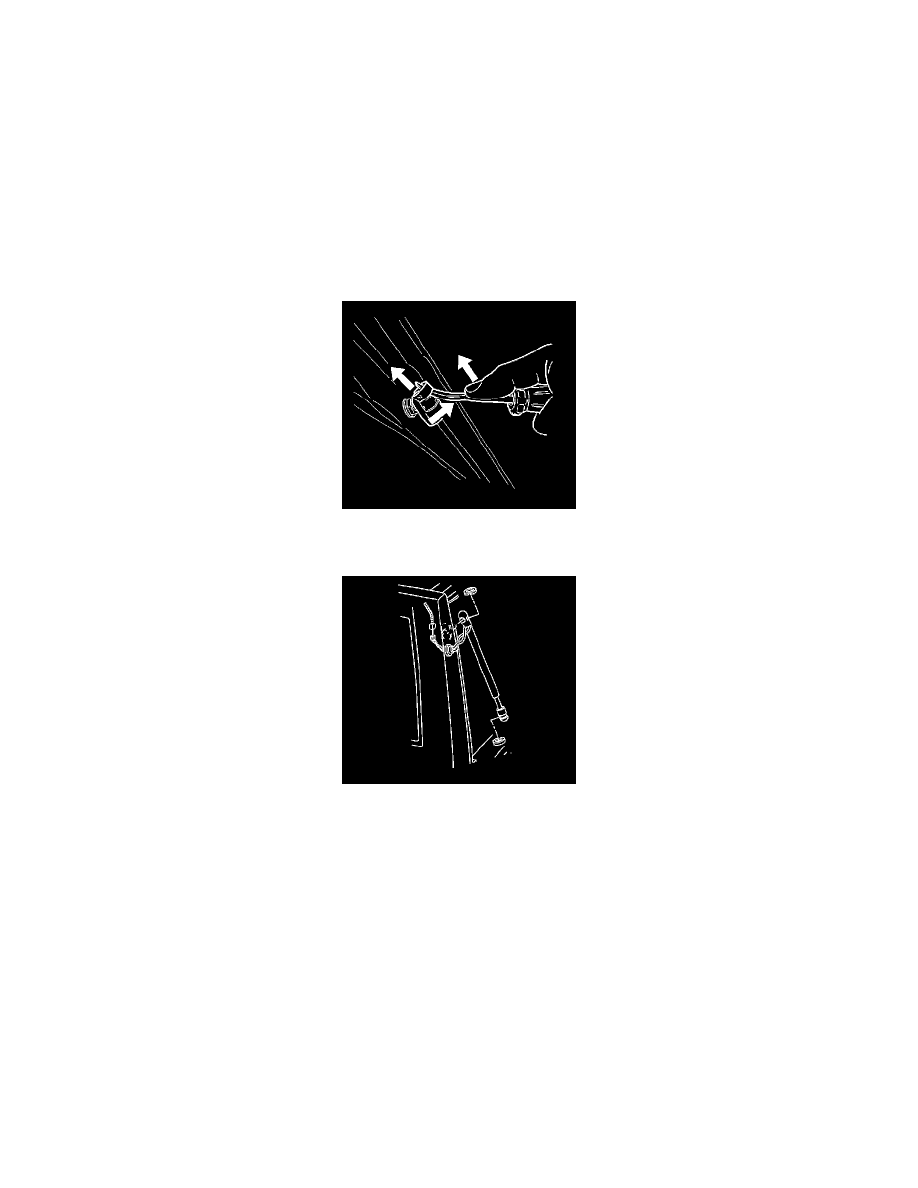
Caution: When a lift window hold open device is being removed or installed, provide alternate support to avoid the possibility of damage to the
vehicle or personal injury.
Notice: Apply pressure only at the end of the hood assist rod that you are removing or attaching. Do NOT apply pressure to the middle of the rod
because damage or bending will result.
1. Open and support the liftgate.
2. Remove the strut retaining clips from each end of the strut. Use a small flat bladed tool to lift up on the retaining clip in order to release the strut
from the strut ball.
3. If equipped with a rear window defogger, remove the following components:
1. The body side rear garnish molding from the headliner
Refer toTrim Replacement - Fourth Pillar Left (See: Interior Moulding / Trim/Trim Panel/Service and Repair/Trim Replacement - Fourth
Pillar Left) in Interior Trim.
2. The body side rear garnish molding and speaker as one
Refer toTrim Replacement - Third Pillar Left (See: Interior Moulding / Trim/Trim Panel/Service and Repair/Trim Replacement - Third Pillar
Left) in Interior Trim.
3. The rear window defogger electrical connector from the harness
4. The grommet and electrical connector from the body, by pulling the components out
4. Remove the strut.
Installation Procedure
1. Install the strut with the following steps:
1. Install the strut to each end of the strut balls.
2. Pull back on the ends of strut to ensure a firm lock.