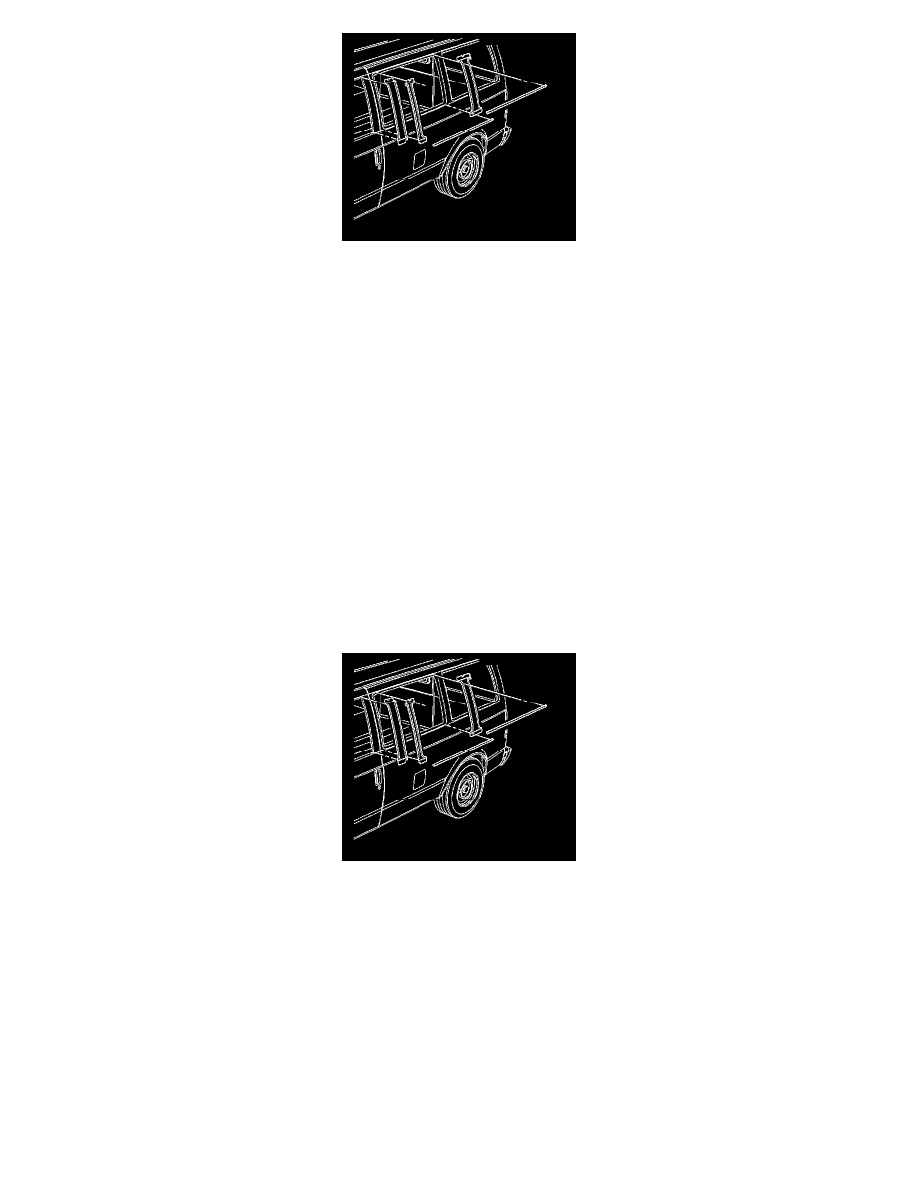
Safari Van 2WD V6-4.3L VIN X (2003)

Important: Use care in order not to stretch the transfer during application.
6. Use a small roller or other suitable tool in order to gently press the transfer to the body in order to ensure proper adhesion.
7. Verify that there are no air bubbles visible on the transfer.
If there are air bubbles, use a small pin in order to help eliminate the air bubbles.
8. Install the body side swing-out window weather-strip, if equipped. Refer to Weatherstrip Replacement - Swing Out Window (See:
Weatherstrip/Quarter Window Glass Weatherstrip/Service and Repair) in Stationary Windows.
9. Install the swing-out and/or stationary window(s). Refer to Window Replacement - Swing Out (See: Windows and Glass/Windows/Service and
Repair/Removal and Replacement/Window Replacement - Swing Out) in Stationary Windows:
10. Install the interior trim, as needed.
Blackout Transfer Replacement - Front Door
Blackout Transfer Replacement - Front Door
Removal Procedure
1. Remove the door trim panel. Refer to Trim Panel Replacement - Door (See: Doors, Hood and Trunk/Doors/Front Door/Front Door Panel/Service
and Repair) .
2. Remove the door window run channel from the door frame.
3. Remove the emblem from the door. Refer to Molding/Nameplate Replacement - Exterior Trim (See: Body Emblem/Service and
Repair/Molding/Nameplate Replacement - Exterior Trim) .
Important: Apply the transfers in a clean environment where dust or fibers will not interfere with proper adhesion.
4. Use a heat gun or other suitable tool in order to heat the transfer.
