
Safari Van 2WD V6-4.3L VIN X (2003)
13. Install the clutch plate and hub assembly to the final position.Ensure that the air gap between frictional surfaces of the clutch plate and clutch rotor
measures within 3.81-0.51 mm (0.15-0.20 in).
14. Check the clutch plate and hub assembly in three places for clearance.
15. Remove the installer. Ensure that the shaft key remains in place in the keyway.
16. Remove the J 33013-B.
17. Verify proper positioning of the shaft key.Ensure that the shaft key is even with or slightly above the clutch hub.
18. Spin the pulley rotor by hand in order to verify that the rotor does not rub against the clutch drive plate.
19. Install the shaft protector to the clutch hub shaft.
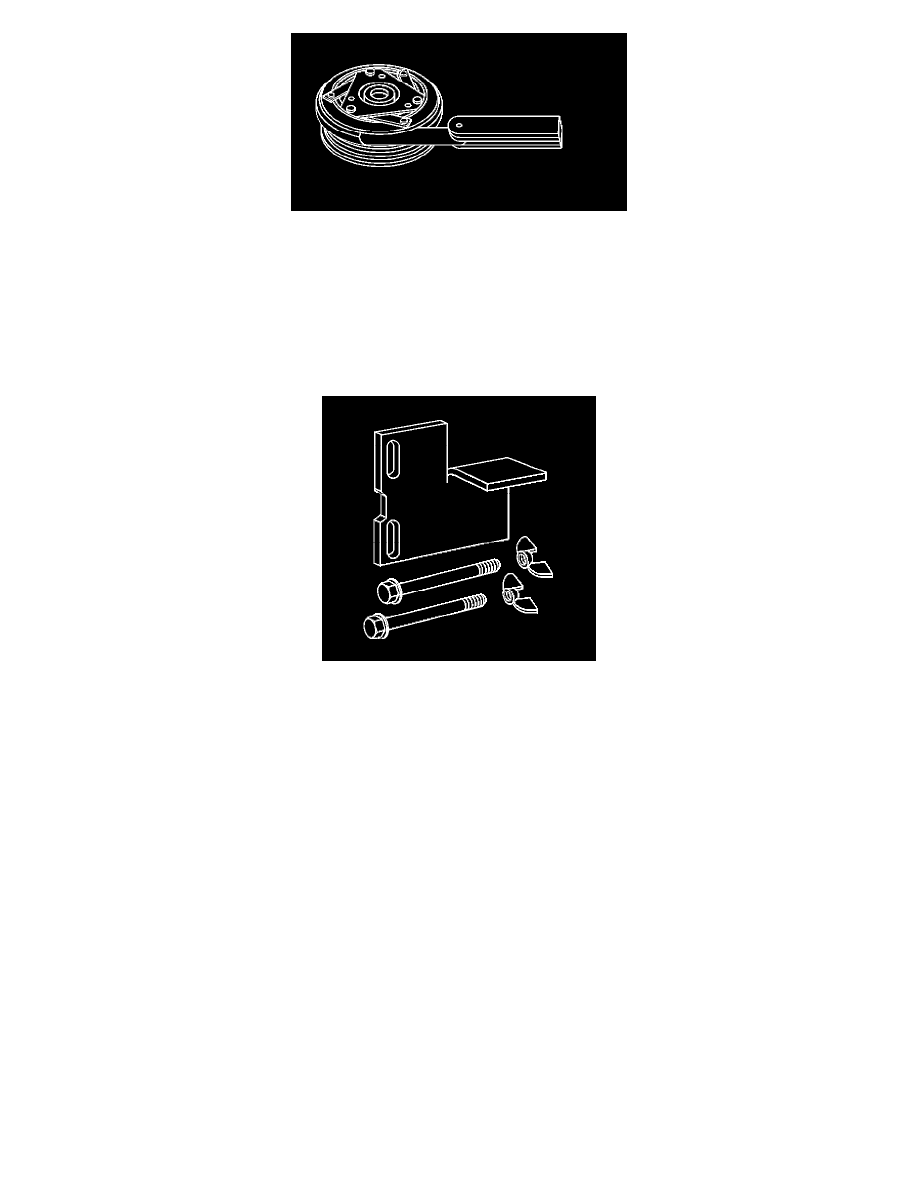
20. Remove both thumb screws from the compressor holding fixture Compressor Holding Fixture HD-6 Compressor Holding Fixture HD-6.
21. Remove theCompressor Holding Fixture HD-6 Compressor Holding Fixture HD-6 tool from the vise.
22. Install the compressor to the vehicle.
23. Evacuate and recharge the refrigerant system.
24. Leak test the fitting(s) of the repaired or reinstalled component using the J 39400-A.