
Safari Van 2WD V6-4.3L VIN X (2003)
5. This will allow the urethane adhesive to be separated from the stationary window.
-
Leave a base of urethane on the pinchweld flange.
-
The only suitable lubrication is clear water.
-
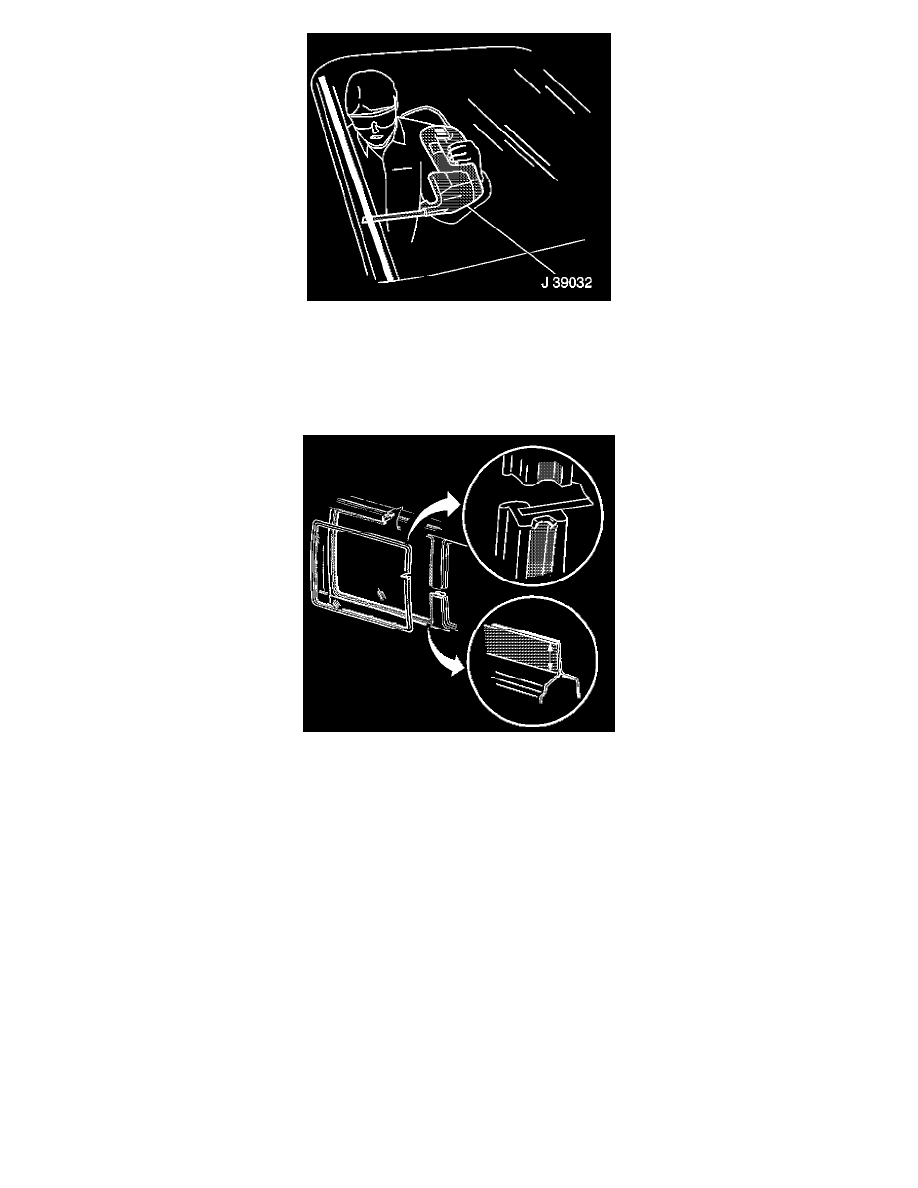
Use J 24402-A , J 39032 or equivalent in order to remove the stationary window.
IMPORTANT: Keep the cutting edge of the tool against the stationary window. Do this from inside the vehicle.
6. With the aid of an assistant, remove the stationary window from the opening.
INSTALLATION PROCEDURE
1. Install the stationary window into the opening.
2. When replacing or removing the left side stationary window. Refer to Trim Replacement - Third Pillar Left in Interior Trim or Trim Replacement -
Fourth Pillar Left in Interior Trim.
3. When replacing or removing the right side stationary window. Refer to Trim Replacement - Third Pillar Right in Interior Trim or Trim
Replacement - Fourth Pillar Right in Interior Trim.
4. Remove the double layer of masking tape around the perimeter of the painted surfaces and the interior trim.
Grid Line Repair
GRID LINE REPAIR
TOOLS REQUIRED
-
J 25070 Heat Gun - Capable of 260°C (500°F) or equivalent
-
Test Lamp
-
Rear Window Defogger Repair Kit GM P/N 12346001, Canada P/N 10951643 or equivalent
REMOVAL PROCEDURE
1. Disconnect the electrical connector.
CAUTION: To avoid personal injury:
-
Do not allow the repair material to come in contact with skin or eyes and avoid breathing vapors.