
Safari Van AWD V6-4.3L VIN W (1996)
Intake Manifold: Service and Repair
Intake Manifold Replacement (Upper)
REMOVAL
1. Disconnect the negative battery cable.
2. Remove the engine cover.
3. Remove the air cleaner box and intake duct.
4. Remove the wiring harness connectors and brackets and move aside.
5. Remove the throttle linkage and cruise control cable (if equipped).
6. Remove the fuel lines and bracket at the rear of the lower intake manifold.
7. Remove the PCV hose at the upper intake manifold.
8. Remove the ignition coil and bracket.
9. Remove the purge solenoid and bracket.
NOTE: Mark the location of all the studs for proper reassembly.
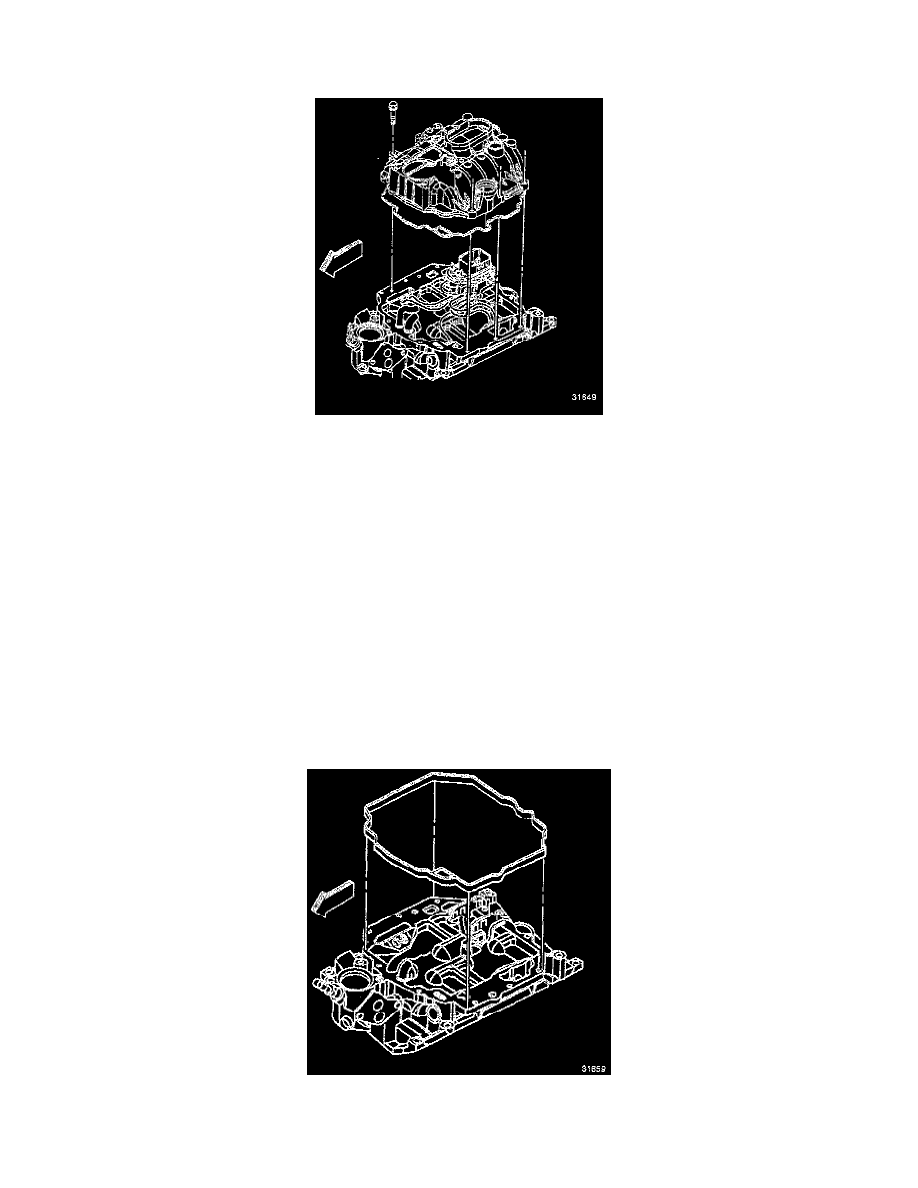
10. Remove the upper intake manifold bolts and studs.
11. Remove the upper intake manifold.
12. Clean old pieces of gasket form the gasket surfaces.
13. Inspect the manifold for cracks, broken flanges, and gasket surface damage.
INSTALL
1. Install the upper intake manifold gasket.