
Safari Van M V6-262 4.3L VIN Z TBI (1990)
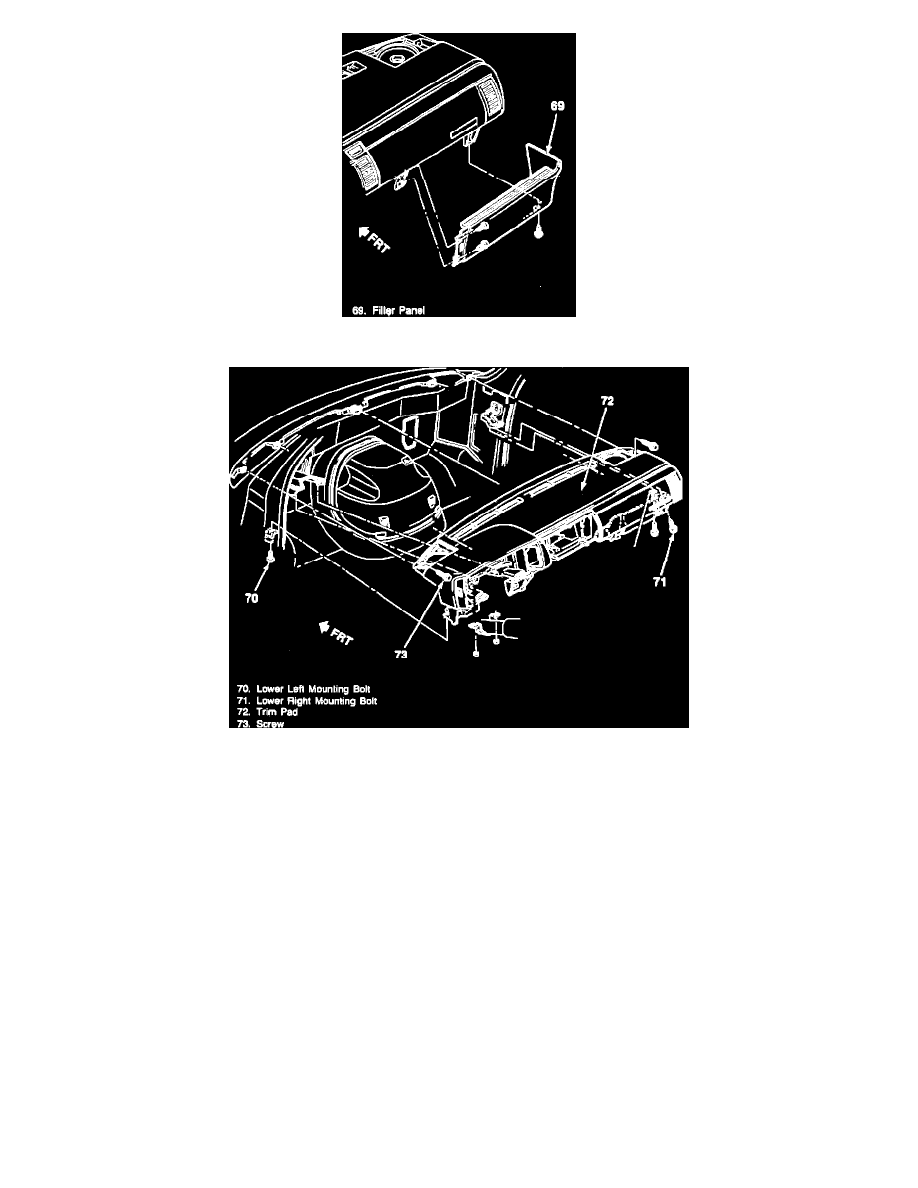
Fig. 5 Lower Filler Panel
Fig. 6 Dash Panel
21.
Remove accessory trim panel from center of trim panel, Fig. 4.
22.
Remove radio retaining screws and move radio to enable removal of electrical connections.
23.
Remove right and left speaker bezels by prying them up, then remove speakers.
24.
Remove defroster duct grills from top of dash panel.
25.
Remove right lower filler panel, Fig. 5.
26.
Remove dash panel mounting screws, Fig. 6, then pull dash panel forward slightly.
27.
Push all electrical connectors to back of dash panel.
28.
Pull dash panel forward.
29.
Disconnect defroster hoses from outlets and remove A/C ducts from dash panel.
30.
Remove left and right speaker frames and antenna wire.
31.
Remove dash panel lower extension cables, parking brake cable and handle, then hood release cable and handle.
32.
Drill out dash panel support bracket rivets, then remove dash panel.
33.
Reverse procedure to install.