
Safari Van M V6-262 4.3L VIN Z TBI (1990)
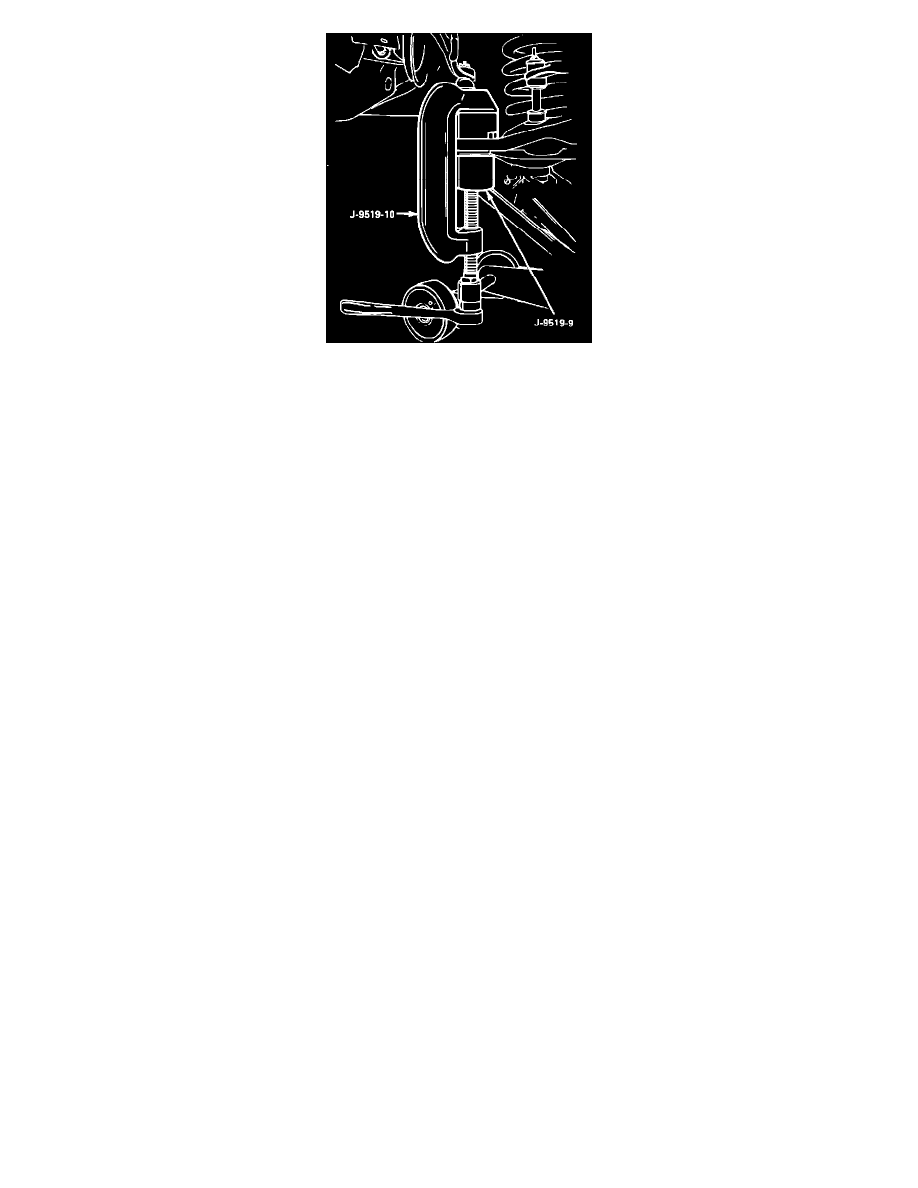
(Figure 3) Lower Ball Joint Installation
TOOLS REQUIRED (or equivalents)
^
J-23742, ball joint separator.
^
J-9519-D, ball joint remover and installer set.
REMOVE OR DISCONNECT
1. Raise vehicle and support with jack stands.
2. Wheel and tire assembly, then support control arm spring seat with a suitable jack.
3. Ball joint cotter pin and stud nut, then break ball joint loose from steering knuckle using J-23742, (Figure 1).
NOTE: Inspect and clean the tapered hole in steering knuckle. If hole is out of round or damaged in any way, the steering knuckle must be
replaced.
4. Position a wooden block between frame and upper control arm to block steering knuckle/hub assembly out of the way. Make sure there is no
tension on the brake hoses.
5. Rubber grease seal, then the grease fitting and press ball joint out of lower control arm using J-9519-D, (Figure 2).
INSTALL OR CONNECT
1. Lower ball joint to the lower control arm and press into place using J-9519-16 and J-9519-30 adaptors, (Figure 3).
2. Rubber grease seal and the grease fitting onto the lower ball joint.
3. Remove the wooden block and press the steering knuckle/hub assembly onto the lower ball joint.
4. Install nut and torque to 110 Nm (81 ft lbs), then tighten an additional amount to insert a new cotter pin through the lower ball joint stud.
5. Control arm support and grease the ball joint until grease comes out of the seal.
6. Wheel and tire assembly, then check the wheel bearing adjustment and the front end alignment.
7. Jack stands and lower the vehicle.