
Savana 1/2 Ton Van V8-305 5.0L VIN M SFI (1998)
11.1.
Use emery cloth in a radial motion with the fuel pipe end in order to prevent damage to the O-ring sealing surface.
11.2.
Using a clean shop towel, wipe off the male tube ends.
11.3.
Inspect all the connectors for dirt and burrs. Clean or replace the components/assemblies as required.
INSTALLATION PROCEDURE
WARNING: To Reduce the Risk of Fire and Personal Injury: Before connecting the fitting, always apply a few drops of clean engine oil to
the male pipe end. This will ensure proper reconnection and prevent a possible fuel leak. (During normal operation, the O-rings located in
the female connector wall swell and may prevent proper reconnection if not lubricated.
1. Install the new O-rings on the engine fuel feed and return pipes.
2. Connect the fuel feed and return pipes to the fuel injection unit. Finger tighten only.
3. Connect the fuel pipe attaching hardware.
Tighten
-
Fuel pipe attaching nuts to 27 Nm (20 lb. ft.) using a back-up wrench.
4. Position new fuel pipe harness in original location and fuel pipe harness attaching hardware.
5. Remove protective caps from one end of both fuel pipes. Leave caps on other end of pipes to prevent dirt from entering.
6. Apply a few drops of clean engine oil to the male connector tube ends.
7. Connect the quick-connect fittings at the fuel feed and pipe near the in-line filter and at the fuel sender assembly. Refer to Quick Connect Fitting(s)
Service (Metal Collar).
8. Install the fuel tank and attaching hardware if the tank was removed.
9. Tighten the fuel filler cap.
10. Connect the negative battery cable.
11. Check for fuel leaks.
11.1.
Turn the ignition switch to the ON position for 2 seconds.
11.2.
Turn the ignition switch to the OFF position for 10 seconds.
11.3.
Again, turn the ignition switch to the ON position.
11.4.
Check for fuel leaks.
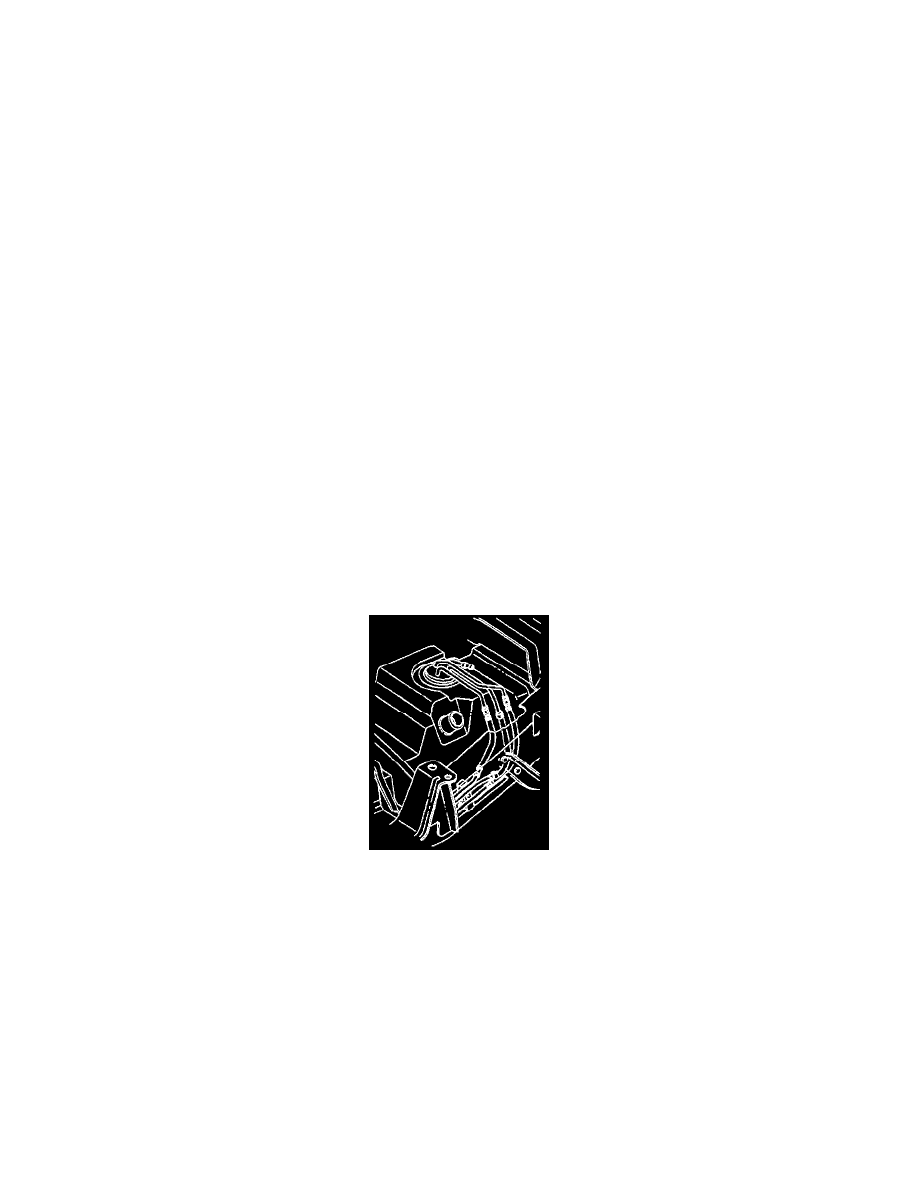
Fuel Vapor Pipes and Hoses
Diagram
REMOVAL PROCEDURE
NOTE: If the nylon pipes become kinked, and cannot be straightened, replace them.
-
Do Not attempt to repair sections of nylon pipes. If damaged, replace.
-
When replacing the vapor pipes, always replace them with original equipment or parts that meet GM specifications.
-
When replacing the vapor hoses, always replace them with original equipment or parts meeting GM specifications. Use only reinforced
fuel-resistant hose identified with the word Fluoroelastomer or GM 6163-M on the hose.
1. Remove the hardware retaining section of the pipe to be replaced. Note the location of attaching hardware for installation.
2. Remove the section of the pipe and hoses.
3. Inspect the hoses for cuts, swelling cracks and distortion. Replace as required.
4. Inspect the pipes for holes, kinks, and cracks. Replace the sections as required.