
Savana 1/2 Ton Van V8-305 5.0L VIN M SFI (1998)
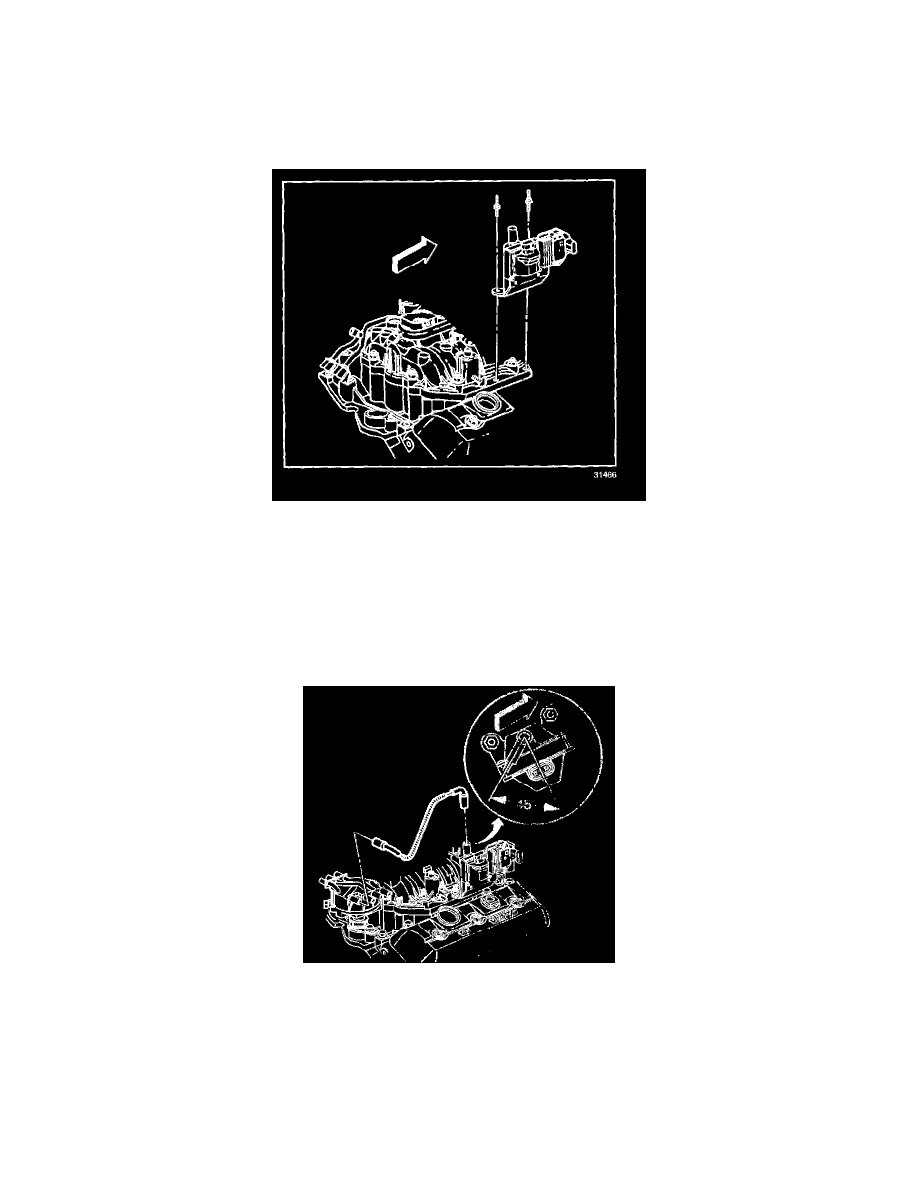
5. Remove the studs holding the bracket and the ignition coil to the intake manifold.
6. Remove the bracket and the ignition coil.
7. Drill and punch out the two rivets holding the ignition coil to the bracket.
8. Remove the ignition coil from the bracket.
INSTALLATION PROCEDURE
A replacement ignition coil kit comes with two screws in order to attach the ignition coil to the bracket.
1. Install the ignition coil to the bracket with the two screws.
NOTICE: Refer to Fastener Notice in Cautions and Notices.
2. Install the ignition coil and the bracket to the intake manifold with studs.
Tighten
Tighten the studs to 11 N.m (8 lb ft).
3. Install the ignition coil wire. The wire must not touch anything like the dip stick, rubing will make a ground/short after time of use.
4. Install the electrical connectors.