
Savana 1/2 Ton Van V8-5.3L VIN T (2003)
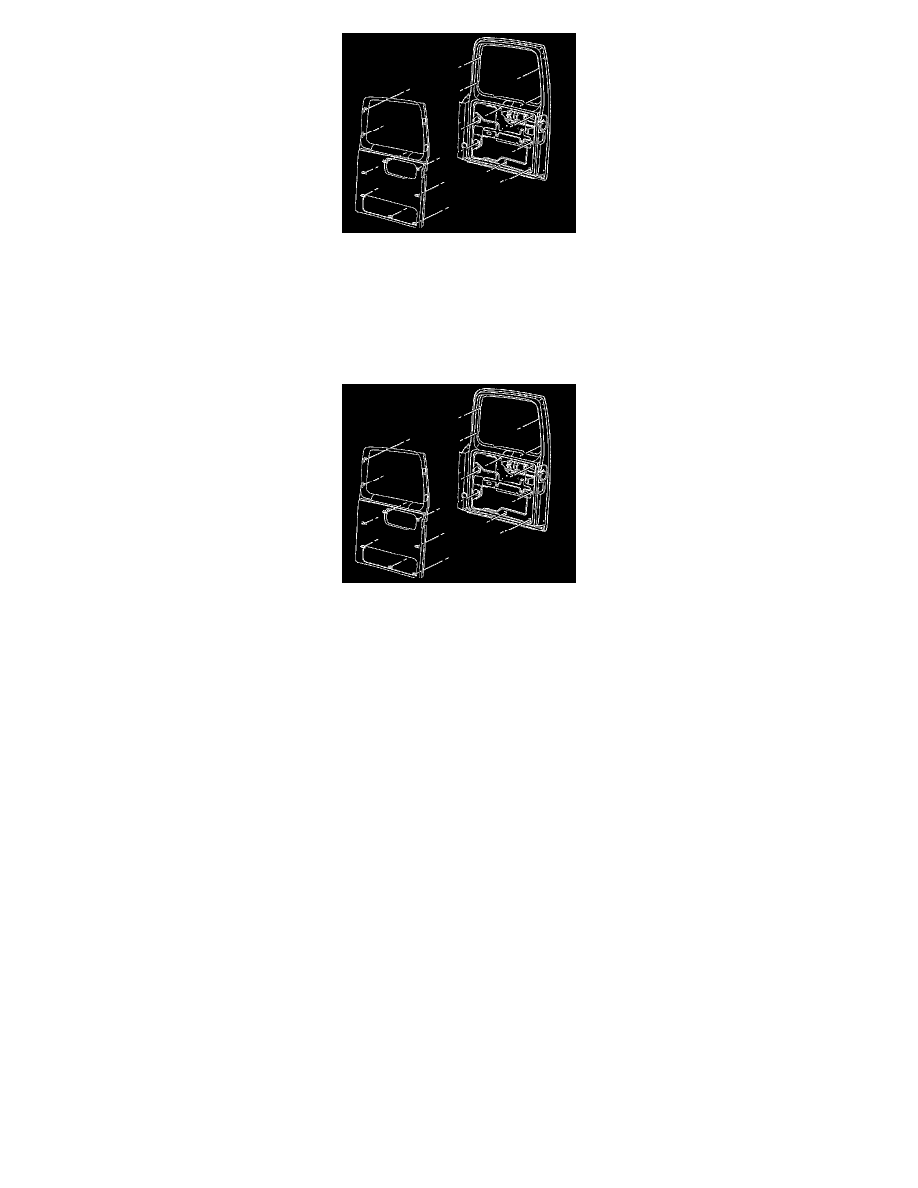
1. Remove the inside door handle trim plate. Refer to Door Trim Plate Replacement - Rear () in Doors.
2. Gently pull out the trim panel at the top of the window opening. Using a suitable and long flat-bladed tool, pry the retaining clips apart in order to
disengage the clips.
3. Lift the right side rear door trim panel up in order to release the tabs on the right side rear door trim panel.
4. Remove the right side rear door trim panel from the door.
Installation Procedure
1. Align the tabs on the right side rear door trim panel with the slots in the door.
2. Lower the right side rear door trim panel into place.
3. Align the tabs on the right side rear door trim panel with the retaining clips around the window opening.
4. Press the right side rear door trim panel in order to engage the retaining clips.
5. Install the right side rear door trim plate to the right side rear door.
6. Install the inside door handle bezel. Refer to Door Trim Plate Replacement - Rear () in Doors.
Trim Panel Replacement - Side Rear Door - 60/40 Left (E26, 40 Door)
Trim Panel Replacement - Side Rear Door - 60/40 Left (E26, 40 door)
Tools Required
J 38778 Door Trim Pad and Garnish Clip Remover
Removal Procedure