
Savana 1/2 Ton Van V8-5.3L VIN T (2003)
Important: The body-side moldings are attached to the body panels with adhesive tape at the upper edge. In order to ensure a good
replacement of moldings, the quarter panel surface should meet the following conditions:
*
Have a temperature of 21-32°C (70-90°F)
*
Have a clean surface
*
Be free of any wax, or of an oily film
1. Wash the rear quarter panel with soap, and with water. Dry the surface with a towel. Wipe the rear quarter panel with a clean rag. Use naphtha.
Allow the surface to air-dry.
2. Heat the upper edge of the rear quarter panel to 21-32°C (70-90°F).
*
Keep the J 25070 at a distance of 152 mm (6 in) from the surface.
*
Use the J 25070 in a circular motion for 30 seconds.
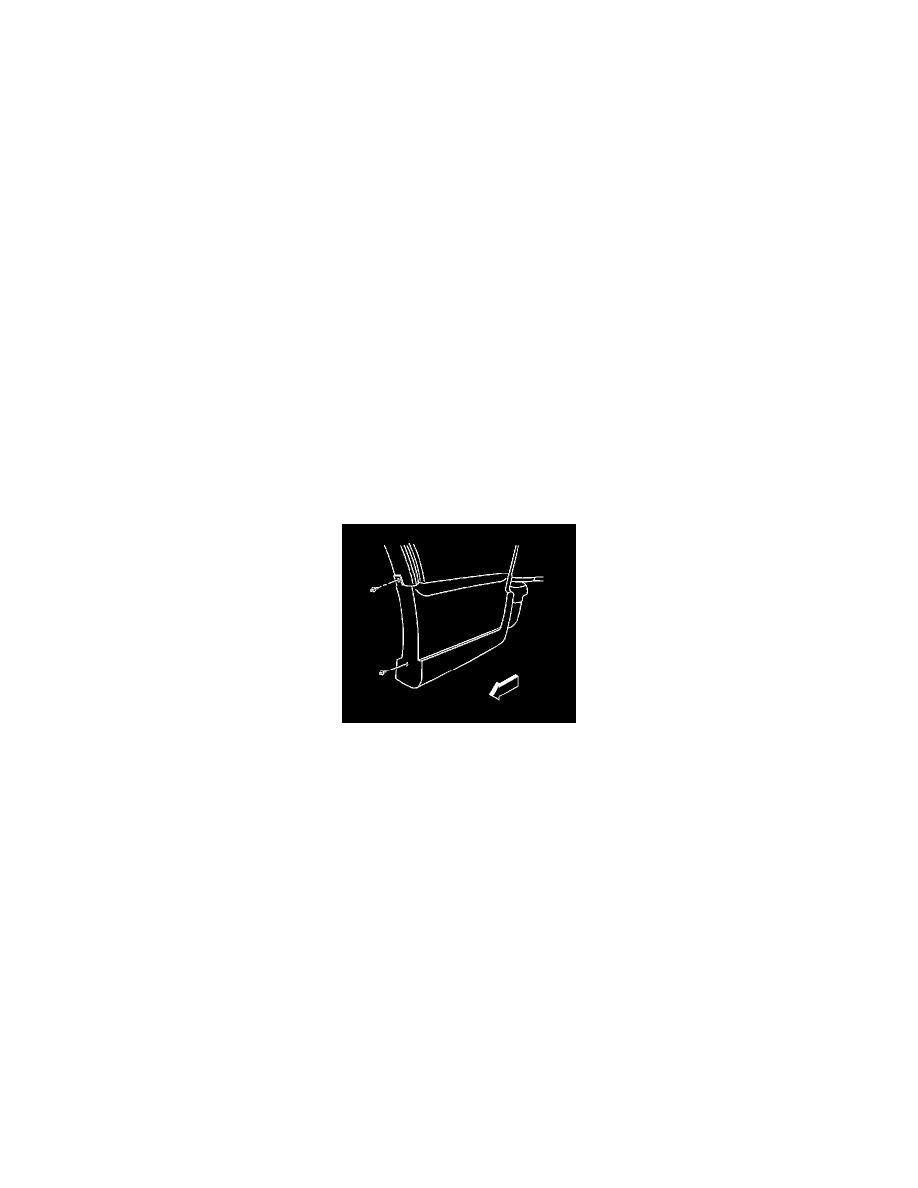
3. Remove the protective liner from the back side of the rear quarter panel molding.
4. Position the rear quarter panel molding to the rear quarter panel.
5. Carefully install the upper edge of the rear quarter panel molding. Apply pressure to the entire length of the molding. Starting at the rear of the
vehicle, move toward the front of the vehicle, consistently applying pressure to the molding. This process will ensure a maximum bond to the rear
quarter panel.
Notice: Refer to Fastener Notice in Cautions and Notices.
6. Install the bolt to the bottom of the rear quarter panel.
Tighten the bolt to 3 N.m (27 lb in).
7. Install the push-in-retainers to the inside rear edge of the rear quarter panel molding.