Savana 1/2 Ton Van V8-5.7L VIN R (2001)

Front Door Weatherstrip: Service and Repair
Front Door Opening Weatherstrip Replacement
Front Door Opening Weatherstrip Replacement
Removal Procedure
1. Remove the front door opening upper frame garnish molding. Refer to Front Side Door Opening Frame Garnish Molding (See: Interior Moulding
/ Trim/Trim Panel/Service and Repair/Front Side Door Opening Frame Garnish Molding) in Interior Trim.
2. Remove the hinge pillar trim panel. Refer to Body Hinge Pillar Trim Panel Replacement (See: Interior Moulding / Trim/Trim Panel/Service and
Repair/Body Hinge Pillar Trim Panel Replacement) in Interior Trim.
3. Remove the windshield garnish molding. Refer to Windshield Garnish Molding Replacement (See: Exterior Moulding / Trim/Windshield
Moulding / Trim/Service and Repair/Windshield Garnish Molding Replacement) in Stationary Windows.
4. Remove the front door upper pillar garnish molding. Refer to Upper Pillar Garnish Molding Replacement (See: Interior Moulding / Trim/Trim
Panel/Service and Repair/Upper Pillar Garnish Molding Replacement) in Interior Trim.
5. Remove the front door lower pillar garnish molding. Refer to Lower Pillar Garnish Molding Replacement (See: Interior Moulding / Trim/Trim
Panel/Service and Repair/Lower Pillar Garnish Molding Replacement) in Interior Trim.
6. Remove the front door stepwell mat. Refer to Front Floor Mat/Carpet Replacement (See: Interior Moulding / Trim/Carpet/Service and
Repair/Front Floor Mat/Carpet Replacement) in Interior Trim.
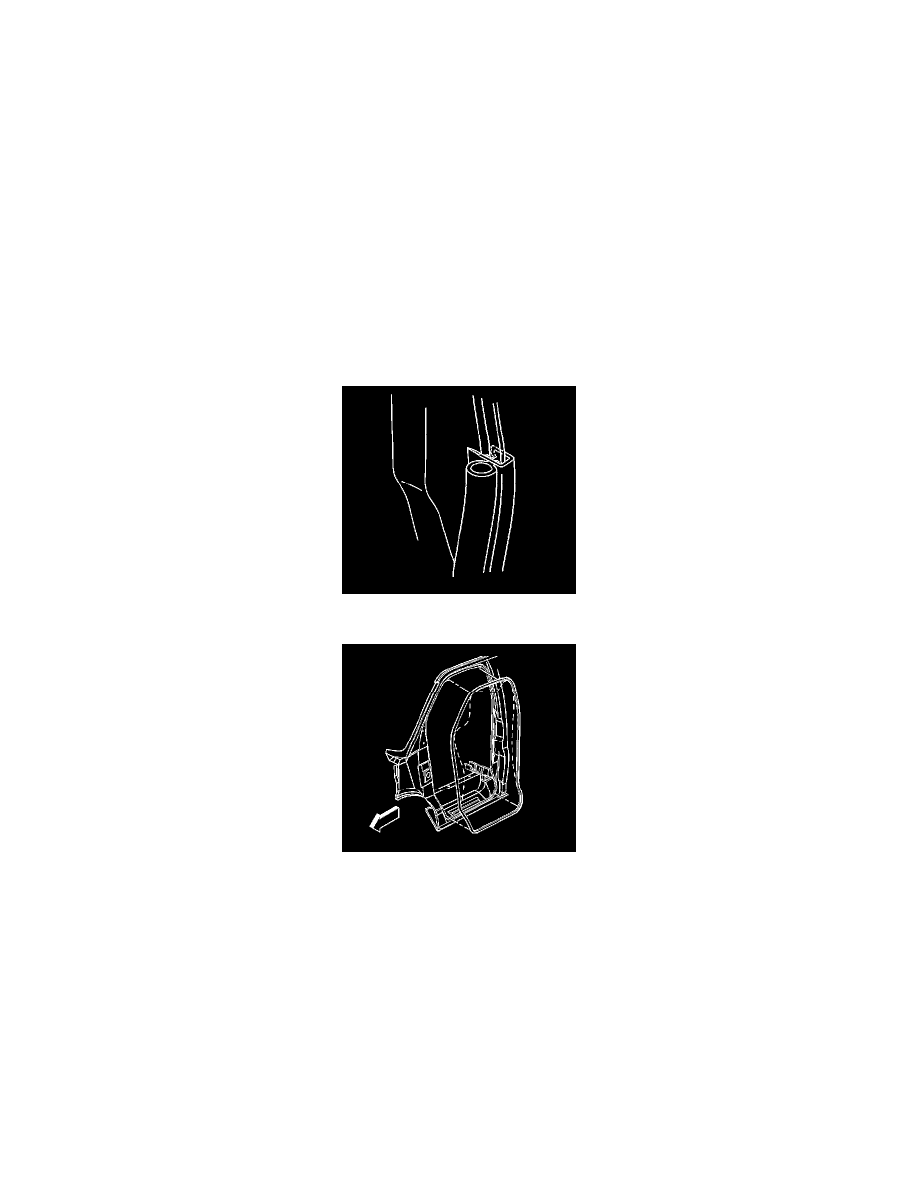
7. Gently pull the door opening weatherstrip from the door opening pinch-weld flange.
8. Remove the door opening weatherstrip from the vehicle.
Installation Procedure
