
Savana 1/2 Ton Van V8-5.7L VIN R (2001)
Rear Door Weatherstrip: Service and Repair
Rear Door Opening Weatherstrip Replacement
Rear Door Opening Weatherstrip Replacement
Removal Procedure
1. Remove the rear corner garnish molding. Refer to Body Rear Corner Garnish Molding Replacement (See: Interior Moulding / Trim/Trim
Panel/Service and Repair/Body Rear Corner Garnish Molding Replacement) in Interior Trim.
2. Remove the driver side body side rear trim panel. Refer to Body Side Rear Trim Panel Replacement (See: Interior Moulding / Trim/Trim
Panel/Service and Repair/Body Side Rear Trim Panel Replacement) in Interior Trim.
3. Remove the passenger side rear corner trim panel. Refer to Body Side Rear Trim Panel Replacement (See: Interior Moulding / Trim/Trim
Panel/Service and Repair/Body Side Rear Trim Panel Replacement) in Interior Trim.
4. Remove the rear floor trim plate. Refer to Rear Floor Trim Plate Replacement (See: Interior Moulding / Trim/Scuff Plate/Service and Repair) in
Interior Trim.
5. Remove the rear door opening frame garnish molding. Refer to Rear Door Upper Garnish Molding Replacement () in Interior Trim.
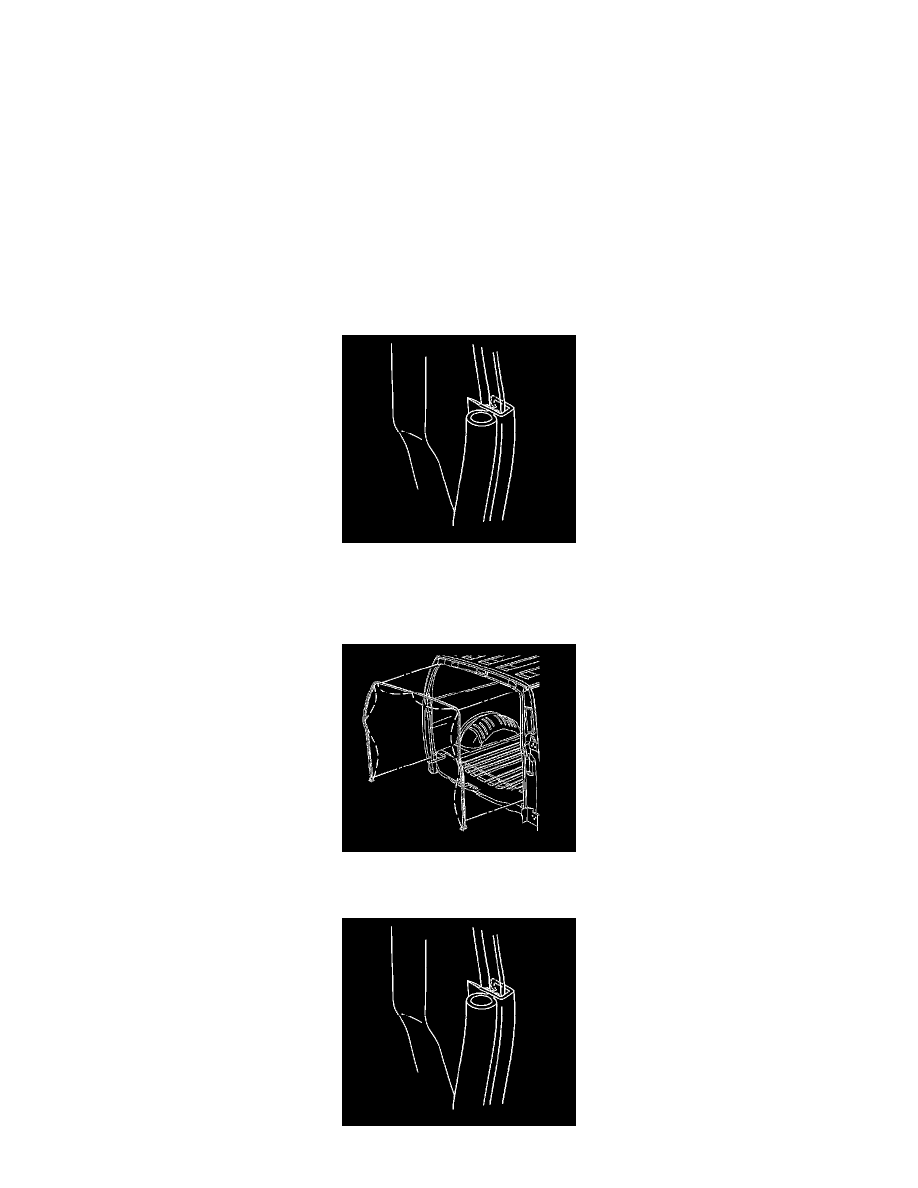
6. Pull the rear door opening weatherstrip from the door opening pinch-weld flange. Use 3M Release Agent or the equivalent at the bottom ends of
the rear door opening weatherstrip if needed.
Installation Procedure
1. Apply weatherstrip adhesive into the channel on the rear door opening weatherstrip. Use GM P/N 12345098, Canadian P/N 10953479 or the
equivalent.