
Savana 1500 RWD V6-4.3L (2007)
Do not allow the latch to lock onto the striker. The outside door handle should not be released the entire time when centering the striker.
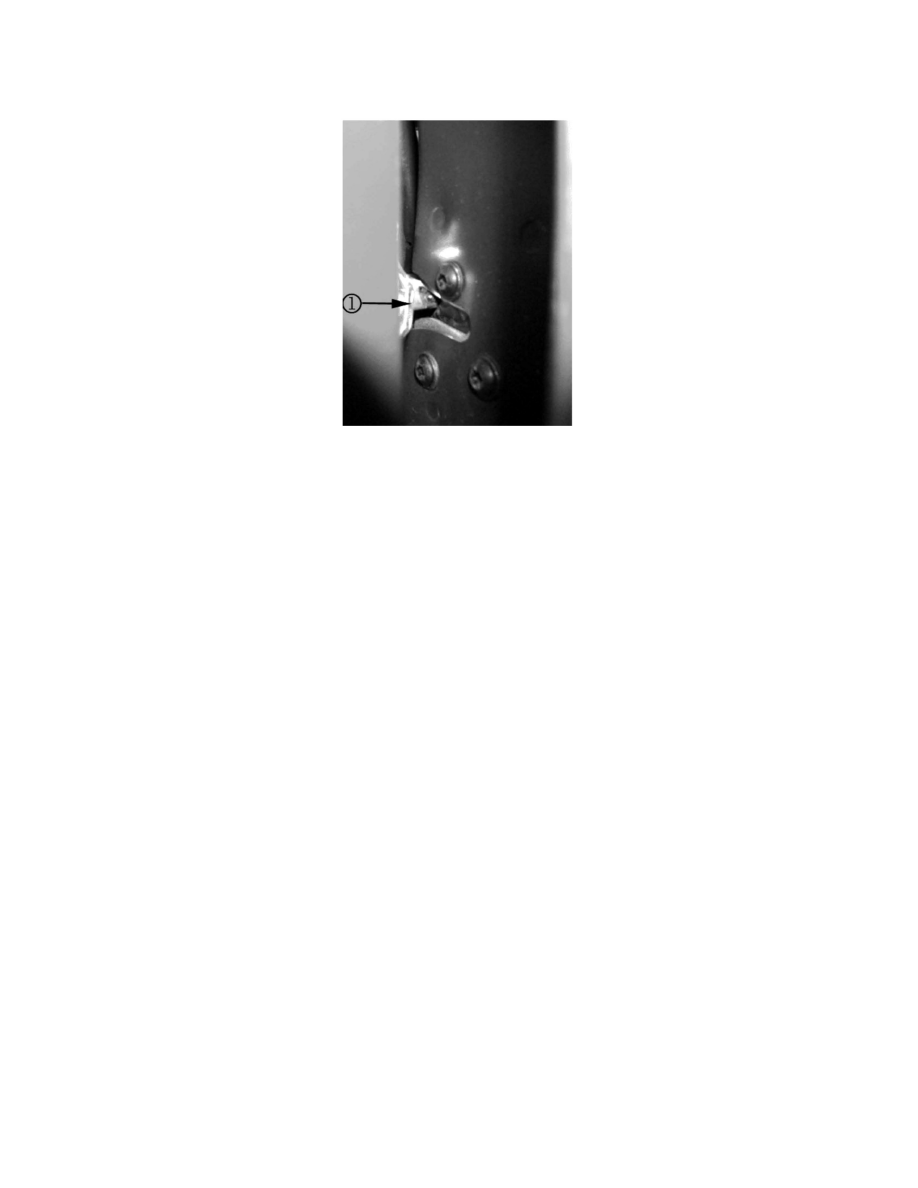
Slowly push the door closed while holding the outside door handle in the open position.
The striker (1) should center itself inside the latch assembly.
Open the door and see how much the striker has moved.
Tip
The top striker bolt should be snugged first while holding the striker in position. The striker has a tendency to move or rotate when tightening the bolts.
Tighten the striker bolts.
Cycle the door to the open and closed position several times while verifying the following:
Open the door slightly and visually inspect that the striker is centered inside the latch assembly with a flashlight.
Verify the striker centered in the latch assembly.
Inspect the door for flushness at the rear quarter panel and the front door.
Ensure that the latches fully lock on the striker when the door is closed.
Ensure that the latch fully releases when the door is open.
Adjust the door striker assembly. Refer to Rear Side Door Latch Striker Adjustment in SI.
The striker may need a shim added or removed at this point.
Tighten the striker bolts.
Tighten
Tighten the bolts to 24 N.m (18 lb ft).
Remove any tape or marks from the striker area.
Verify the condition has been fixed.
Condition 4
The sliding door may ramp up or stick at the front.
Cause