
Savana 1500 RWD V6-4.3L (2007)
Evaporative Emissions Hose: Service and Repair
Evaporative Emission (EVAP) Hoses/Pipes Replacement - Engine/Chassis
Evaporative Emission Hoses/Pipes Replacement - Engine/Chassis
Removal Procedure
Important: When replacing the evaporative emission (EVAP) pipe, always replace the pipe with original equipment or parts that meet the GM
specifications for this part. The replacement pipe must have the same type of fittings as the original pipe in order to ensure the integrity of the
connection.
1. Remove the engine cover.
2. Clean all the EVAP pipe connections and the surrounding areas before disconnecting the pipes in order to avoid possible contamination of the
EVAP system.
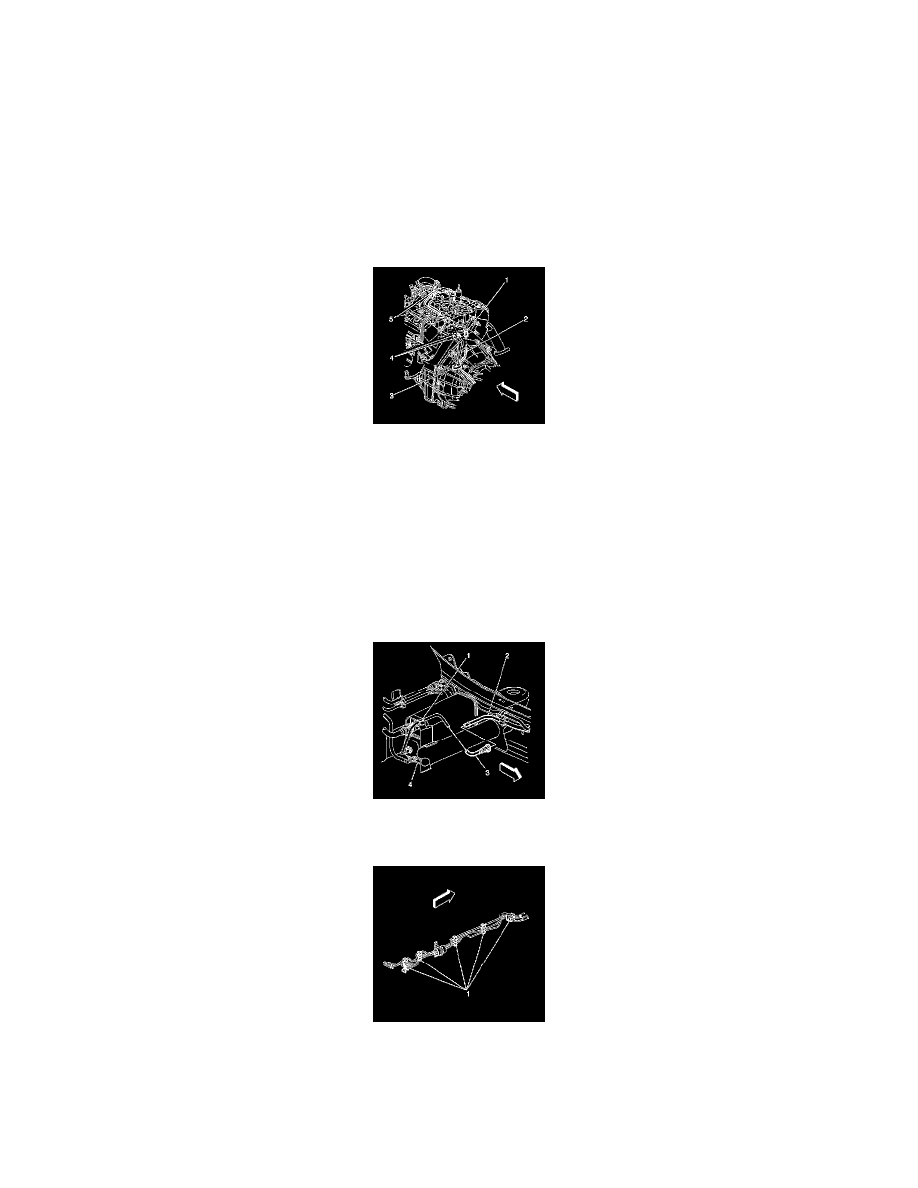
3. Disconnect the engine compartment EVAP pipe (1) from the chassis EVAP pipe (2).
4. Cap the engine compartment EVAP pipe.
Caution: Refer to Road Test Caution.
5. Raise the vehicle. Refer to Vehicle Lifting.
6. Remove the EVAP pipe from the bellhousing stud clip.
7. Remove the EVAP pipe from the transmission bracket clip.
8. Remove the EVAP pipe from the transfer case bracket clip, AWD drive only.
9. Disconnect the rear EVAP purge pipe (3) from the chassis EVAP purge pipe (2).
10. Cap the rear EVAP purge pipe (3).
11. Note the position of the EVAP pipe for aid in installation.
12. Remove the EVAP pipe from the retaining clips (1).
13. Remove the EVAP pipe.
Installation Procedure