
Savana 1500 RWD V6-4.3L (2007)
Caution: In order to reduce the risk of fire and personal injury that may result from a fuel leak, always replace the fuel sender gasket
when reinstalling the fuel sender assembly.
1. Install the new seal on the fuel tank.
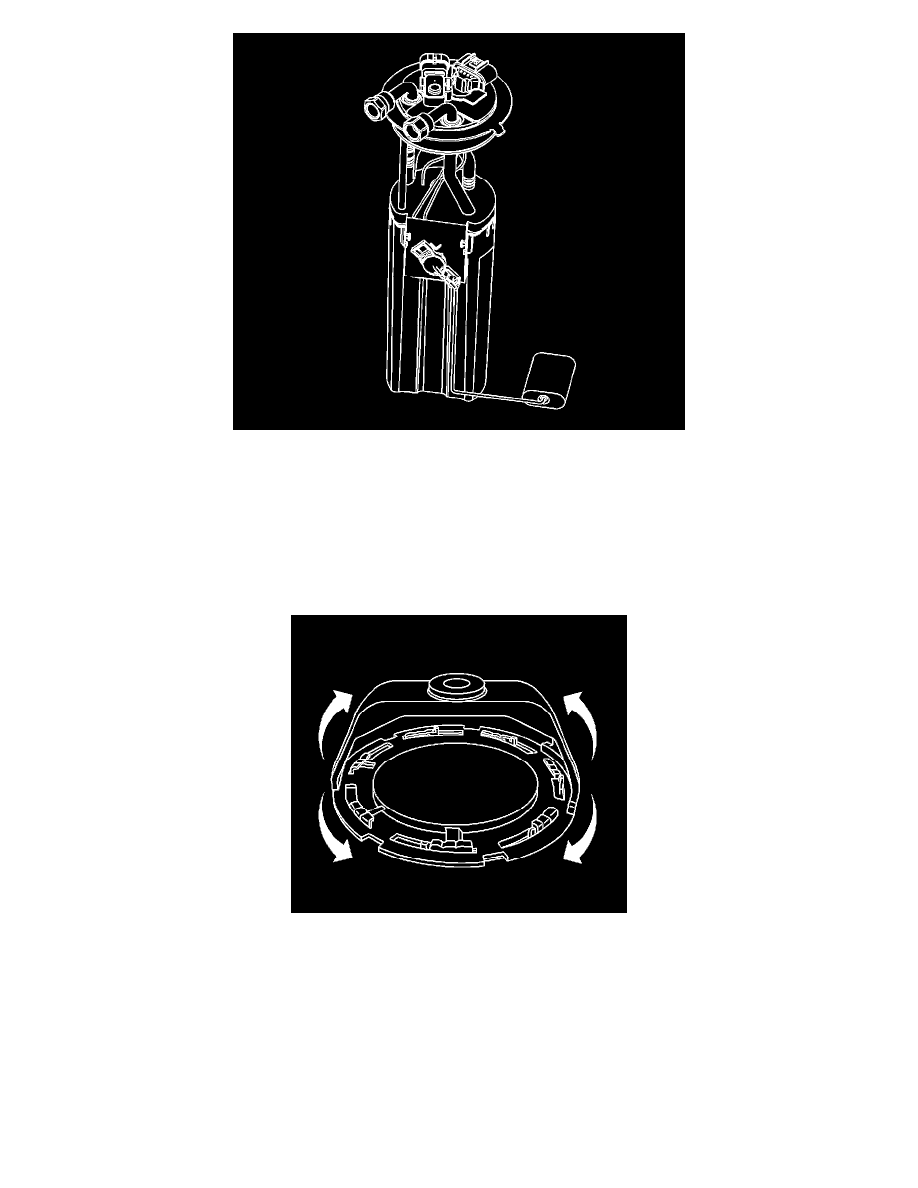
Important: The fuel strainer must be in a horizontal position when the fuel sender is installed in the tank. When installing the fuel sender
assembly, assure that the fuel strainer does not block full travel of the float arm.
2. Install the fuel sender assembly into the fuel tank.
Important: Always replace the fuel sender seal when installing the fuel sender assembly. Replace the lock ring if necessary. DO NOT
apply any type of lubrication in the seal groove.
Ensure the lock ring is installed with the correct side facing upward. A correctly installed lock ring will only turn in a clockwise direction.
3. Use the J 45722 in order to install the fuel sender lock ring. Turn the fuel sender lock ring in a clockwise direction.
4. Install the fuel tank.
5. Refill the fuel tank.
6. Tighten the fuel filler cap.
7. Connect the negative battery cable.
8. Inspect for leaks:
1. Turn ON the ignition for 2 seconds.