
Savana 1500 RWD V6-4.3L (2007)
Distributor: Service and Repair
Distributor Replacement
Distributor Replacement
Removal Procedure
Notice: There are two procedures available to install the distributor.
Use Installation Procedure 1 when the crankshaft has NOT been rotated from the original position.
Use Installation Procedure 2 when any of the following components are removed:
*
The intake manifold
*
The cylinder head
*
The camshaft
*
The timing chain or sprockets
*
The complete engine
If the malfunction indicator lamp (MIL) turns on and DTC P1345 sets after installing the distributor, this indicates an incorrectly installed distributor.
Engine damage or distributor damage may occur. Use Procedure 2 in order to install the distributor.
1. Turn OFF the ignition.
2. Remove the engine cover.
3. Remove the spark plug wires from the distributor cap.
*
Twist each spark plug wire boot 1/2 turn.
*
Pull only on the wire boot in order to remove the wire from the distributor cap.
4. Remove the electrical connector from the base of the distributor.
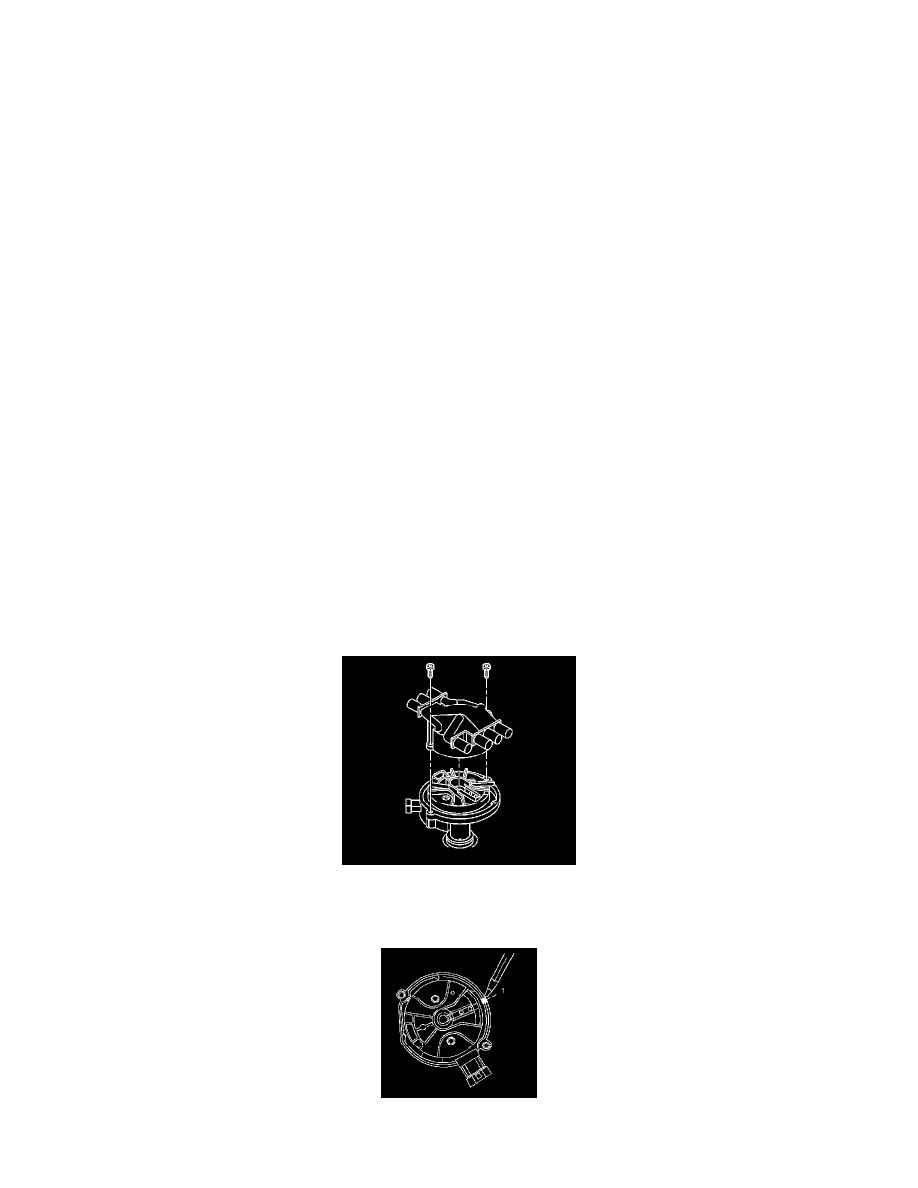
5. Remove the 2 screws that retain the distributor cap to the housing.
6. Discard the screws.
7. Remove the distributor cap from the housing.
8. Use a grease pencil in order to mark the position of the rotor in relation to the distributor housing (1).
9. Mark the distributor housing and the intake manifold with the grease pencil.