
Savana 1500 RWD V6-4.3L (2007)
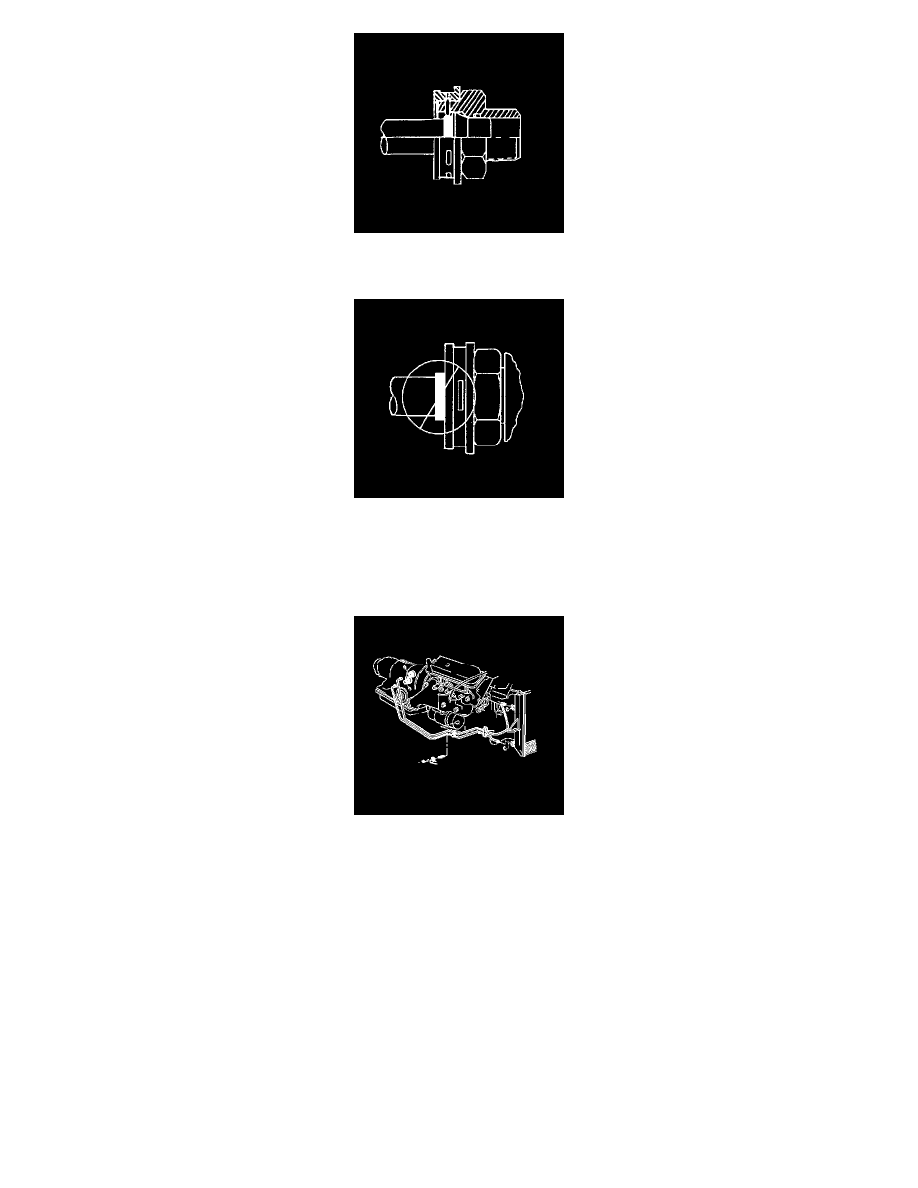
14. Ensure that the yellow identification band on the tube is hidden within the quick connect fitting. A hidden yellow identification band indicates
proper joint seating.
15. Do not install the cooler line end into the fitting incorrectly.
16. If you cannot position the plastic cap against the fitting, remove the retaining ring from the quick connect fitting per Step 5 of the cooler line
removal procedure. Check the retaining ring and the tube end in order to ensure neither is bent. Replace the cooler line or the retaining ring if
necessary, and reinstall per step 2 of the cooler line installation procedure.
17. Install the cooler lines into the retaining clip at the oil pan.
Notice: Refer to Fastener Notice .
18. Install the flair nut securing the lower oil cooler line to the radiator.
Tighten the flair nuts to 45 N.m (33 lb ft).
19. Lower the vehicle.
20. Install the flare nut securing the upper cooler line to the radiator.
Tighten the flair nut to 45 N.m (33 lb ft).
21. Start the engine.
Transmission Fluid Cooler Hose/Pipe Quick-Connect Fitting Disconnection and Connection
Transmission Fluid Cooler Hose/Pipe Quick-Connect Fitting Disconnection and Connection
Removal Procedure