
Savana 1500 RWD V6-4.3L VIN X (2004)
Shift Interlock Solenoid: Service and Repair
Automatic Transmission Shift Lock Actuator Replacement
Removal Procedure
1. Caution: Refer to SIR Caution in Cautions and Notices.
Disable the SIR system.
2. Put the shift lever clevis into the neutral position.
3. Remove the knee bolster.
4. Disconnect the electrical connector.
5. Use a small screwdriver to pry the A/T shift lock control actuator away from the steering column jacket assembly and the cable shift cam
assembly.
6. Remove the A/T shift lock control actuator.
Installation Procedure
1. Firmly install the A/T shift lock control actuator onto the steering column jacket assembly and the cable shift cam assembly.
2. Connect the electrical connector.
3. Adjust the A/T shift lock control actuator with the shift lever clevis in the neutral position:
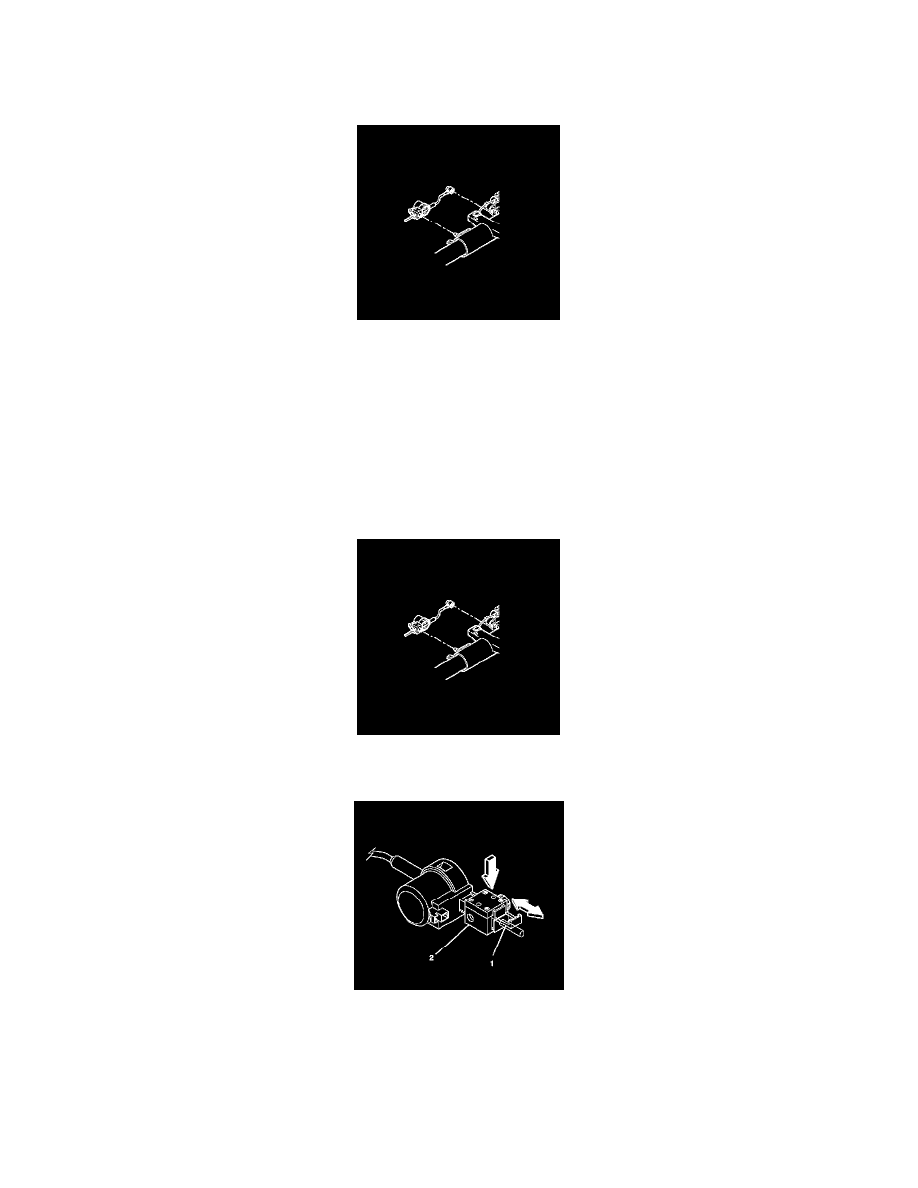
1. Pull out the tab (1) on the adjuster block side (2) of the A/T shift lock control actuator.
2. Press on the adjuster block (2) to compress the internal adjuster spring which disengages the adjuster teeth. Slide the adjuster block (2) as far
away from the actuator as possible.
3. Lock the adjuster block (2) in place by pushing in on the tab (1).
4. Inspect the A/T shift lock control actuator for the following items:
1. The A/T shift lock control actuator must lock the shift lever clevis when the shift lever clevis is put into the park position.
2. Depress the brake pedal to move the shift lever out of the park position.