
Savana 2500 V6-4.3L VIN X (2005)
Parking Brake Actuator: Service and Repair
Park Brake Actuator Replacement
Removal Procedure
Caution: Refer to Brake Dust Caution in Service Precautions.
1. Release the park brake.
2. Disable the park brake cable automatic adjuster.
3. Raise and support the vehicle. Refer to Vehicle Lifting.
4. Remove the tire and wheel assembly.
5. Remove the rear park brake cable from the park brake actuator lever.
6. Remove the park brake cable from the mounting bracket by depressing the locking tabs.
7. Remove the rotor.
8. Remove the axle shaft.
9. Remove the park brake shoe.
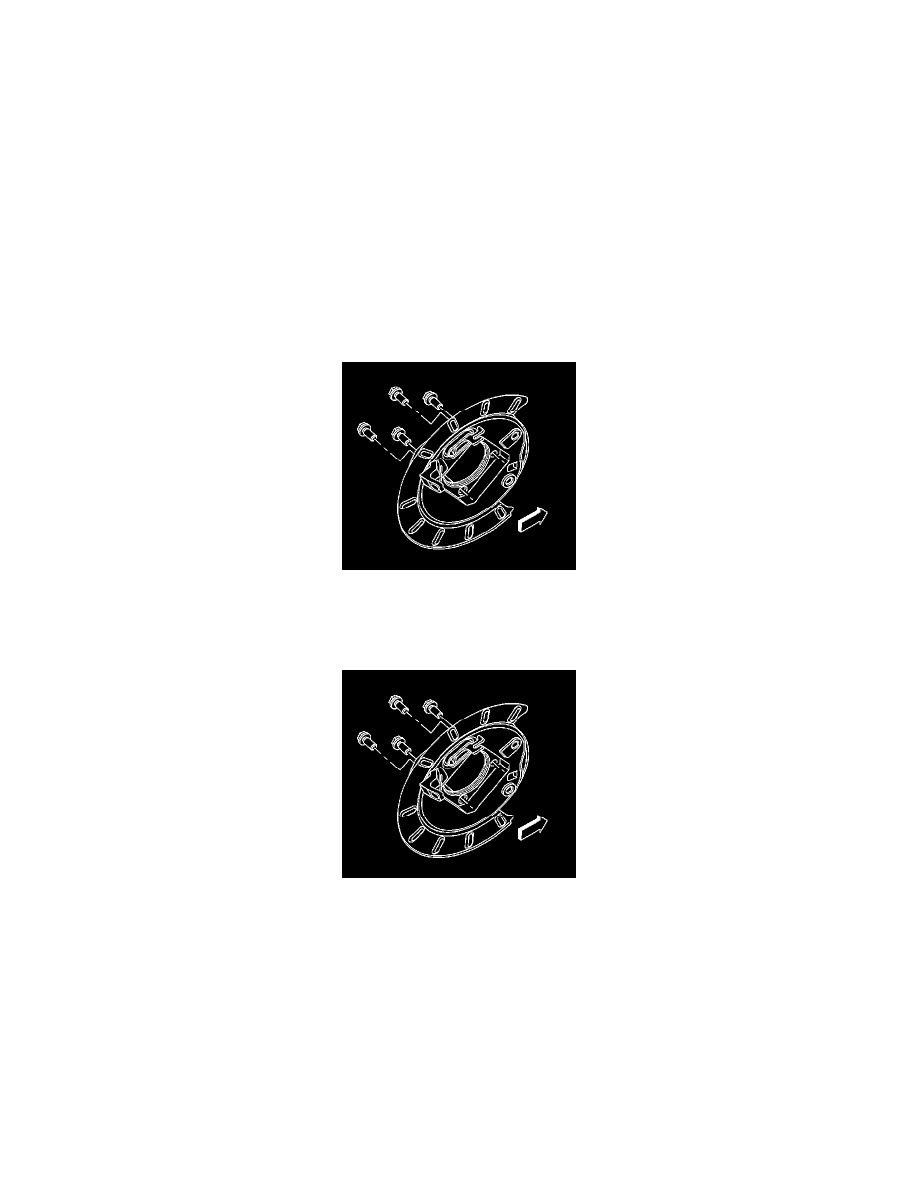
10. Remove the backing plate bolts.
11. Remove the park brake actuator lever housing from the backing plate.
Installation Procedure
1. Install the park brake actuator lever housing to the backing plate.
2. Perform the following procedure before installing the backing plate bolts.
1. Remove all traces of the original adhesive patch.
2. Clean the threads of the bolt with brake parts cleaner or the equivalent and allow to dry.
3. Apply Threadlocker GM P/N 12345493 (Canadian P/N 10953488) to the threads of the bolt.
3. Notice: Refer to Fastener Notice in Service Precautions.
Install the backing plate bolts.
^
Tighten the single rear wheel backing plate bolts to 135 Nm (100 ft. lbs.).
^
Tighten the dual rear wheel backing plate bolts to 160 Nm + 30° (118 ft. lbs. + 30°).
4. Install the park brake shoe.
5. Install the axle shaft.
6. Adjust the park brake shoe.
7. Install the rotor.