
Savana 2500 V8-6.0L VIN U (2006)
Engine Mount: Service and Repair
Engine Mount Replacement - Left
Engine Mount Replacement - Left
Removal Procedure
Notice: Refer to Engine Mounting Notice in Service Precautions.
1. Raise and support the vehicle. Refer to Lifting and Jacking the Vehicle.
2. Remove the tire and wheel.
3. Remove the front propeller shaft, 4WD vehicles only.
4. Remove the engine mount to the frame mounting bolts through the wheelwell.
Notice: When raising or supporting the engine for any reason, do not use a jack under the oil pan, any sheet metal, or crankshaft balancer. Jacking
against the oil pan may cause it to crack or break.
Important: Raise the engine only enough to permit removal of the engine mount.
5. Raise and suitably support the engine using adjustable (screw type) jackstands.
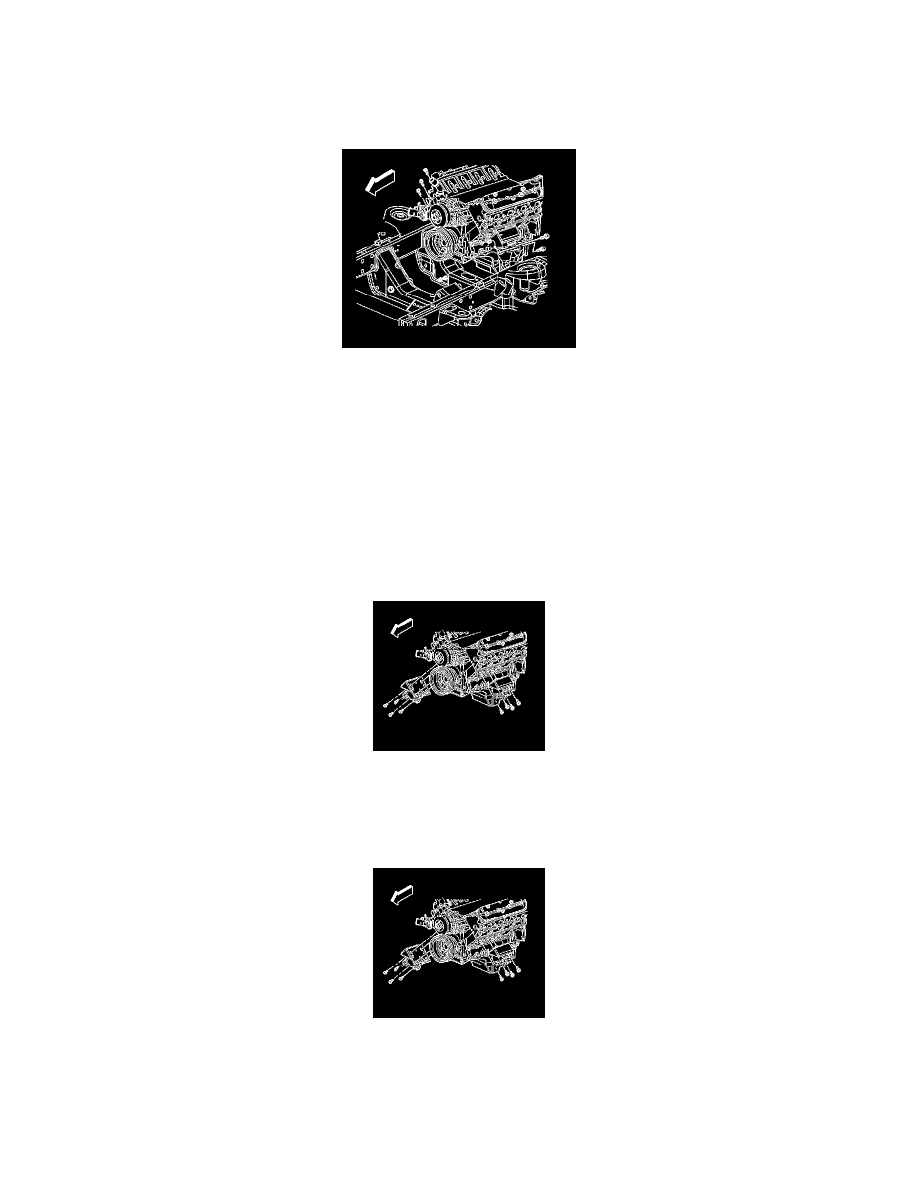
6. Remove the front engine mount to the engine mounting bolts through the wheelwell.
7. Remove the rear engine mount to the engine mounting bolts from under the vehicle.
8. Remove the engine mount from the vehicle.
Installation Procedure
1. Install the engine mount to the vehicle.
2. Install the rear engine mount to the engine mounting bolts from under the vehicle. Do not tighten at this time.
Notice: Refer to Fastener Notice in Service Precautions.
3. Install the front engine mount to the engine mounting bolts through the wheelwell.