
Savana 2500 V8-6.6L DSL Turbo (2008)
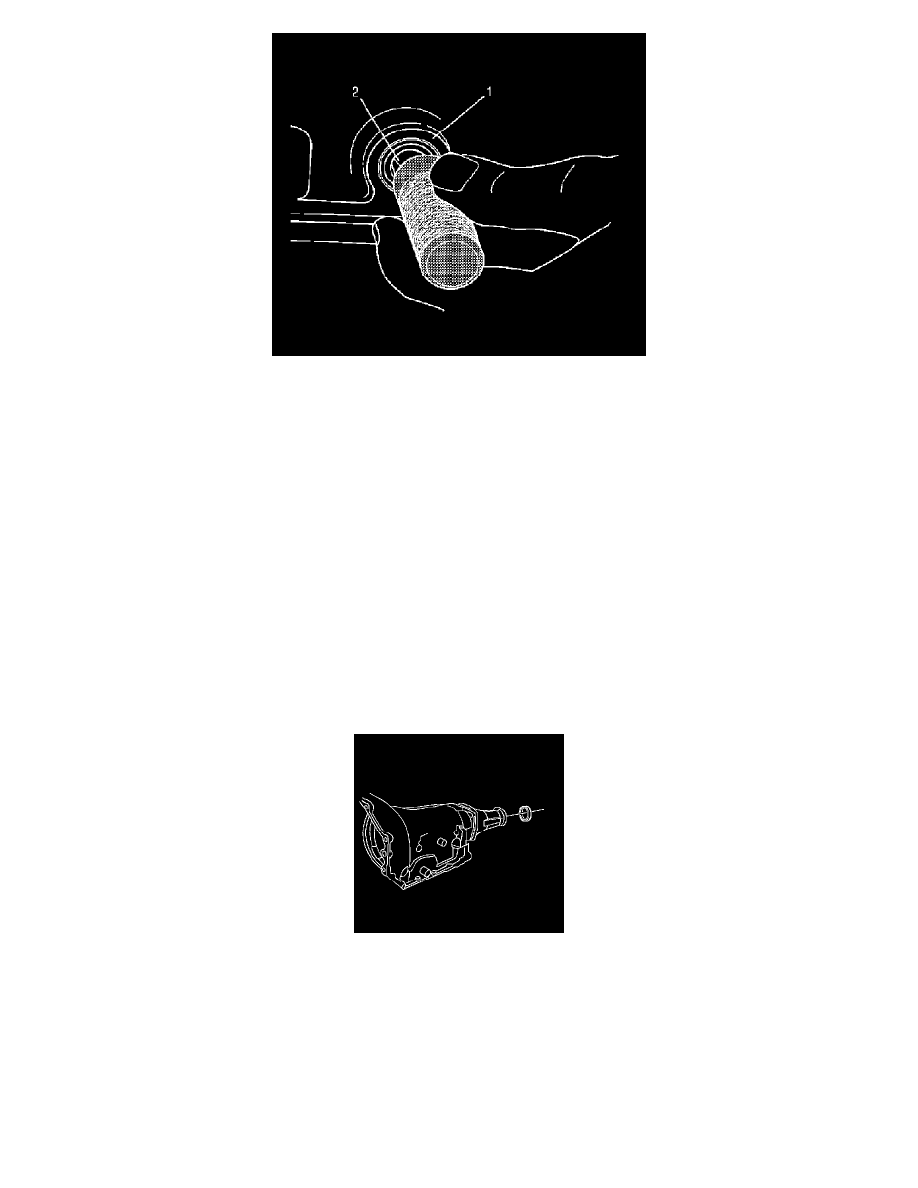
1. Carefully slide a new selector shaft seal (1) over the selector shaft (2) with the wide face of the steel case facing outward. Position the seal so that
it is starting to enter the seal bore.
2. Obtain J 43909 and remove the inner sleeve so that the tool will slide over the selector shaft.
3. Slide the J 43909 into position so that the end of the tool contacts the seal being installed. Use a mallet to strike the J 43909 and drive the new
seal into the seal bore until it is seated at the bottom of the bore.
4. Install the PNP Switch. Refer to Park/Neutral Position Switch Replacement (See: Sensors and Switches - A/T/Transmission Position
Switch/Sensor/Service and Repair/4L60-E/4L65-E/4L70-E - Automatic Transmission) .
5. Lower the vehicle.
6. Fill the transmission to the proper level with DEXRON(R) VI transmission fluid. Refer to Transmission Fluid Check (See: Testing and
Inspection/Component Tests and General Diagnostics/4L60-E/4L65-E/4L70-E - Automatic Transmission/Transmission Fluid Check) .
Propeller Shaft Front Slip Yoke Oil Seal Replacement
Propeller Shaft Front Slip Yoke Oil Seal Replacement
Tools Required
*
J 21426 Extension Housing Seal Installer
*
J 36850 Transjel Lubricant
Removal Procedure
1. Raise the vehicle. Refer to Lifting and Jacking the Vehicle .
2. Place a drain pan under the vehicle.
3. Remove the propeller shaft. Refer to One-Piece Propeller Shaft Replacement (See: Drive/Propeller Shafts, Bearings and Joints/Drive/Propeller
Shaft/Service and Repair/One-Piece Propeller Shaft Replacement) or Two-Piece Propeller Shaft Replacement (See: Drive/Propeller Shafts,
Bearings and Joints/Drive/Propeller Shaft/Service and Repair/Two-Piece Propeller Shaft Replacement) .
4. Remove the case extension housing rear oil seal. Use a flat-bladed tool and carefully pry the seal from the housing.
5. Inspect the case extension housing for damage. Replace the extension housing if necessary. Refer to Case Extension Assembly Replacement (See:
Extension Housing/Service and Repair/4L60-E/4L65-E/4L70-E - Automatic Transmission) .
Installation Procedure