
Savana 2500 2WD V8-5.3L VIN T (2004)
1. Install the new sealing washers.
2. Install the evaporator inlet hose in to the vehicle.
3. Install the evaporator inlet hose to the evaporator.
NOTE: Refer to Fastener Notice in Service Precautions.
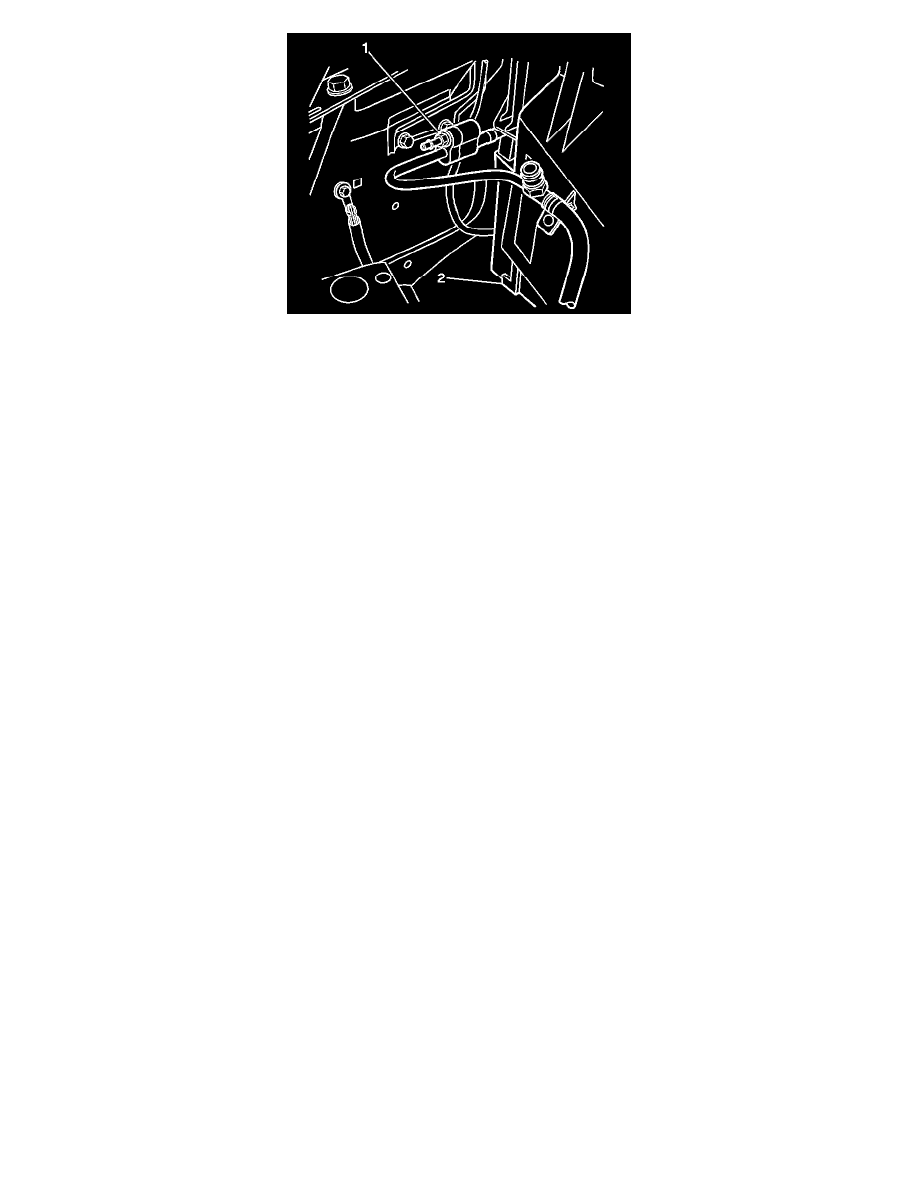
4. Install the evaporator inlet hose retaining nut (1).
Tighten
Tighten the nut to 16 N.m (12 lb ft).
5. Install the evaporator inlet hose fitting to the front evaporator tube.
Tighten
Tighten the fitting to 16 N.m (12 lb ft).
6. Install the screw into evaporator hose clip (1).
Tighten
Tighten the fitting to 6 N.m (53 lb in).
7. Install the coolant recover reservoir.
8. Evacuate and recharge the A/C system. Refer to Refrigerant Recovery and Recharging.
9. Leak test the fittings of the components using the J 39400-A.
Outlet (C60)
EVAPORATOR TUBE REPLACEMENT - OUTLET (C60)
TOOLS REQUIRED
J 39400-A Halogen Leak Detector
REMOVAL PROCEDURE
1. Recover the refrigerant from the A/C system. Refer to Refrigerant Recovery and Recharging.
2. Remove the evaporator outlet tube retaining nut from the evaporator.
3. Remove the evaporator outlet tube retaining nut from the accumulator.
4. Remove the nut from the accumulator bracket.
5. Remove the evaporator outlet tube.
6. Remove the sealing washers.
INSTALLATION PROCEDURE
1. Install the new sealing washers.
2. Install the evaporator outlet tube to the accumulator.
NOTE: Refer to Fastener Notice in Service Precautions.
3. Install the evaporator outlet tube retaining nut to the accumulator.
Tighten