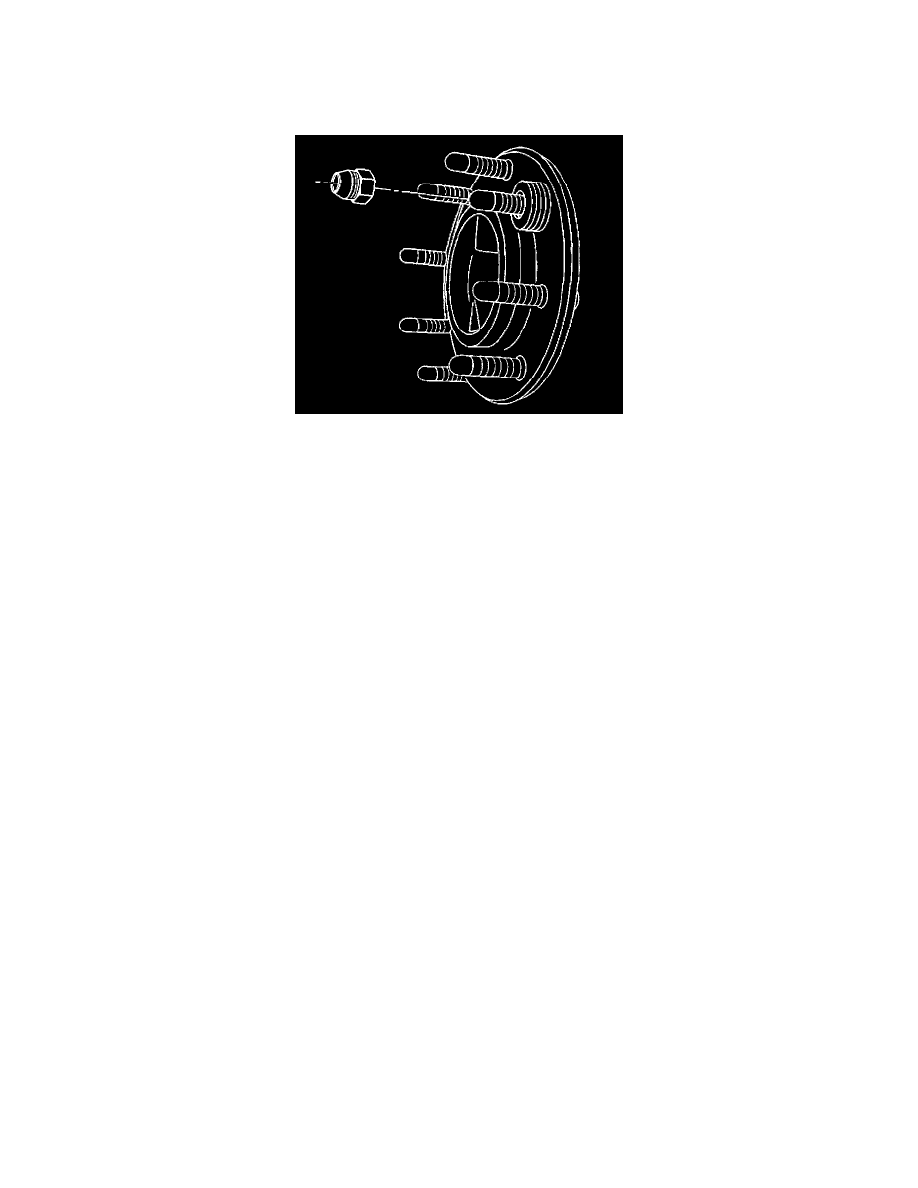
Savana 3/4 Ton Van V6-4.3L VIN X (2003)

6. Place the hub and rotor assembly on a hydraulic press.
7. Press the wheel studs out of the hub and rotor assembly.
Installation Procedure
1. Align the hub and the rotor application.
2. Install each at the new wheel studs into the hub and rotor assembly by producing the following steps:
2.1.
Install the strut
2.2.
Install 4 washers to the stud.
2.3.
Install a lug nut to the side with the flat side of the nut towards the washers.
2.4
Tighten the lug nut to draw the stud into the hub and rotor assembly
2.5.
Inspect the hub and rotor assembly to ensure that the hub is tight against the rotor and the stud is sealed correctly.
2.6.
Remove the lug nut and the washers.
3. Install the hub and rotor assembly to the vehicle.
4. Install the tire and wheel assembly.
5. Lower the vehicle
6. With the engine OFF gradually apply the brake pedal to approximately 2/3 of is travel distance.
7. Slowly release the brake pedal.
8. Wait 15 seconds, then repeat steps 6-7 until a firm pedal is obtained. This will properly seat the brake caliper pistols and brake pads.
9. Fill the master cylinder reservoir to the proper level with clean brake fluid.
