
Savana 3/4 Ton Van V8-6.5L DSL Turbo VIN F (2001)
Rear Door Weatherstrip: Service and Repair
Rear Door Weatherstrip Replacement
Rear Door Weatherstrip Replacement
Removal Procedure
1. Remove the rear corner garnish molding. Refer to Body Rear Corner Garnish Molding Replacement (See: Interior Moulding / Trim/Trim
Panel/Service and Repair/Body Rear Corner Garnish Molding Replacement) in Interior Trim.
2. Remove the driver side body side rear trim panel. Refer to Body Side Rear Trim Panel Replacement (See: Interior Moulding / Trim/Trim
Panel/Service and Repair/Body Side Rear Trim Panel Replacement) in Interior Trim.
3. Remove the right rear corner trim panel. Refer to Body Rear Corner Trim Panel Replacement - Right Side (See: Interior Moulding / Trim/Trim
Panel/Service and Repair/Body Rear Corner Trim Panel Replacement - Right Side) in Interior Trim.
4. Remove the rear floor trim plate. Refer to Rear Floor Trim Plate Replacement (See: Interior Moulding / Trim/Scuff Plate/Service and Repair) .
5. Remove the rear door frame garnish molding. Refer to Rear Door Opening Frame Garnish Molding Replacement () .
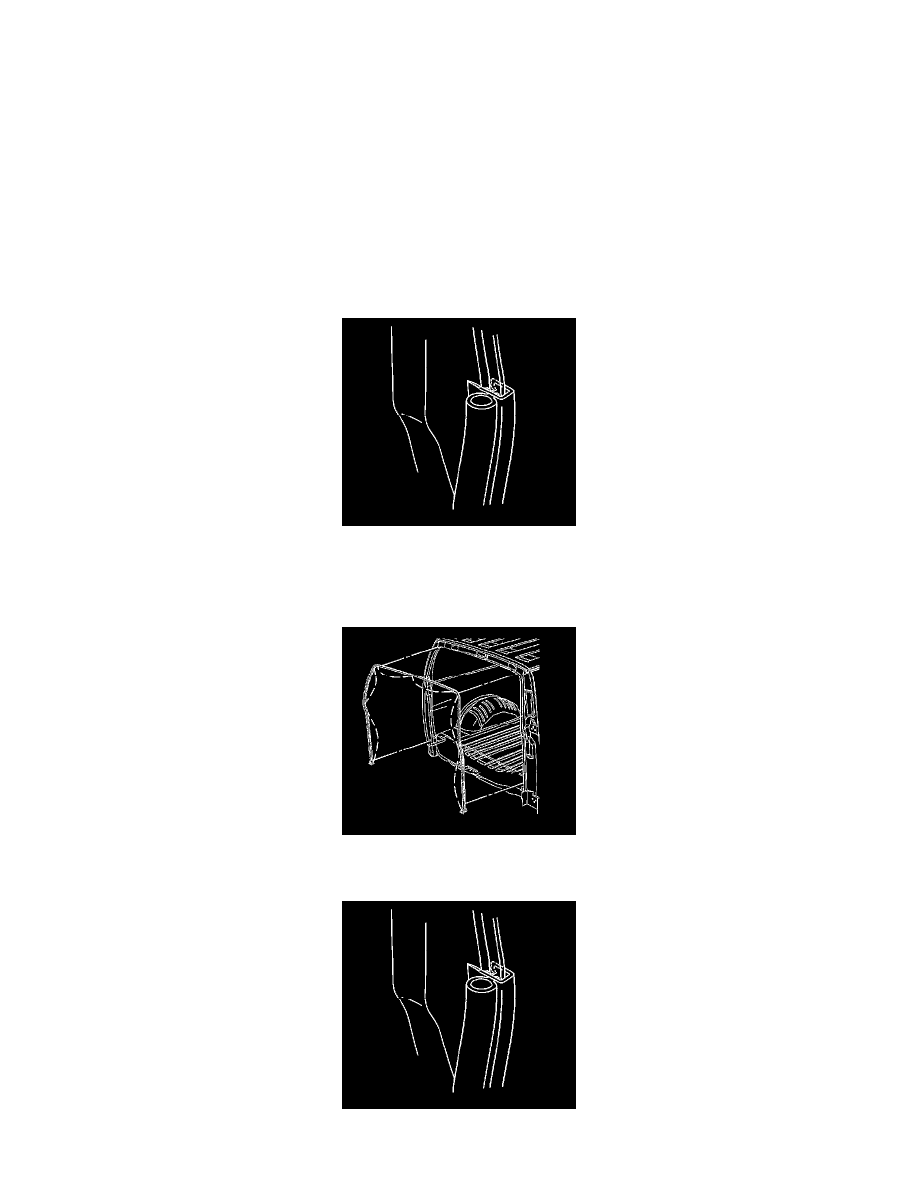
6. Pull the rear door opening weather-strip from the door opening pinch-weld flange. Use 3M Release Agent or the equivalent at the bottom ends of
the rear door opening weather-strip if needed.
Installation Procedure
1. Apply weather-strip adhesive into the channel on the rear door opening weather-strip. Use GM P/N 12345097, or Canadian P/N 10953479,or the
equivalent.
2. Start at the corners and align the rear door opening weather-strip to the door opening pinch-weld flange.