
Savana 3/4 Ton Van V8-6.5L DSL Turbo VIN F (2001)
Expansion Valve: Service and Repair
THERMAL EXPANSION VALVE REPLACEMENT - AUXILIARY
REMOVAL PROCEDURE
1. Remove the evaporator core.
2. Gently remove the sealer packed around the thermo expansion valve (TXV).
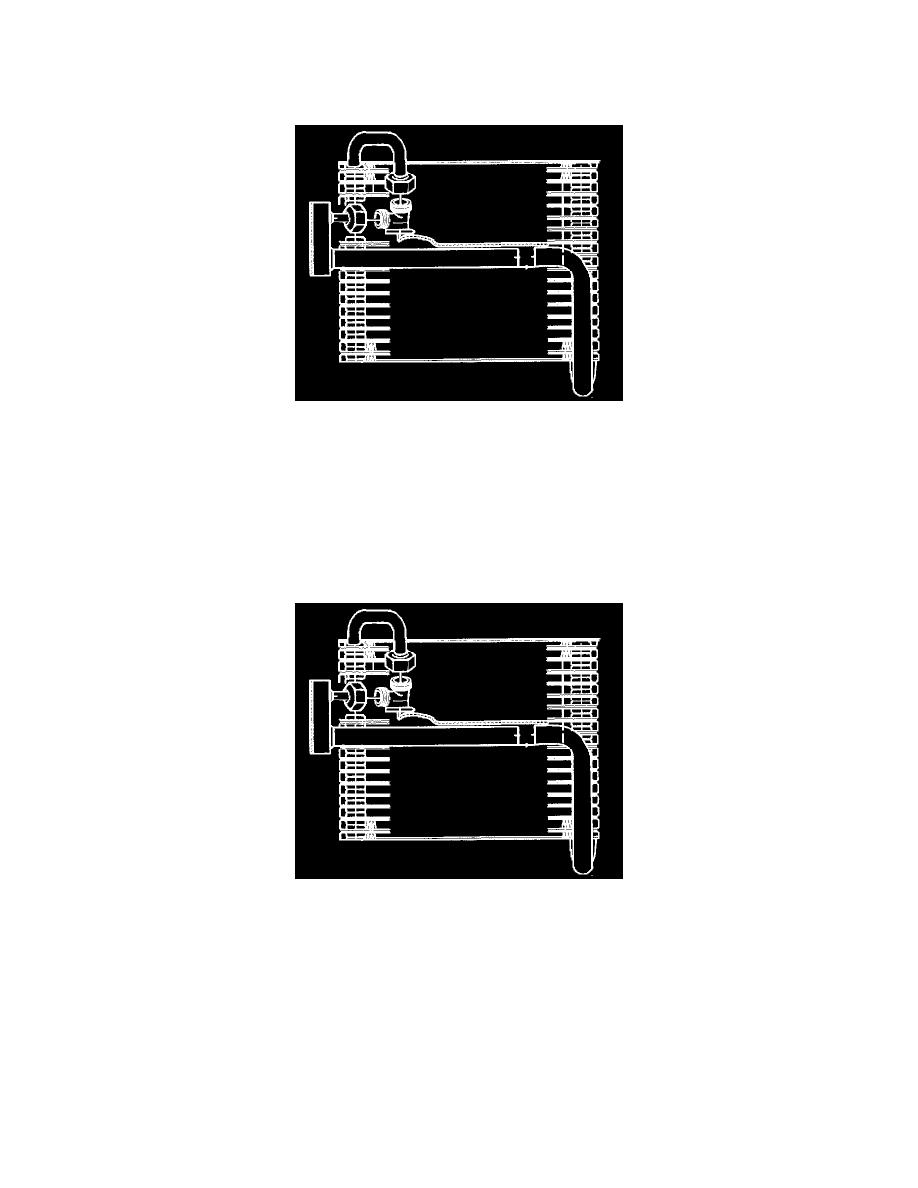
IMPORTANT: Note the mounting location and the orientation of the tube on the core.
3. Remove the clip retaining the capillary tube to the evaporator core.
4. Disconnect the Evaporator tube connections from the Thermal Expansion Valve (TXV).
5. Remove the TXV from the core.
INSTALLATION PROCEDURE
1. Install the TXV to the core.
2. Connect the Evaporator tube connections to the Thermal Expansion Valve.
Tighten
Tighten the tube connections to 28 N.m (21 lb ft).
IMPORTANT: Install the clip and the tube in the location and the orientation as noted during the disassembly.
3. Install the clip in order to retain the capillary tube to the evaporator core.
4. Pack sealer around the TXV in the manner found during the disassembly.
5. Install the evaporator core.