
Savana 3500 V8-4.8L (2009)
Battery Current Sensor: Service and Repair
Battery Current Sensor Replacement
Removal Procedure
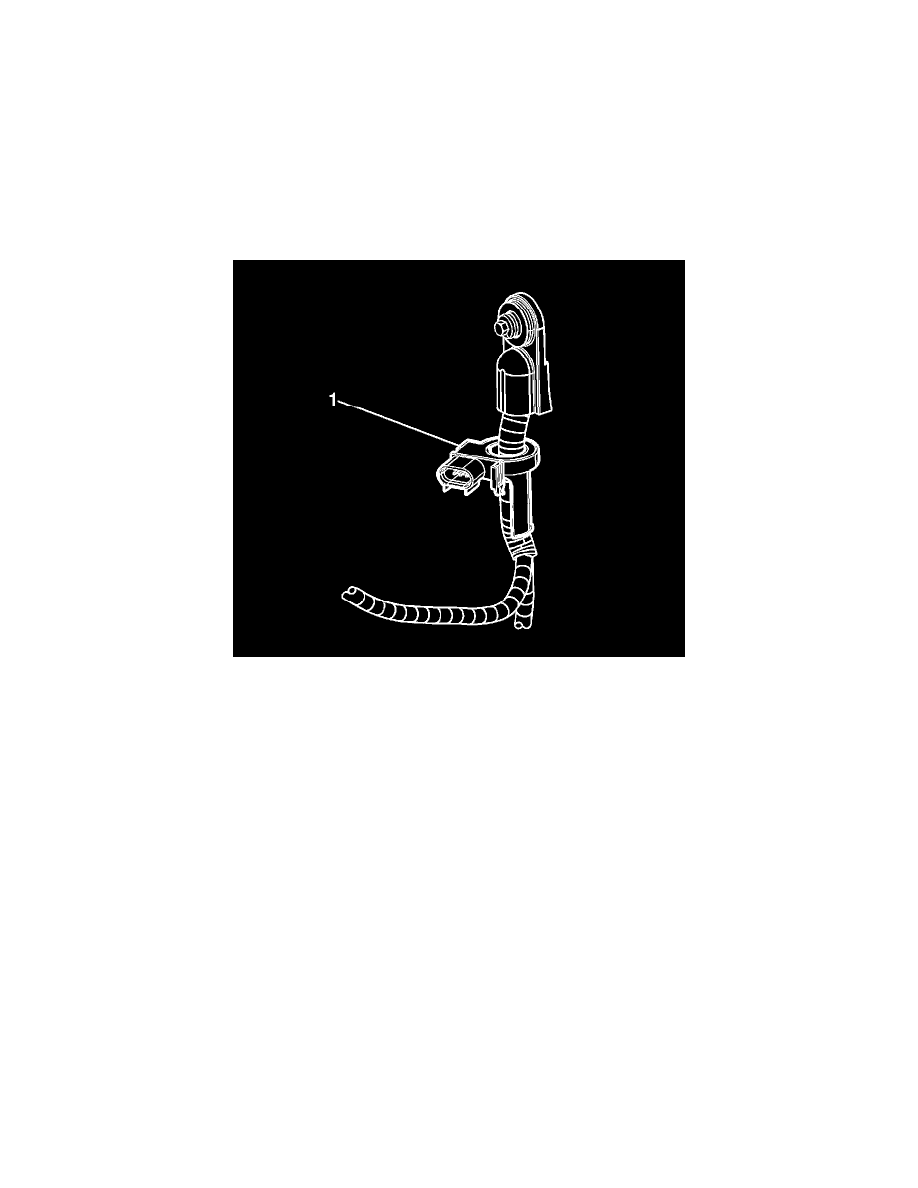
1. Disconnect the instrument panel (I/P) harness electrical connector (1) from the battery current sensor.
2. Remove the negative battery cable. Refer to Battery Negative Cable Replacement (With LMM Primary) (See: Starting and
Charging/Battery/Battery Cable/Negative/Service and Repair)Battery Negative Cable Replacement (With LMM Auxiliary) (See: Starting and
Charging/Battery/Battery Cable/Negative/Service and Repair)Battery Negative Cable Replacement (With LY2, LMF or LY6) (See: Starting and
Charging/Battery/Battery Cable/Negative/Service and Repair)Battery Negative Cable Replacement (With LU3 and RVS) (See: Starting and
Charging/Battery/Battery Cable/Negative/Service and Repair).
3. Cut the tie straps and electrical tape attaching the battery current sensor to the battery cable.
4. Squeeze the negative battery cable branches together.
Important: Note the position of the battery current sensor prior to removal.
5. Slide the battery current sensor (1) off of the negative battery cable.
Installation Procedure