
Savana 3500 V8-4.8L (2009)
Shift Interlock Solenoid: Service and Repair
Automatic Transmission Shift Lock Control Actuator Replacement
Removal Procedure
Warning: Refer to SIR Warning (See: Restraint Systems/Service Precautions/SIR Warning).
1. Disable the SIR system. Refer to SIR Disabling and Enabling (See: Body and Frame/Interior Moulding / Trim/Dashboard / Instrument Panel/Air
Bag(s) Arming and Disarming/Service and Repair).
2. Put the shift lever clevis into the neutral position.
3. Remove the knee bolster. Refer to Driver Knee Bolster Replacement (See: Body and Frame/Interior Moulding / Trim/Dashboard / Instrument
Panel/Service and Repair).
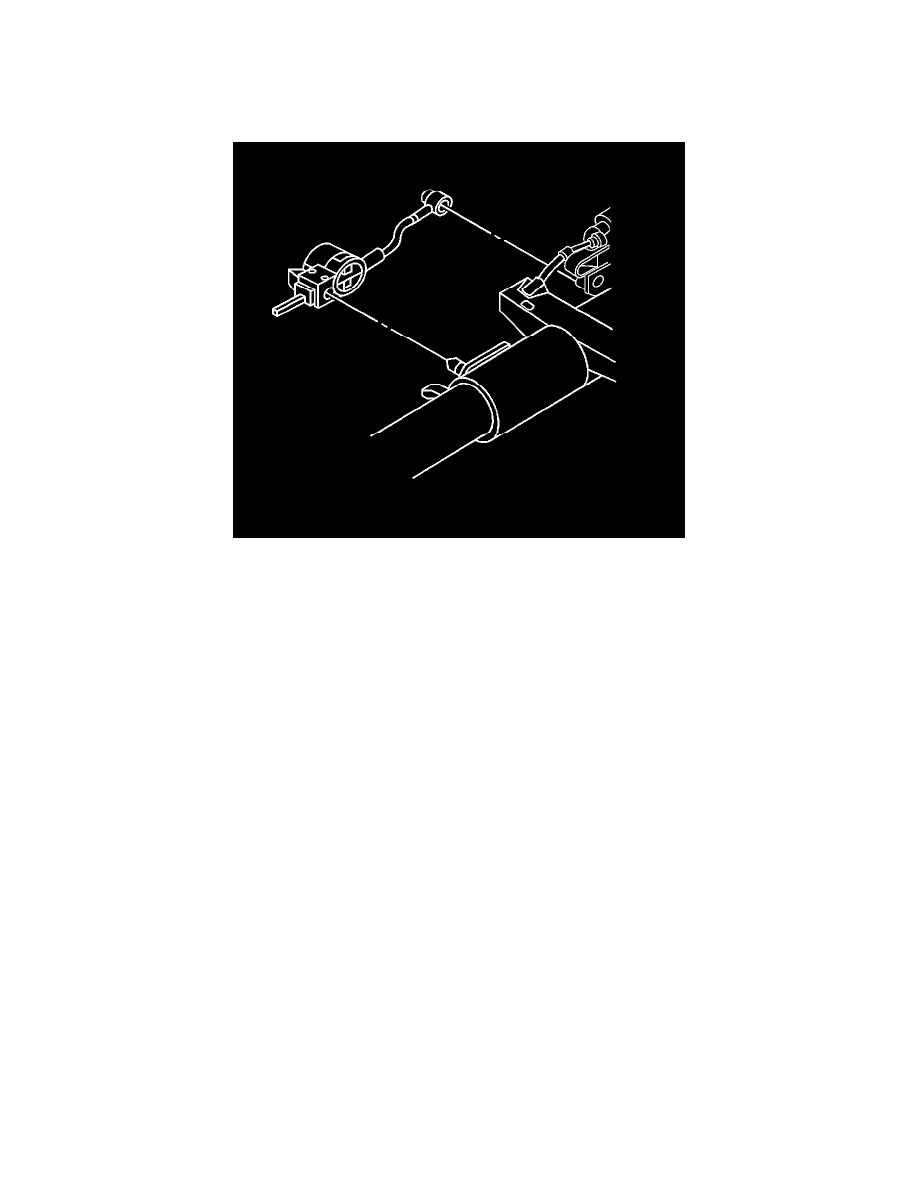
4. Disconnect the electrical connector.
5. Use a small screwdriver to pry the A/T shift lock control actuator away from the steering column jacket assembly and the cable shift cam
assembly.
6. Remove the A/T shift lock control actuator.
Installation Procedure