
Savana 3500 V8-4.8L VIN V (2005)
EGR Valve: Service and Repair
EXHAUST GAS RECIRCULATION (EGR) VALVE REPLACEMENT
REMOVAL PROCEDURE
IMPORTANT:
-
Do not try to disassemble the exhaust gas recirculation (EGR) valve. Service the valve only as a complete assembly.
-
Carefully note the position of the EGR valve before removal. Do not rotate the EGR valve 180 degrees.
1. Remove the air cleaner assembly.
2. Disconnect the EGR electrical connector.
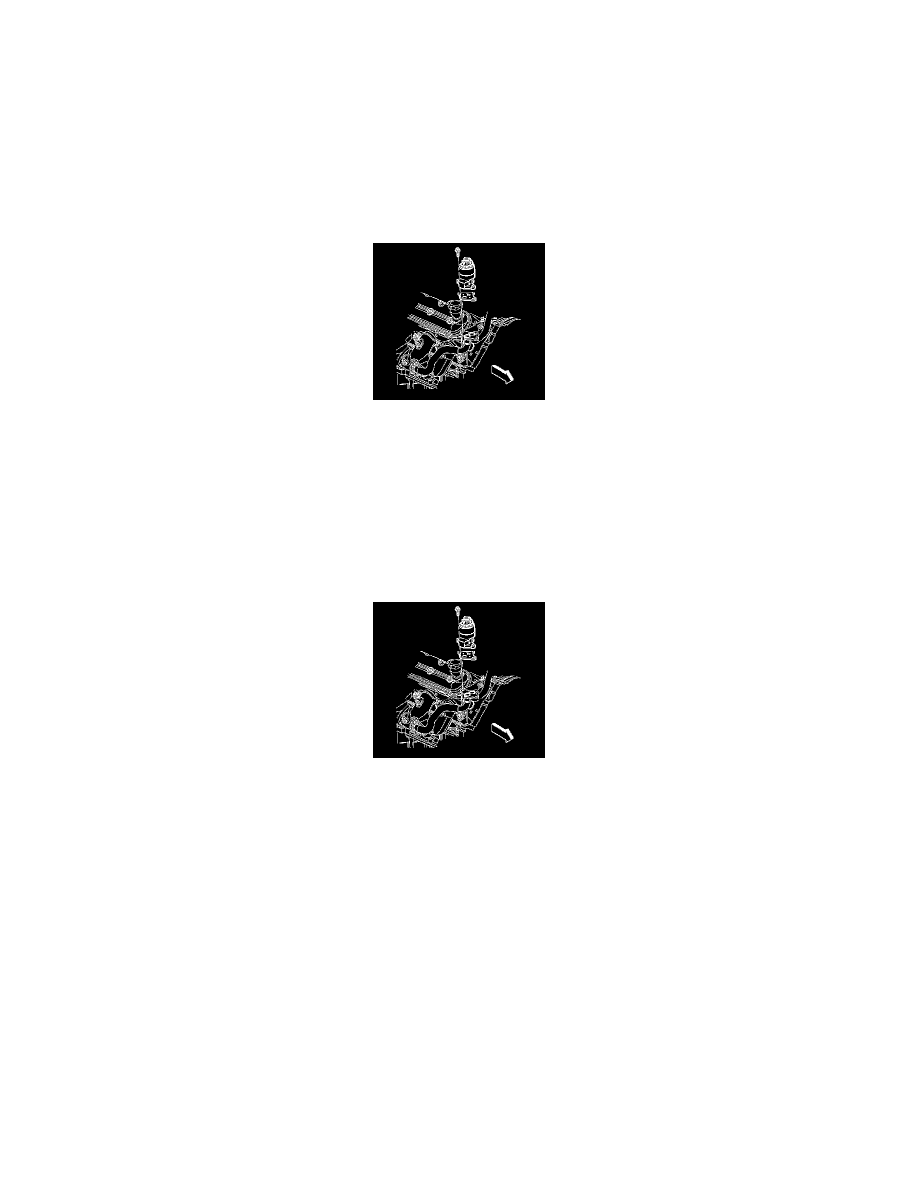
3. Remove the valve to flange attaching fasteners.
4. Remove the EGR valve.
NOTE: The EGR valve is an electrical component. Soaking the EGR valve in a liquid cleaner or a solvent causes damage to the valve.
5. Remove the flange gasket.
6. Clean the EGR valve gasket surface.
INSTALLATION PROCEDURE
1. Install the new flange gasket
2. Install the EGR valve.
NOTE: Refer to Fastener Notice in Service Precautions.
3. Install the valve to flange fasteners.
-
Tighten the fasteners the first time to 10 N.m (89 lb in) each.
-
Tighten the fasteners a final time to 25 N.m (18 lb ft) each.
4. Connect the electrical connector.
5. Install the air cleaner assembly.