
Savana 3500 V8-6.6L DSL Turbo VIN 2 (2006)
Headliner: Service and Repair
Headliner Replacement - Rear
Headliner Replacement - Rear
Removal Procedure
Caution: Do not attempt to repair or alter the head impact energy-absorbing material glued to the headliner or to the garnish trims. If the material is
damaged, replace the headliner and/or the garnish trim. Failure to do so could result in personal injury.
1. Remove the rear passenger seats. Refer to Seat Replacement - Rear Bench (See: Seats/Service and Repair/Removal and Replacement/Seat
Replacement - Rear Bench) in Seats.
2. Remove the front headliner. Refer to Headliner Replacement - Front (See: ).
3. Remove the coat hooks. Refer to Coat Hook Replacement (See: Service and Repair).
4. Remove the left rear upper garnish molding. Refer to Garnish Molding Replacement - Left Body Side Upper (See: Trim Panel/Service and
Repair/Removal and Replacement).
5. Remove the rear door garnish molding. Refer to Garnish Molding Replacement - Rear Door Upper (See: Trim Panel/Service and Repair/Removal
and Replacement).
6. Remove the rear corner garnish molding. Refer to Garnish Molding Replacement - Rear Corner (See: Trim Panel/Service and Repair/Removal and
Replacement).
7. Remove the upper seat belt anchor bolts.
*
Refer to the following in Restraints:
*
Seat Belt Retractor Replacement - No. 2 Left Rear
*
Seat Belt Retractor Replacement - No. 2 Right Rear
*
Seat Belt Retractor Replacement - No. 3 Left Rear
*
Seat Belt Retractor Replacement - No. 3 Right Rear
8. Disconnect the electrical connectors.
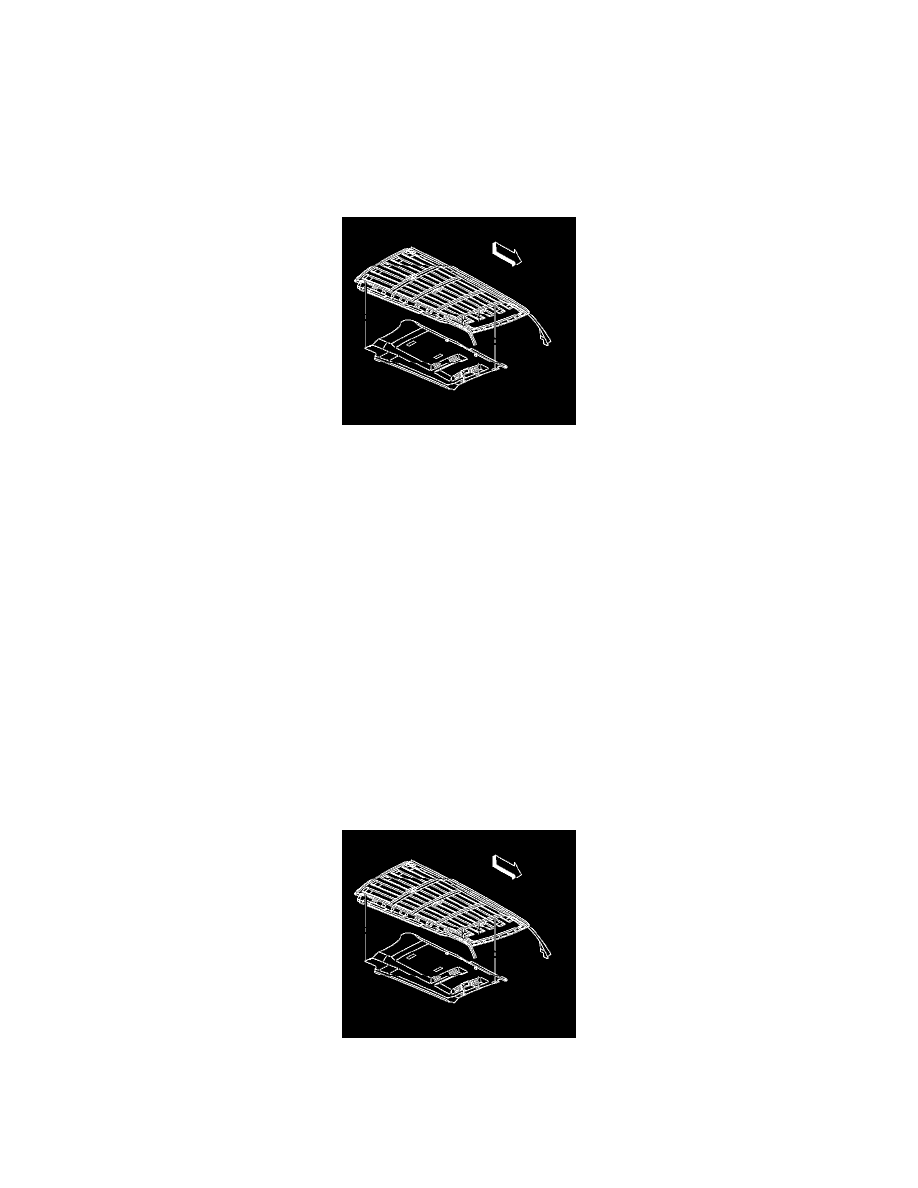
9. Remove the headliner from the vehicle through the rear doors
Installation Procedure
1. Install the headliner to the vehicle.
2. Connect the electrical connectors.
3. Install the coat hooks. Refer to Coat Hook Replacement (See: Service and Repair).
4. Install the left rear upper garnish molding. Refer to Garnish Molding Replacement - Left Body Side Upper (See: Trim Panel/Service and
Repair/Removal and Replacement).