
Savana 3500 V8-6.6L DSL Turbo VIN 6 (2007)
Front Fender: Service and Repair
Front Fender Replacement
Front Fender Replacement
Removal Procedure
Caution: Refer to Apply Tape When Removing Body Panel Notice.
1. Apply tape to panels to be removed.
2. Remove the right and the left air inlet grille panels from the vehicle.
3. Remove the hood from the vehicle.
4. Remove the upper fender filler panel from the vehicle.
5. Remove the front fender extension from the vehicle.
6. Remove the front bumper from the vehicle.
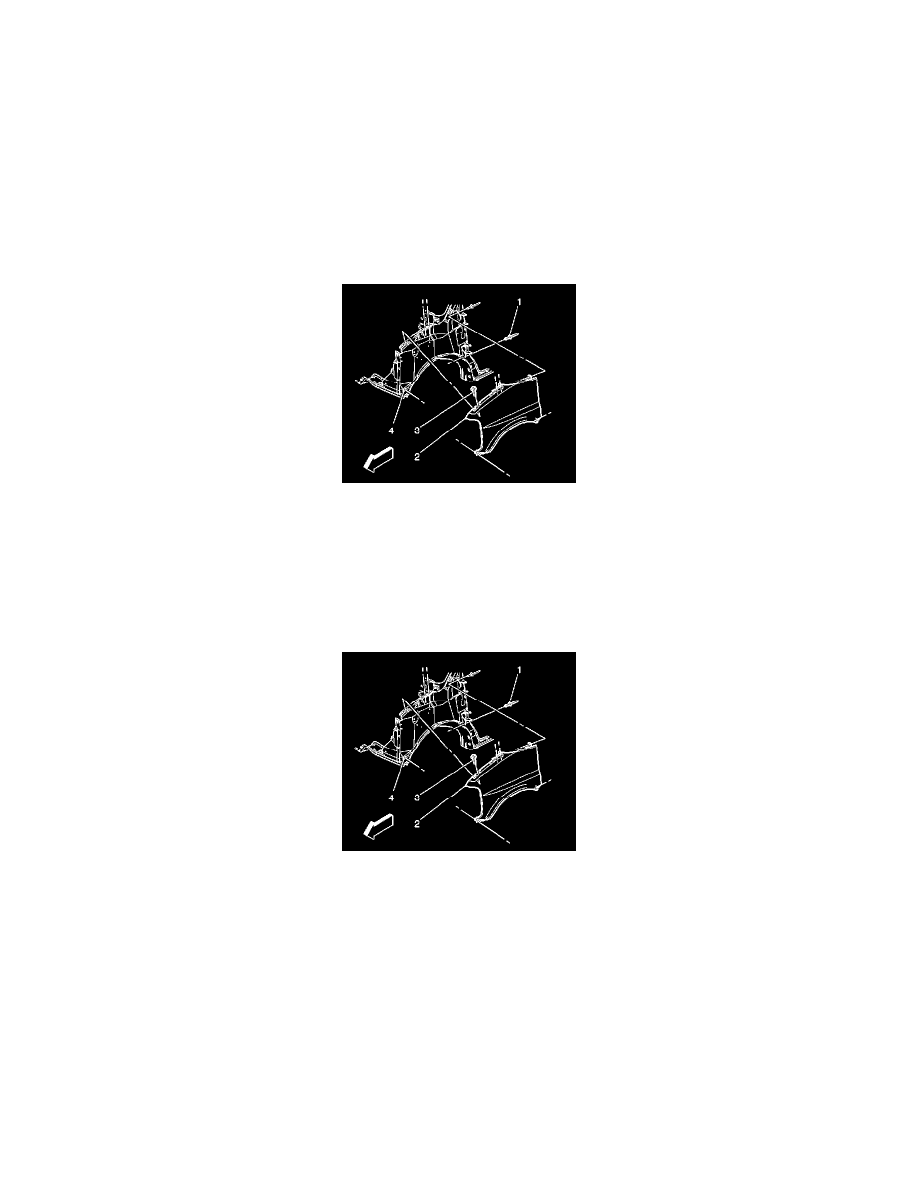
7. Drill out the rivets (1) retaining the front fender (2) to the front door hinges.
8. Remove the bolts (3) retaining the front fender (2) to the body.
9. Remove the hood rod support from the left fender.
10. Remove the front fender (2) from the vehicle.
Installation Procedure
1. Install the front fender (2) to the vehicle.
Notice: Refer to Fastener Notice.
2. Install the bolts (3) in order to retain the front fender (2) to the body.
Tighten the bolts in order to retain the front fender to the body to 25 N.m (18 lb ft).
3. Install the hood rod support to the left fender.
4. Install the new rivets (1) in order to retain the front fender (2) to the front door hinges.
5. Install the front bumper to the vehicle.
6. Install the front fender extension to the vehicle.
7. Install the upper fender filler panel to the vehicle.
8. Install the hood to the vehicle.
9. Install the right and the left air inlet grille panels to the vehicle.
10. Remove tape on body panels.