
Savana 4500 V8-6.6L DSL Turbo (2009)
Installation Procedure
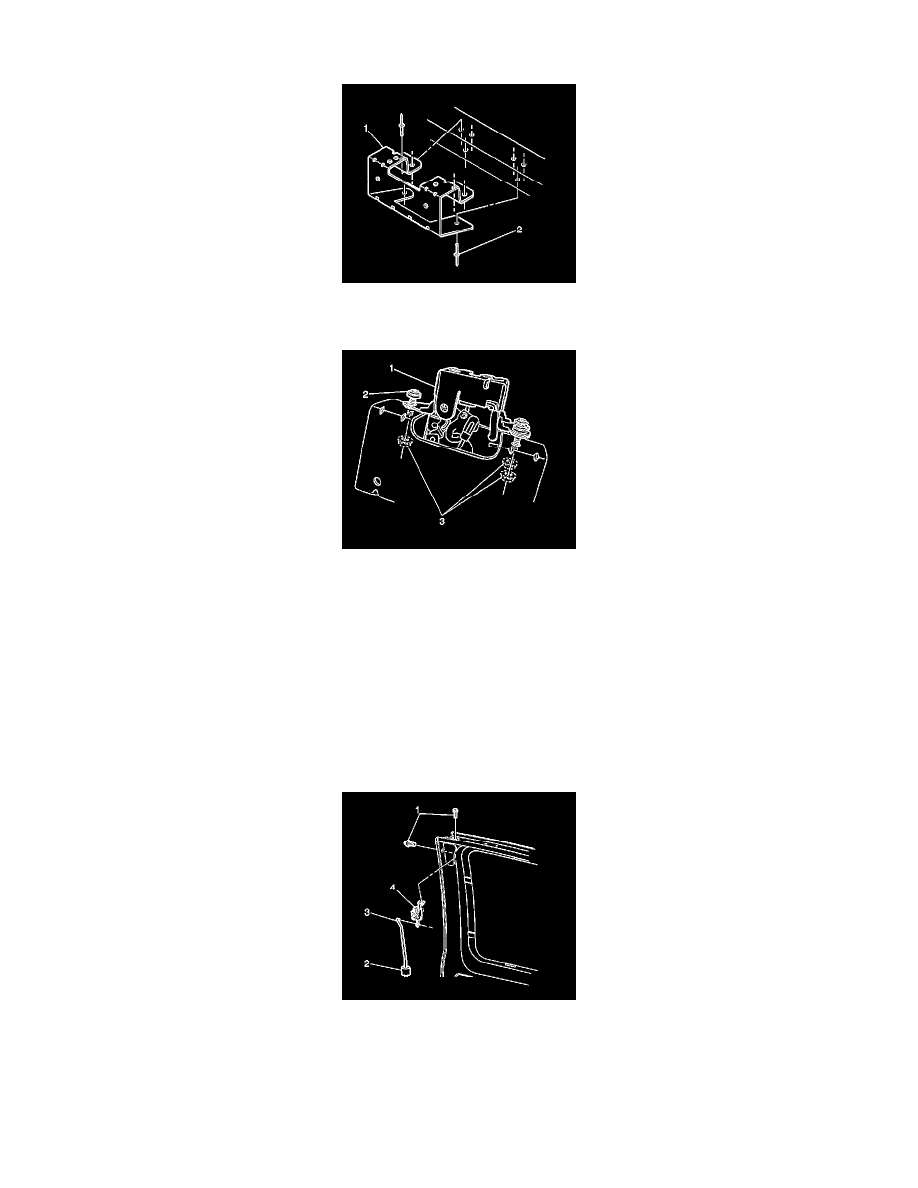
1. Install the latch brackets (1).
2. Install the rivets (2).
3. Install the latch (1).
Caution: Refer to Fastener Caution (See: Service Precautions/Vehicle Damage Warnings/Fastener Caution).
4. Install the latch bolts (2) and tighten to 10 Nm (89 lb in).
5. Connect the electrical connection.
Rear Side Door Latch Replacement (Front Door)
Rear Side Door Latch Replacement (Front Door)
Removal Procedure
1. Remove the side rear door trim panel. Refer to Rear Side 60/40 Door Trim Panel Replacement - Left Side (E26, 40 Door) (See: Rear Door
Panel/Service and Repair)Rear Side 60/40 Door Trim Panel Replacement - Left Side (E26, 60 Door) (See: Rear Door Panel/Service and Repair)
or Rear Side 60/40 Door Trim Panel Replacement - Right Side (E24, 40 Door) (See: Rear Door Panel/Service and Repair)Rear Side 60/40 Door
Trim Panel Replacement - Right Side (E24, 60 Door) (See: Rear Door Panel/Service and Repair).
2. Remove the lock rod (3) from the side rear door upper latch (2).
3. Remove the bolt (1) that retains the side rear door upper latch (2) to the door.
4. Remove the side rear door upper latch (2) from the door.