
Savana 4500 V8-6.6L DSL Turbo (2009)
1. Install the fuel injector pipes. Tighten the fittings to 41 Nm (30 lb ft).
2. After installing the fuel injector pipes, clean the injector pipes and apply sealant GM P/N 97720043, at the fittings to prevent moisture and debris
from collecting between the line and fitting.
3. Position back engine harness and install bolts to bracket at left front of engine and tighten to 21 Nm (15 lb ft).
4. Install the positive PCV hose/pipe. Refer to Positive Crankcase Ventilation Hose/Pipe/Tube Replacement (See: Emission Control
Systems/Positive Crankcase Ventilation/PCV Valve Hose/Service and Repair).
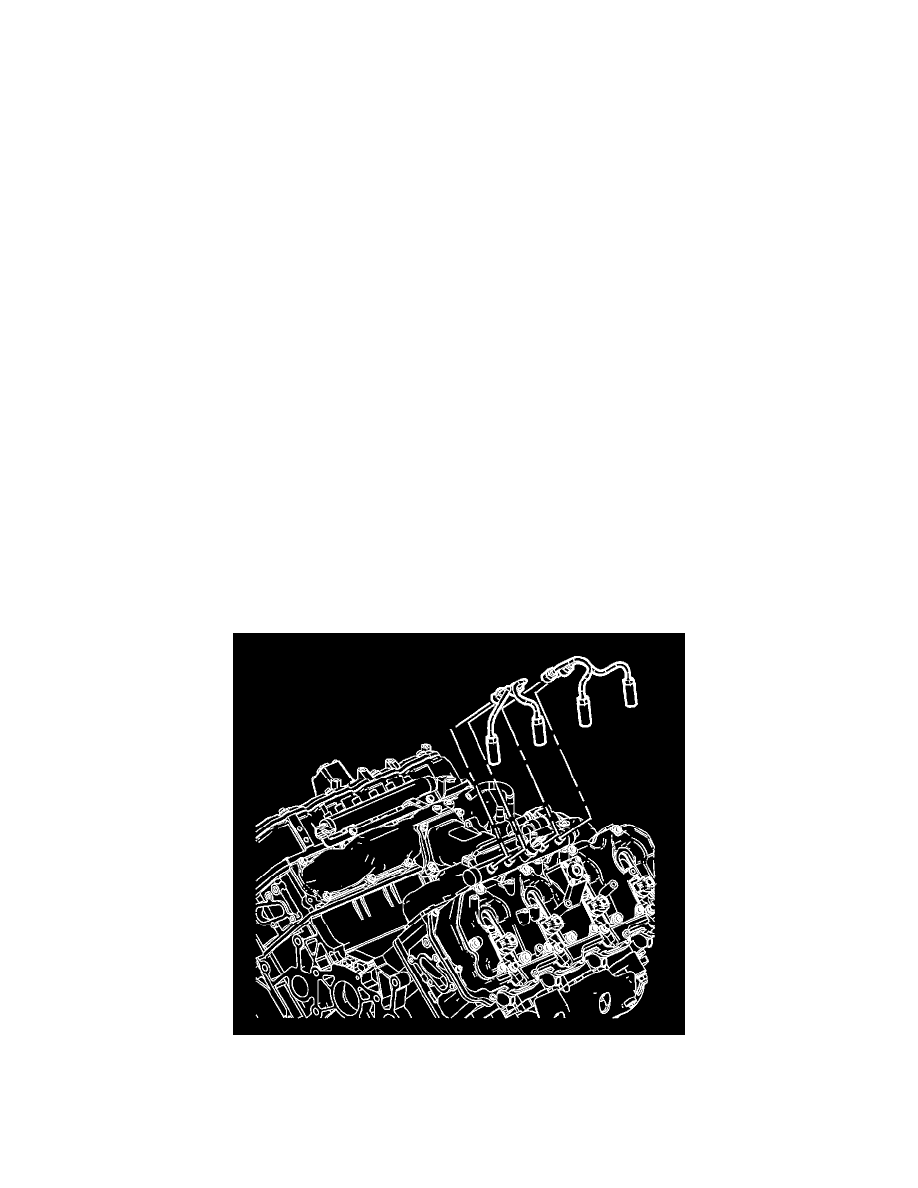
5. Install the glow plug module and bracket. Refer to Glow Plug Control Module Replacement (See: Glow Plug System/Glow Plug Control
Module/Service and Repair).
6. Install the auxiliary generator. Refer to Auxiliary Generator Replacement (See: Starting and Charging/Charging System/Alternator/Service and
Repair/Auxiliary Generator Replacement).
7. Install the upper fan shroud. Refer to Engine Coolant Fan Upper Shroud Replacement (4.3L, 4.8L, 5.3L, 6.0L, 6.2L, 7.0L) (See: Engine, Cooling
and Exhaust/Cooling System/Fan Shroud/Service and Repair)Engine Coolant Fan Upper Shroud Replacement (6.6L) (See: Engine, Cooling and
Exhaust/Cooling System/Fan Shroud/Service and Repair).
8. Prime the fuel system. Refer to Fuel System Priming (See: Service and Repair/Fuel System Priming).
9. Start the engine.
If the engine stalls, repeat the above step.
10. Inspect the fuel system for fuel leaks.
11. Install the engine cover. Refer to Engine Cover Replacement (See: Body and Frame/Access Cover/Service and Repair).
Fuel Injection Fuel Feed Pipe Replacement - Right Side
Fuel Injection Fuel Feed Pipe Replacement - Right Side
Removal Procedure
1. Remove the engine cover. Refer to Engine Cover Replacement (See: Body and Frame/Access Cover/Service and Repair).
2. Remove the upper fan shroud. Refer to Engine Coolant Fan Upper Shroud Replacement (4.3L, 4.8L, 5.3L, 6.0L, 6.2L, 7.0L) (See: Engine,
Cooling and Exhaust/Cooling System/Fan Shroud/Service and Repair)Engine Coolant Fan Upper Shroud Replacement (6.6L) (See: Engine,
Cooling and Exhaust/Cooling System/Fan Shroud/Service and Repair).
3. Remove the generator. Refer to Generator Replacement (With LU3) (See: Starting and Charging/Charging System/Alternator/Service and
Repair/Generator Replacement)Generator Replacement (With LY2, LMF and LY6) (See: Starting and Charging/Charging
System/Alternator/Service and Repair/Generator Replacement)Generator Replacement (With LMM) (See: Starting and Charging/Charging
System/Alternator/Service and Repair/Generator Replacement).
4. Prior to removing the fuel injector pipes, use compressed air to blow any debris from between the injector line and fittings. Wipe the fittings clean
of debris.
5. Spray lithium grease, GM P/N 12346293 or equivalent, between the fuel injector line and fittings to assist in containing any debris during removal.
Caution: DO NOT use compressed air to clean debris from the fuel injector inlet after the fuel line is removed. Using compressed air can allow