
Savana 4500 V8-6.6L DSL Turbo (2009)
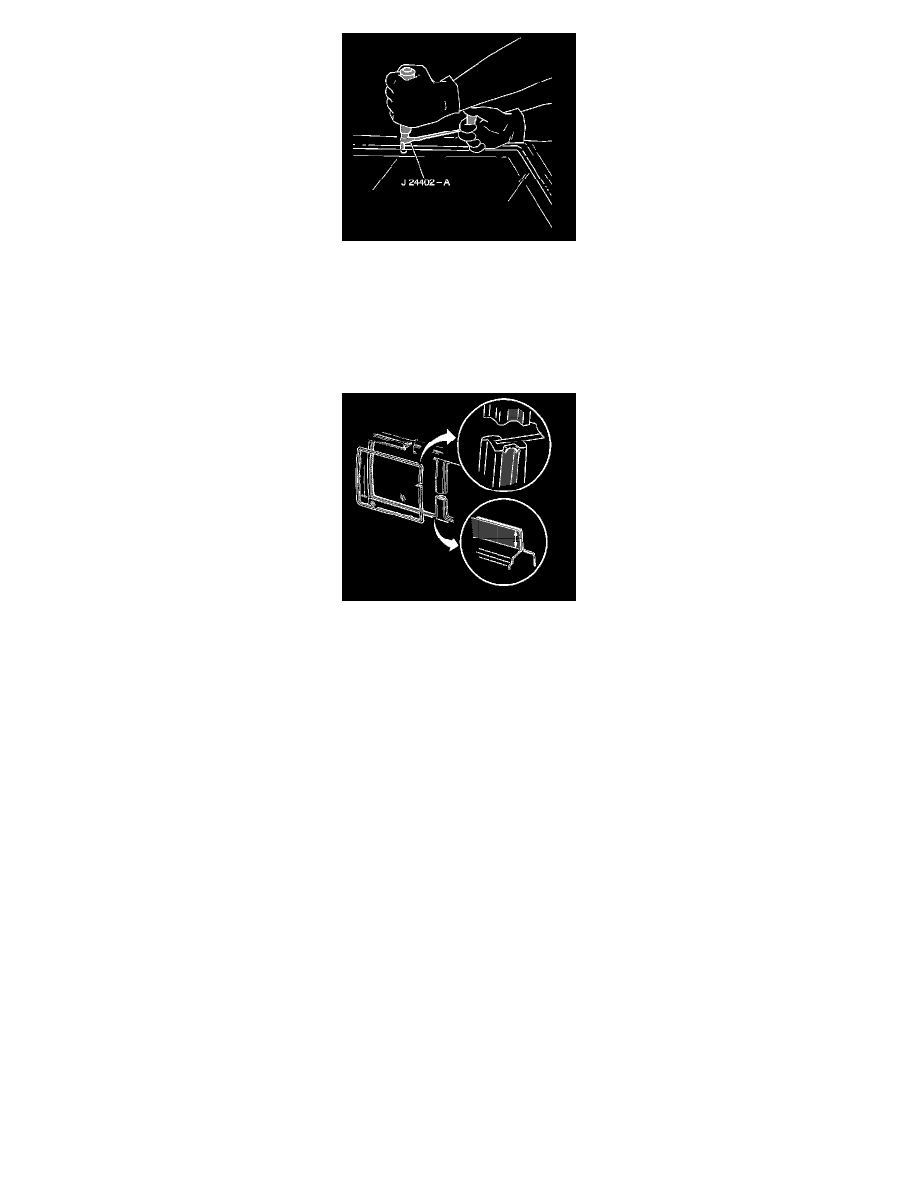
Note: Keep the cutting edge of the tool against the window.
5. This will allow the urethane adhesive to be separated from the window.
*
Leave a base of urethane on the pinchweld flange.
*
The only suitable lubrication is clear water.
*
Use J 24402-A , J 39032 or equivalent in order to remove the window.
6. Remove the stationary window from the pinchweld flange with the aid of an assistant.
Installation Procedure
1. Install a stationary window into the opening. Refer to Adhesive Installation of Stationary Windows (See: Service and Repair/Adhesive
Installation of Stationary Windows).
2. When replacing or installing the left side stationary window. Refer to Body Side Trim Panel Replacement - Left Side (See: Body and
Frame/Interior Moulding / Trim/Trim Panel/Service and Repair).
3. When replacing or installing the right side stationary window. Refer to Body Side Trim Panel Replacement - Right Side (See: Body and
Frame/Interior Moulding / Trim/Trim Panel/Service and Repair).
4. Remove the double layer of masking tape around the perimeter of the painted surfaces and the interior trim.