
Sierra 1500 2WD V6-4.3L (2008)
Tighten the bolts to 25 N.m (18 lb ft).
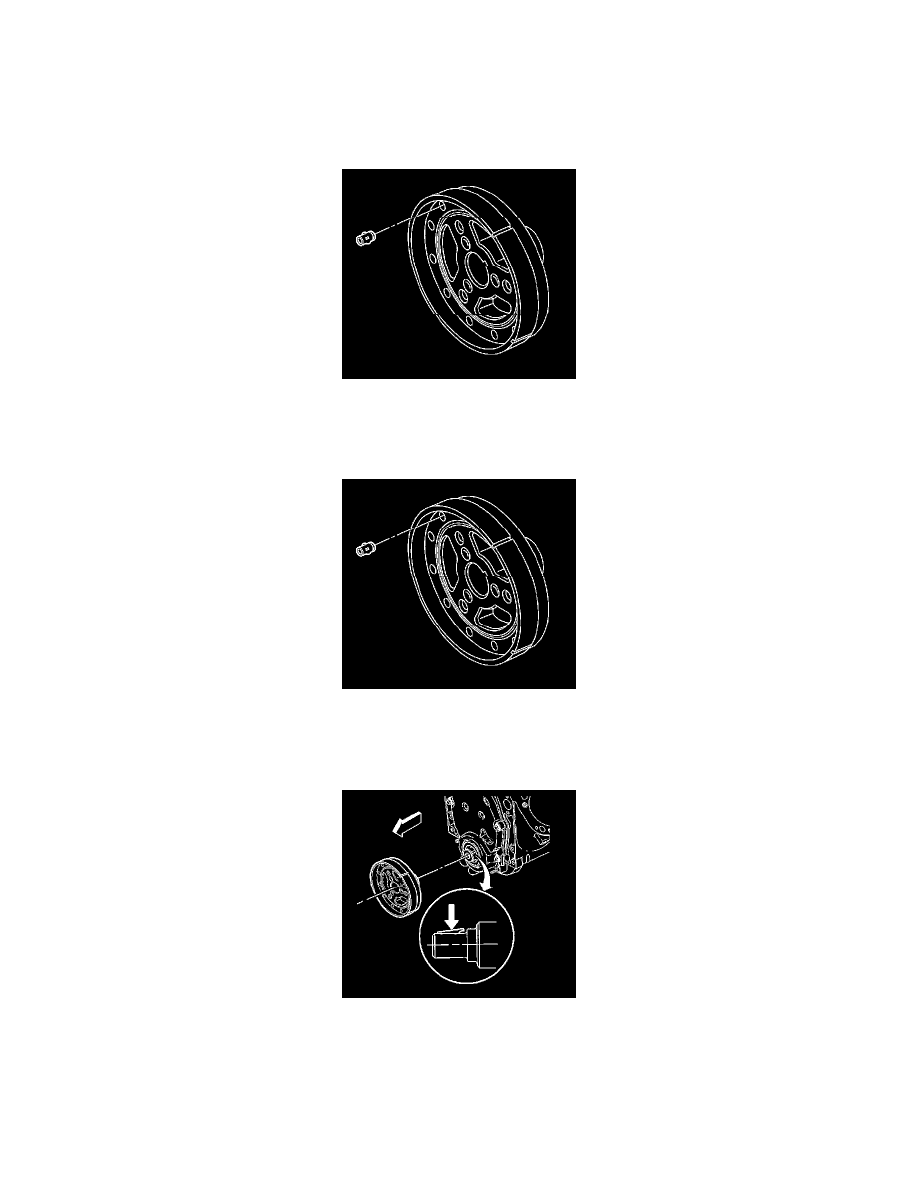
2. Install the J 23523-F forcing screw into the plate.
3. Rotate the J 23523-F forcing screw clockwise in order to remove the crankshaft balancer.
6. Remove the J 23523-F from the crankshaft balancer.
7. Note the position and length of any crankshaft balancer weights, if necessary.
8. Clean and inspect the crankshaft balancer, if necessary. Refer to Crankshaft Balancer Cleaning and Inspection () .
Installation Procedure
1. Apply a small amount of grease to the crankshaft front cover seal sealing surface if reusing the seal.
Important: The length and location of the weight(s) must be the same as the original.
2. Ensure that the crankshaft balancer weight(s) is installed in the proper location, if necessary.
Notice: The inertial weight section of the crankshaft balancer is assembled to the hub with a rubber type material. The correct installation
procedures (with the proper tool) must be followed or movement of the inertial weight section of the hub will destroy the tuning of the crankshaft
balancer.
3. Apply a small amount of adhesive into the crankshaft balancer keyway in order to seal the crankshaft balancer keyway and crankshaft joint. Refer
to Sealers, Adhesives, and Lubricants (See: Specifications/Sealers, Adhesives, and Lubricants) for the correct part number.
4. Align the keyway of the crankshaft balancer with the crankshaft balancer key.
5. Install the crankshaft balancer onto the end of the crankshaft.