
Sierra 1500 2WD V6-4.3L (2008)
Notice: Refer to Fastener Notice .
4. Install the rocker arms as follows:
1. Finger start the bolt at location (1)
2. Finger start the bolt at location (2)
3. Finger start the bolt at location (3)
4. Finger start the remaining rocker arm bolts
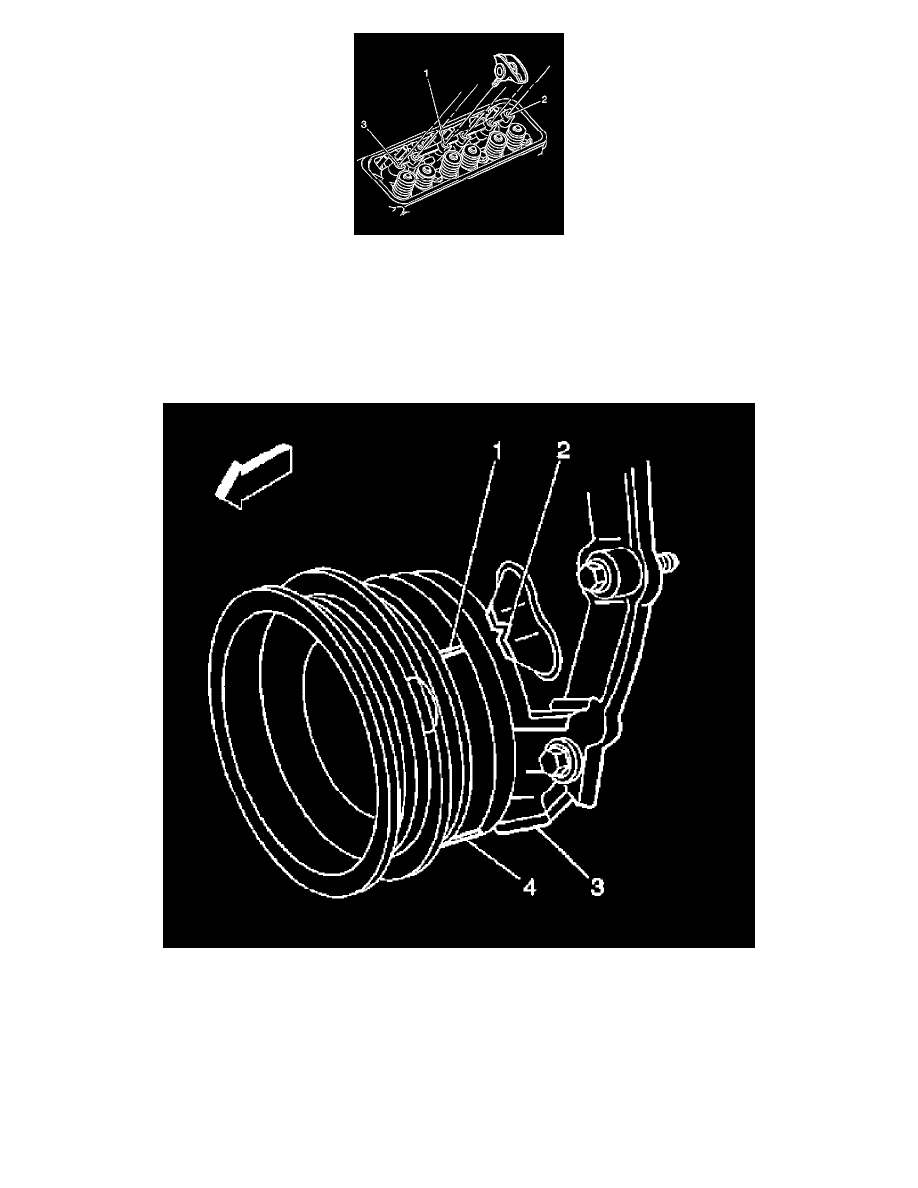
5. Rotate the crankshaft balancer to position the crankshaft balancer alignment mark (1) 57-63 degrees clockwise or counterclockwise from the
engine front cover alignment tab (2).
Important: Once the rocker arms are installed and properly torqued, no additional valve lash adjustment is required.
6. Tighten the rocker arm bolts.
Tighten bolts to 30 N.m (22 lb ft).
7. Install the rocker arm cover. Refer to Valve Rocker Arm Cover Replacement - Left Side (See: Valve Cover/Service and Repair/Valve Rocker
Arm Cover Replacement - Left Side) or Valve Rocker Arm Cover Replacement - Right Side (See: Valve Cover/Service and Repair/Valve Rocker