Sierra 1500 2WD V6-4.3L VIN X (2004)

8.
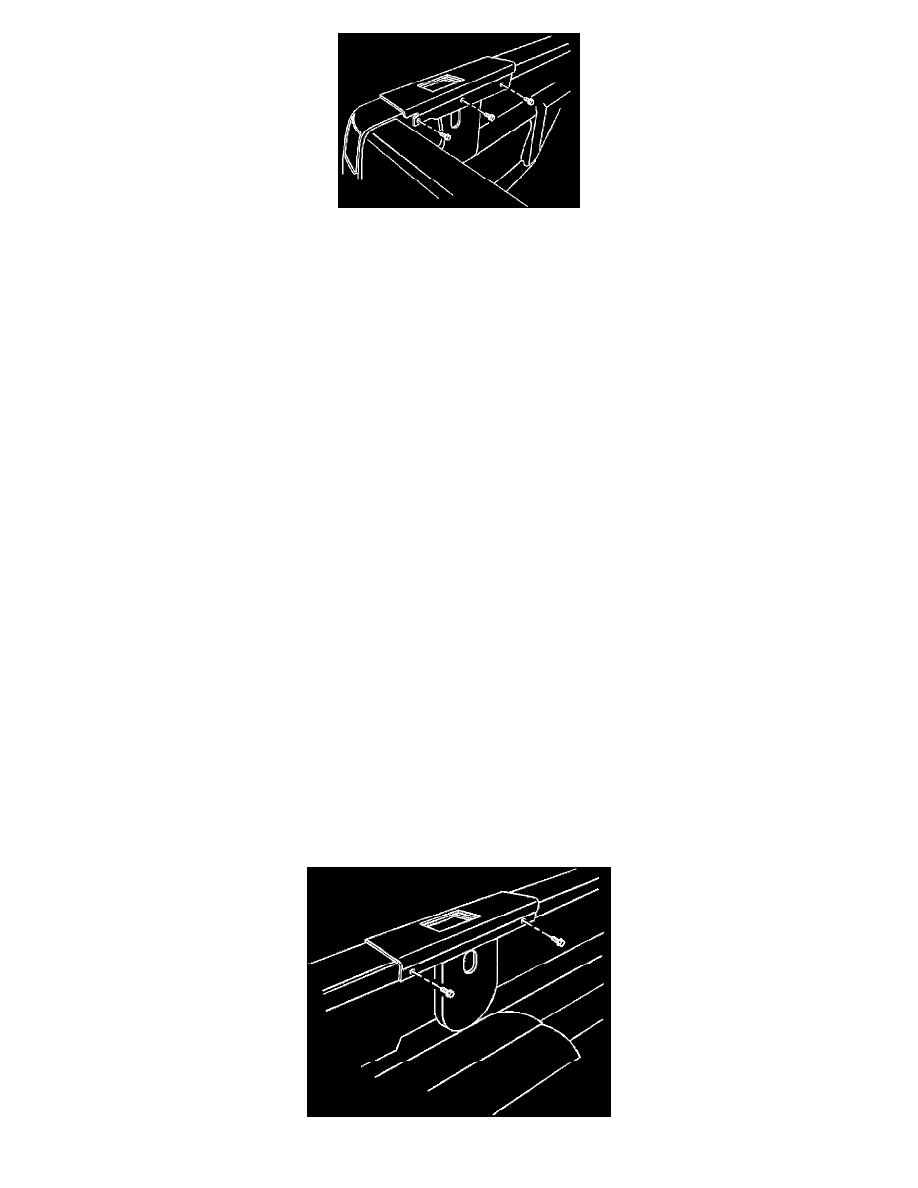
Install the large shoulder (M8) bolts into the reinforcement and front panel (total of 4) and the small (M6) bolts into the reinforcement and side
outer panel (total of 6) with the nuts.
Tighten
^
Tighten the M8 bolts to 25 Nm (18 lb-ft.).
^
Tighten the M6 bolts to 9 Nm (79 lb-in).
9.
Remove all metal shavings from the pickup box afier installation.
10.
Install the bedliner if equipped with the aid of an assistant. The bedliner may need to be trimmed in order to obtain the necessary clearance for the
reinforcements.
Ladder Rack and/or Side Tool Box Applications - Reinforcement Kit Installation
1.
Install the LH and RH front L-shaped reinforcements using the procedure above.
2.
Remove the LH and RH rear taillamp assemblies. This is necessary to gain access to install the rearmost bolt of the rear reinforcement.
3.
Place the LH and RH rear reinforcements into position on the pickup box.
4.
Mark the holes necessary for drilling and remove the reinforcements.
5.
Drill 7.5 mm (0.30 in) holes into the weld flange of the side outer panel.
6.
Apply anti-corrosion material to the drilled holes as necessary. Refer to step 6 under Front Reinforcement Installation procedure.
7.
Place the rear reinforcements back onto the pickup box.
8.
Install the M6 bolts through the reinforcement and side panel with the nuts.
Tighten
Tighten the bolts to 9 Nm (79 lb-in).
9.
Install the LH and RH rear taillamp assemblies.
10.
Place the LH and RH center reinforcement into position on the pickup box.
