Sierra 1500 2WD V8-6.0L Hybrid (2010)

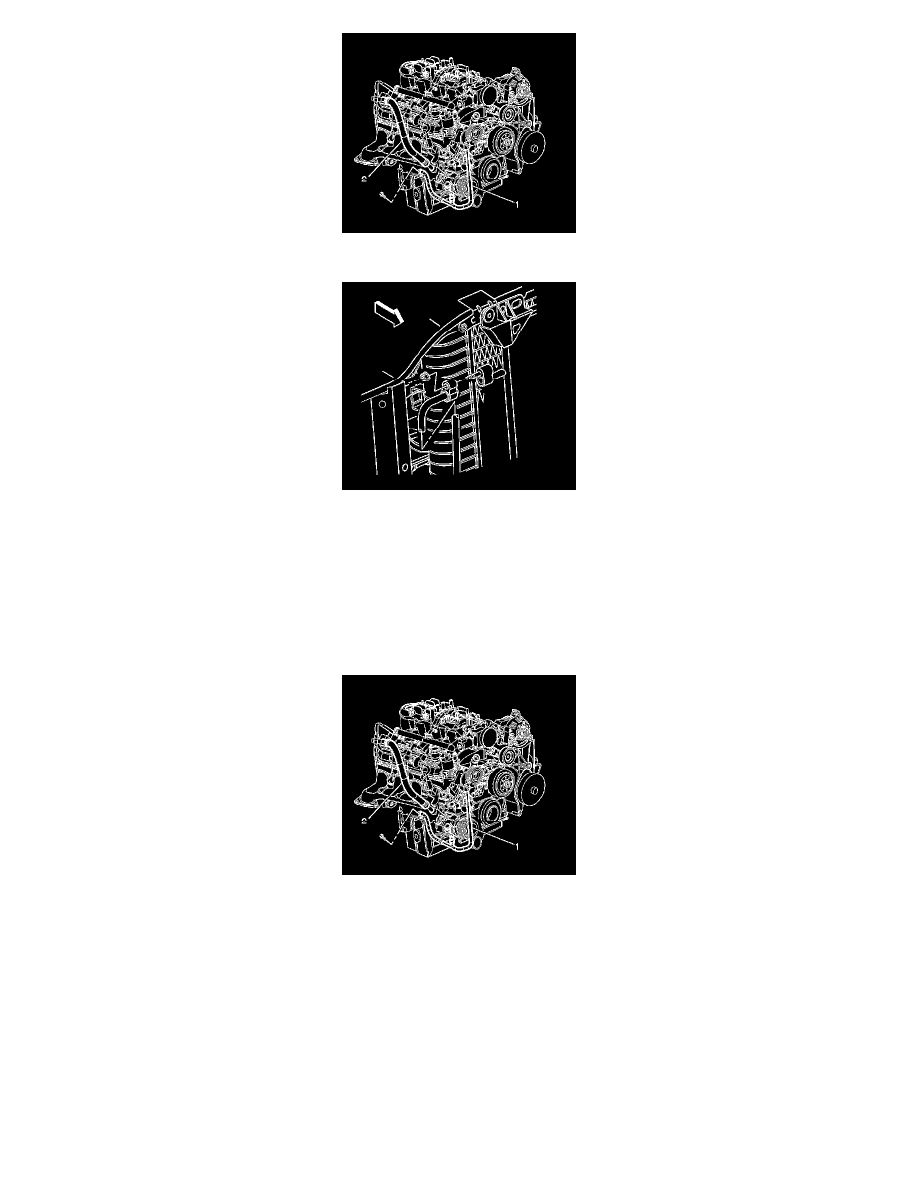
1. Install the discharge hose (1) to the vehicle.
2. Install the discharge hose to the condenser using new sealing washers. Refer to Air Conditioning System Seal Replacement (See: Coupler
HVAC/A/C Coupler O-ring/Service and Repair/Air Conditioning System Seal Replacement).
Caution: Refer to Fastener Caution (See: Service Precautions/Vehicle Damage Warnings/Fastener Caution).
3. Install the discharge hose nut to the condenser and tighten to 16 Nm (12 lb ft).
4. Install the upper air baffle. Refer to Radiator Air Upper Baffle and Deflector Replacement (See: Engine, Cooling and Exhaust/Cooling
System/Radiator/Service and Repair/Removal and Replacement/Radiator Air Upper Baffle and Deflector Replacement).
5. Connect the electrical connector to the A/C recirculation switch.
6. Install the discharge hose (1) to the A/C compressor using new sealing washers. Refer to Air Conditioning System Seal Replacement (See:
Coupler HVAC/A/C Coupler O-ring/Service and Repair/Air Conditioning System Seal Replacement).
7. Install the discharge hose mounting bolt and tighten to 16 Nm (12 lb ft).
8. Evacuate and recharge the A/C system. Refer to Refrigerant Recovery and Recharging (Non-HP2) (See: Refrigerant/Service and Repair
)Refrigerant Recovery and Recharging (HP2) (See: Service and Repair).
9. Leak test the fittings of the component using the J 39400-A .
