
Sierra 1500 4WD V6-4.3L (2008)
Notice: Proper lower intake manifold fastener tightening sequence and torque is critical. Always follow the tightening sequence, and torque the
intake manifold bolts using the 3 step method. Failing to do so may distort the crankshaft bearing bore alignment and cause damage to the
crankshaft bearings.
Notice: Refer to Fastener Notice .
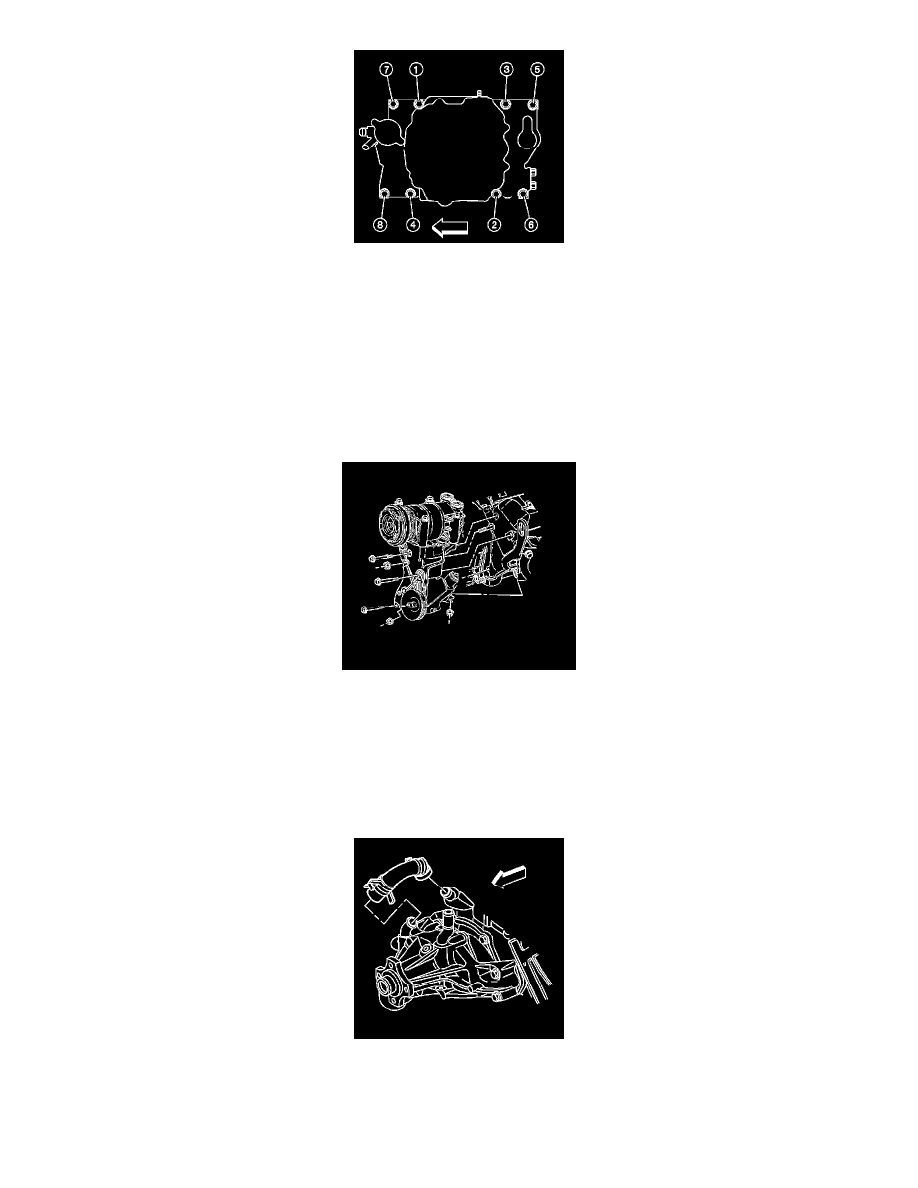
10. Tighten the intake manifold - lower bolts in the sequence shown.
1. Tighten the bolts a first pass to 3 N.m (27 lb in).
2. Tighten the bolts a second pass to 12 N.m (106 lb in).
3. Tighten the bolts a final pass to 15 N.m (11 lb ft).
11. Slide the P/S pump bracket rearward.
12. Install the bolts and the nut for the P/S pump bracket.
13. Install the P/S pump rear bracket front nut.
14. Tighten the P/S pump rear bracket nut.
Tighten the bolts and nuts to 41 N.m (30 lb ft).
15. Install the drive belt. Refer to Drive Belt Replacement (See: Drive Belts, Mounts, Brackets and Accessories/Drive Belt/Service and Repair) .
16. Install the water pump inlet hose.
17. Position the water pump inlet hose clamps.