
Sierra 1500 4WD V8-4.8L VIN V (2004)
5. Install the lower control arm retaining nuts.
^
Tighten the nuts to 175 Nm (129 ft. lbs.).
Notice:
Refer to Fastener Notice in Service Precautions.
6. Install the wheel drive shaft. Refer to Wheel Drive Shaft Replacement in Wheel Drive Shafts.
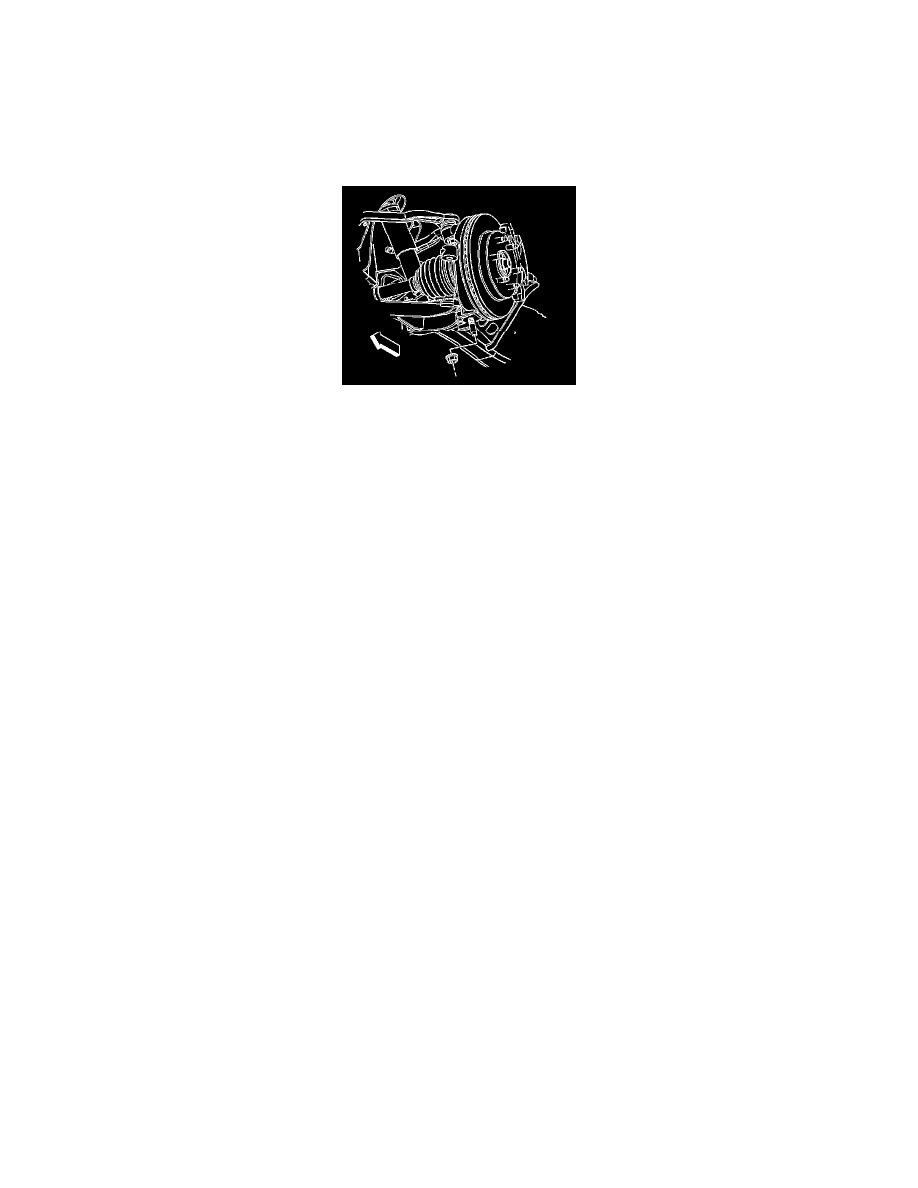
7. Connect lower ball joint stud to the steering knuckle.
8. Install the retaining nut to the lower ball joint stud.
^
Tighten the nut to 100 Nm (74 ft. lbs.).
9. Install the torsion bars. Refer to Torsion Bar Replacement.
10. Install the shock absorber lower nut and bolt. Refer to Shock Absorber Replacement (4WD) Shock Absorber Replacement (RWD).
11. Install the stabilizer shaft links to the lower control arm. Refer to Stabilizer Shaft Replacement.
12. Install the tire and wheel.
13. Remove the safety stands.
14. Lower the vehicle.
15. Align the vehicle. Refer to Measuring Wheel Alignment (w/Rear Wheel Steering) Measuring Wheel Alignment (w/o Rear Wheel Steering) in
Wheel Alignment.