
Sierra 2500 4WD V8-6.0L (2008)
1. Raise and suitably support the vehicle. Refer to Lifting and Jacking the Vehicle .
2. Remove the transfer case shield, if equipped. Refer to Transfer Case Shield Replacement (See: Service and Repair/Removal and
Replacement/BW 4485-NR3 - Transfer Case/Transfer Case Shield Replacement) .
3. Remove the rear propeller shaft. Refer to One-Piece Propeller Shaft Replacement (See: Drive/Propeller Shafts, Bearings and
Joints/Drive/Propeller Shaft/Service and Repair/One-Piece Propeller Shaft Replacement) or Two-Piece Propeller Shaft Replacement (See:
Drive/Propeller Shafts, Bearings and Joints/Drive/Propeller Shaft/Service and Repair/Two-Piece Propeller Shaft Replacement) .
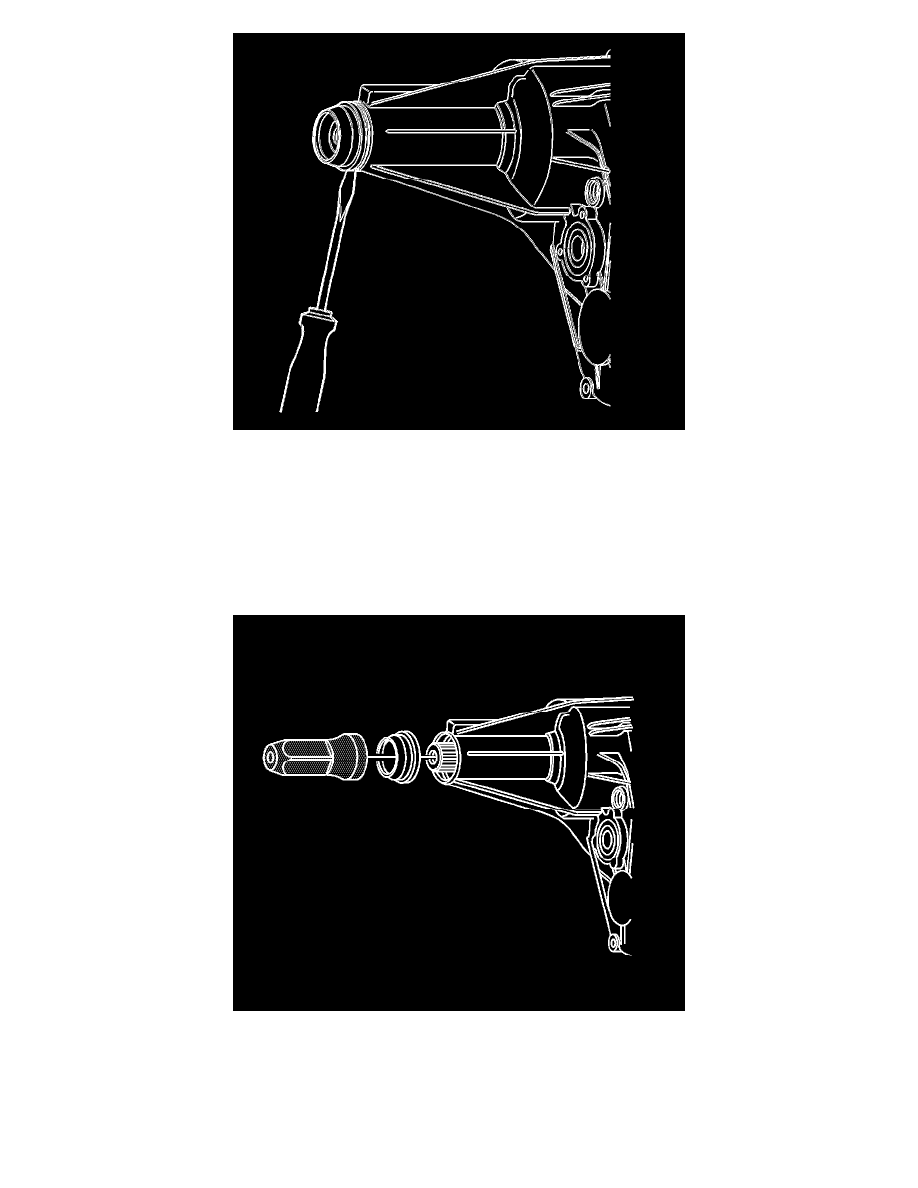
4. Remove the rear output shaft seal by prying it out with a flat tipped screwdriver.
Installation Procedure
1. Using the J 45756 , install a NEW front output shaft seal.
2. Install the rear propeller shaft. Refer to One-Piece Propeller Shaft Replacement (See: Drive/Propeller Shafts, Bearings and Joints/Drive/Propeller
Shaft/Service and Repair/One-Piece Propeller Shaft Replacement) or Two-Piece Propeller Shaft Replacement (See: Drive/Propeller Shafts,
Bearings and Joints/Drive/Propeller Shaft/Service and Repair/Two-Piece Propeller Shaft Replacement) .
3. Check the fluid level. Add fluid, if necessary.
4. Install the transfer case shield, if equipped. Refer to Transfer Case Shield Replacement (See: Service and Repair/Removal and Replacement/BW
4485-NR3 - Transfer Case/Transfer Case Shield Replacement) .