
Sierra 2500 Denali 2WD V8-6.0L (2011)
20. With the locking lever in the 90 degree position and the male connector body connected, it can be slid inward for assembly.
21. Move the lever into the locked position or in the assembled position. This will pull the male connector down into the female connector.
22. Repair the terminal by following the Repairing Connector Terminals (Terminated Lead Repair) (See: General Electrical Diagnostic
Procedures/Connector Repairs/Repairing Connector Terminals (Terminated Lead Repair))Repairing Connector Terminals (Terminal Repair) (
See: General Electrical Diagnostic Procedures/Connector Repairs/Repairing Connector Terminals (Terminal Repair)) procedure.
23. Insert the repaired terminal back into the cavity. Repeat the diagnostic procedure to verify the repair and reconnect the connector bodies.
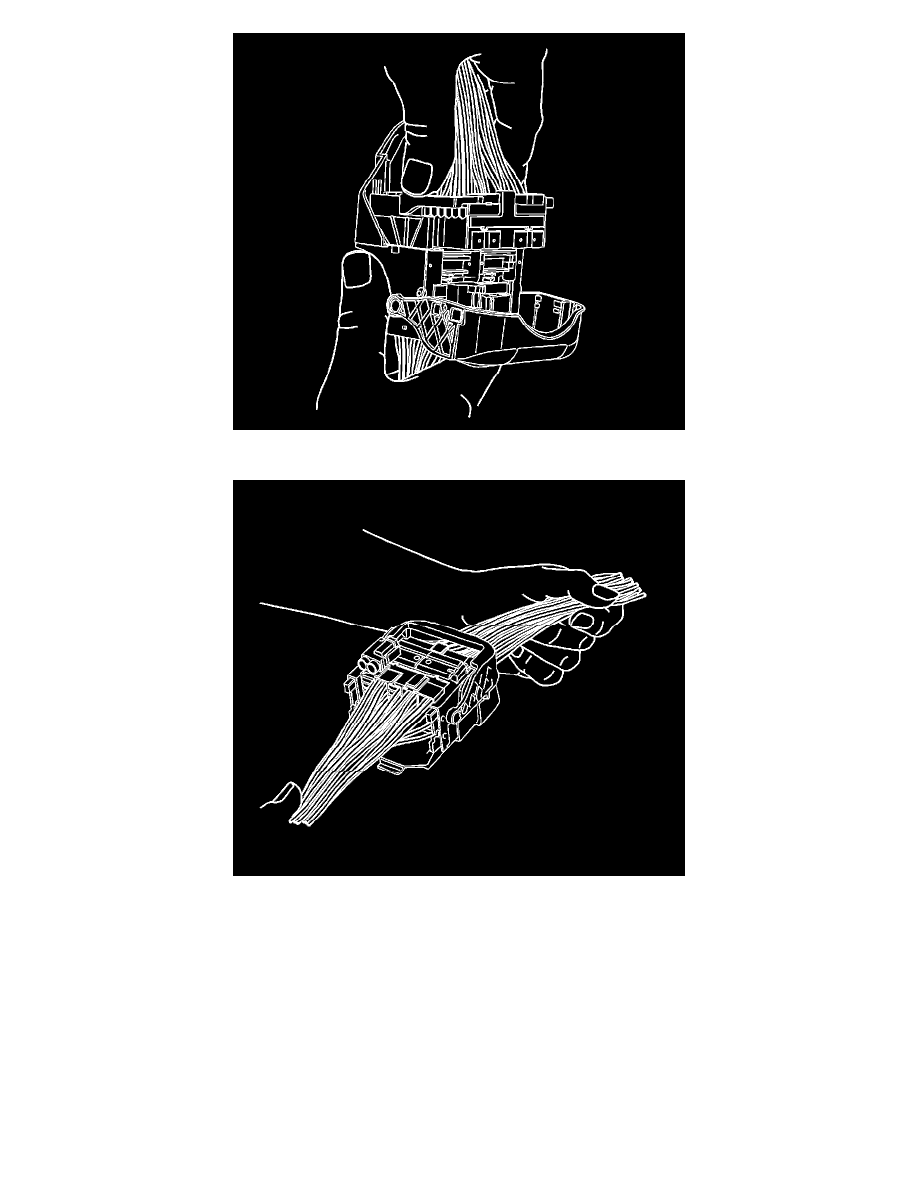
Tyco/AMP Connectors (Seat)
Tyco/AMP Connectors (Seat)
Special Tools
*
EL-38125-580 - Terminal Release Tool Kit
*
J-38125-11A - Terminal Release Tool
*
J-38125-212 - Terminal Release Tool