
Sierra 2500 Denali 2WD V8-6.0L (2011)
3. Using the adjustable jack, lower the engine until the engine mount is sitting flush on the frame.
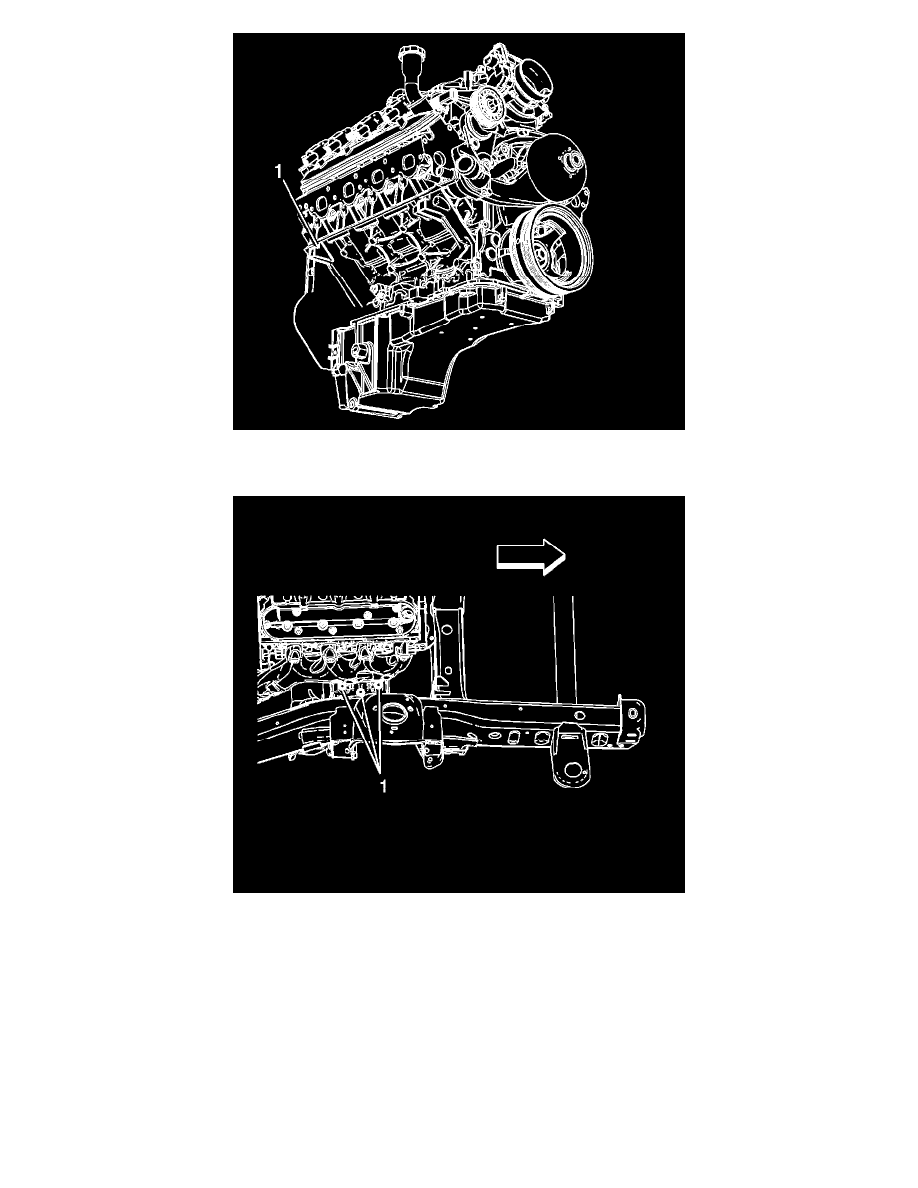
4. Remove the adjustable jack from the engine block lifting tab (1).
5. Install the engine mount to frame bolts (1).
Tighten the bolts to 65 Nm (48 lb ft) starting with the middle bolt then either side bolt.
6. Install the starter motor. Refer to Starter Replacement (V8) (See: Starting and Charging/Starting System/Starter Motor/Service and Repair)Starter
Replacement (V6) (See: Starting and Charging/Starting System/Starter Motor/Service and Repair)Starter Replacement (Diesel) (See: Starting
and Charging/Starting System/Starter Motor/Service and Repair).
7. If the vehicle is equipped with 4WD, Install the front drive axle. Refer to Differential Carrier Assembly Replacement (1500 4WD) (See:
Transmission and Drivetrain/Differential Assembly/Service and Repair/Removal and Replacement/Front Drive Axle/Differential Carrier Assembly
Replacement (1500 4WD))Differential Carrier Assembly Replacement (2500 4WD) (See: Transmission and Drivetrain/Differential
Assembly/Service and Repair/Removal and Replacement/Front Drive Axle/Differential Carrier Assembly Replacement (2500 4WD)).
8. Install the upper intake manifold sight shield. Refer to Upper Intake Manifold Cover Replacement (See: Intake Manifold/Service and Repair).