
Sierra 2500 Denali 2WD V8-6.0L (2011)
5. Install the upper radiator air baffle. Refer to Radiator Air Upper Baffle and Deflector Replacement (See: Engine, Cooling and Exhaust/Cooling
System/Radiator/Service and Repair/Removal and Replacement/Radiator Air Upper Baffle and Deflector Replacement).
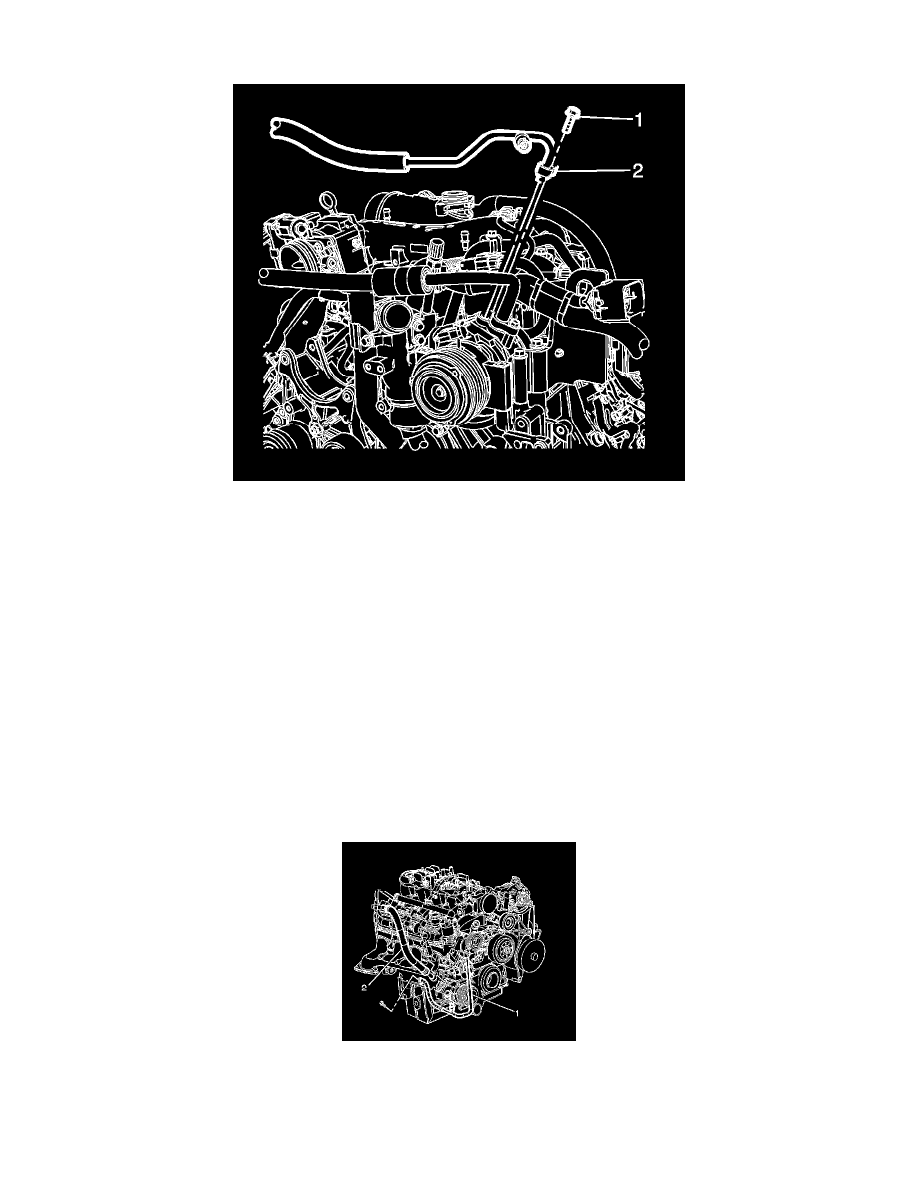
6. Install the discharge hose (2) to the compressor using new sealing washers. Refer to Air Conditioning System Seal Replacement (See: Coupler
HVAC/A/C Coupler O-ring/Service and Repair/Air Conditioning System Seal Replacement).
7. Install the discharge hose mounting bolt (1) to the A/C compressor and tighten to 16 Nm (12 lb ft).
8. Evacuate and recharge the A/C system. Refer to Refrigerant Recovery and Recharging (HP2) (See: Service and Repair)Refrigerant Recovery and
Recharging (Non-HP2) (See: Refrigerant/Service and Repair).
9. Leak test the fittings of the component using the J 39400-A .
Discharge Hose Replacement (LZ1, L20, LC9, L9H, L92)
Discharge Hose Replacement (LZ1, L20, LC9, L9H, L92)
Special Tools
J 39400-A Halogen Leak Detector
Removal Procedure
1. Recover the refrigerant. Refer to Refrigerant Recovery and Recharging (HP2) (See: Service and Repair)Refrigerant Recovery and Recharging
(Non-HP2) (See: Refrigerant/Service and Repair).
2. Remove the discharge hose mounting bolt (2) from the A/C compressor.
3. Remove the discharge hose (1) from the A/C compressor.
4. Remove the upper radiator baffle. Refer to Radiator Air Upper Baffle and Deflector Replacement (See: Engine, Cooling and Exhaust/Cooling
System/Radiator/Service and Repair/Removal and Replacement/Radiator Air Upper Baffle and Deflector Replacement).