
Sierra 2500 Denali 2WD V8-6.0L (2011)
Terminal Removal Procedure
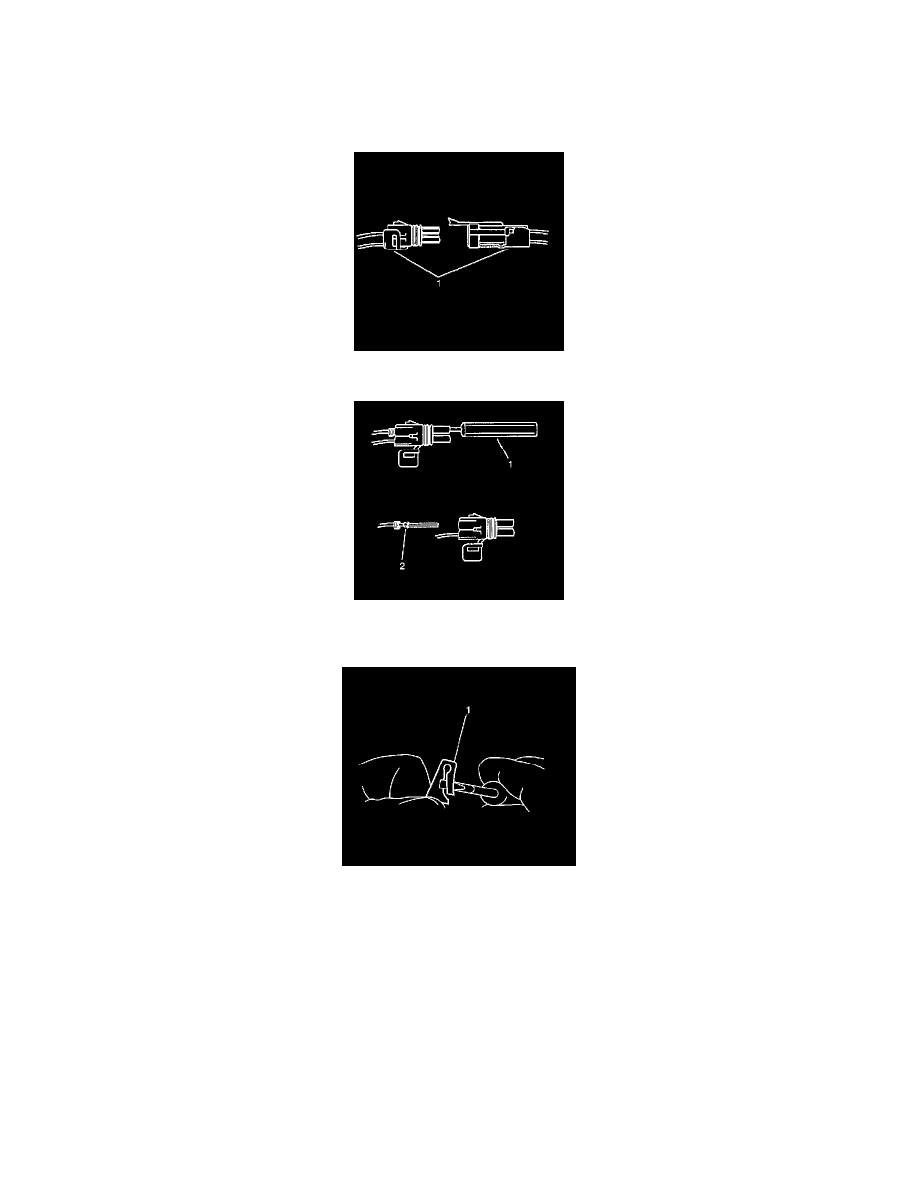
Follow the steps below in order to repair push to seat connectors.
1. Remove the terminal position assurance (TPA) device, the connector position assurance (CPA) device, and/or the secondary lock.
2. Separate the connector halves (1).
3. Use the proper pick or removal tool (1) in order to release the terminal.
4. Gently pull the cable and the terminal (2) out of the back of the connector.
5. Re-form the locking device if you are going to reuse the terminal (1).
6. Repair the terminal by following the Repairing Connector Terminals (Terminated Lead Repair) (See: General Electrical Diagnostic
Procedures/Connector Repairs/Repairing Connector Terminals (Terminated Lead Repair))Repairing Connector Terminals (Terminal Repair) (
See: General Electrical Diagnostic Procedures/Connector Repairs/Repairing Connector Terminals (Terminal Repair)) procedure.
7. Insert the repaired terminal back into the cavity. Repeat the diagnostic procedure to verify the repair and reconnect the connector bodies.
Terminal Insertion Procedure
1. In order to reuse a terminal or lead assembly, refer to Wiring Repairs (See: Testing and Inspection/Component Tests and General
Diagnostics/General Electrical Diagnostic Procedures/Wiring Repairs/Wiring Repairs).
2. Ensure that the cable seal is kept on the terminal side of the splice.
3. Insert the lead from the back until it catches.
4. Install the TPA, CPA, and/or the secondary locks.
Delphi Connectors (Pull to Seat)