
Sierra 3500 2WD V8-6.0L (2008)
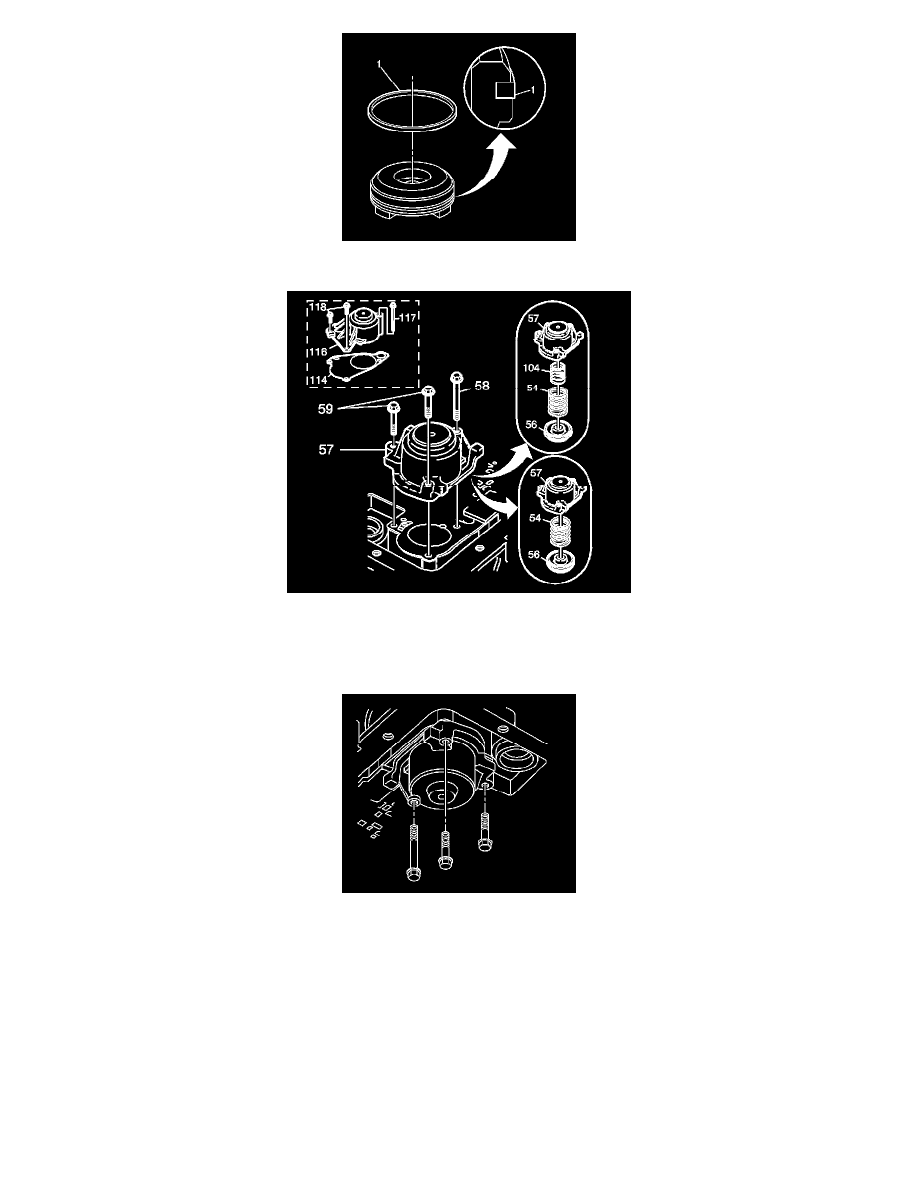
12. Install a new 1-2 accumulator piston seal (1) to the 1-2 accumulator piston.
Important: RPO M33 transmissions do not use a 1-2 accumulator spring inner (104).
13. Assemble the 1-2 accumulator assembly (54, 56, 57, 104). Ensure that the piston legs face the accumulator cover.
14. Install the 1-2 accumulator cover (57) and pin.
15. Install the 1-2 accumulator cover and the accumulator cover bolts.
Tighten the bolts to 11 N.m (97 lb in).
16. Remove the J 25025-B from the transmission case.
17. Install the valve body. Refer to Valve Body and Pressure Switch Replacement (See: Valve Body/Service and Repair/4L60-E/4L65-E/4L70-E -
Automatic Transmission) .
18. Install the transmission filter. Refer to Automatic Transmission Fluid and Filter Replacement (See: Service and Repair/Removal and Replacement
) .
Important: It is recommended that transmission adaptive pressure (TAP) information be reset.
Resetting the TAP values using a scan tool will erase all learned values in all cells. As a result, the engine control module (ECM),
powertrain control module (PCM) or transmission control module (TCM) will need to relearn TAP values. Transmission performance