
Sierra 3500 4WD V8-6.0L (2008)
Control Arm: Service and Repair
Lower Control Arm Replacement
Lower Control Arm Replacement (2500, 3500)
Special Tools
*
J 43631 Ball Joint Separator
*
J 45851 Ball Joint Separator Protector Adapters
Removal Procedure
1. Raise and support the vehicle. Refer to Lifting and Jacking the Vehicle .
2. Remove the tire and wheel. Refer to Tire and Wheel Removal and Installation (See: Wheels and Tires/Service and Repair) .
3. Using mechanics wire or equivalent, support the knuckle and upper control arm.
4. Remove the stabilizer shaft links from the lower control arm. Refer to Stabilizer Shaft Replacement (2500, 3500) (See: Stabilizer Bar/Service and
Repair/Front Suspension)Stabilizer Shaft Replacement (1500) (See: Stabilizer Bar/Service and Repair/Front Suspension) .
5. Remove the shock absorber module. Refer to Shock Absorber Replacement (2500 Series) () .
6. Remove the torsion bars. Refer to Torsion Bar and Support Assembly Replacement (Bushing Style) (See: Torsion Bar/Service and Repair/Torsion
Bar and Support Assembly Replacement (Bushing Style))Torsion Bar and Support Assembly Replacement (Link Style) (See: Torsion Bar/Service
and Repair/Torsion Bar and Support Assembly Replacement (Link Style)) .
7. Remove the wheel drive shafts. Refer to Wheel Drive Shaft Replacement (2500) ()Wheel Drive Shaft Replacement (1500) () .
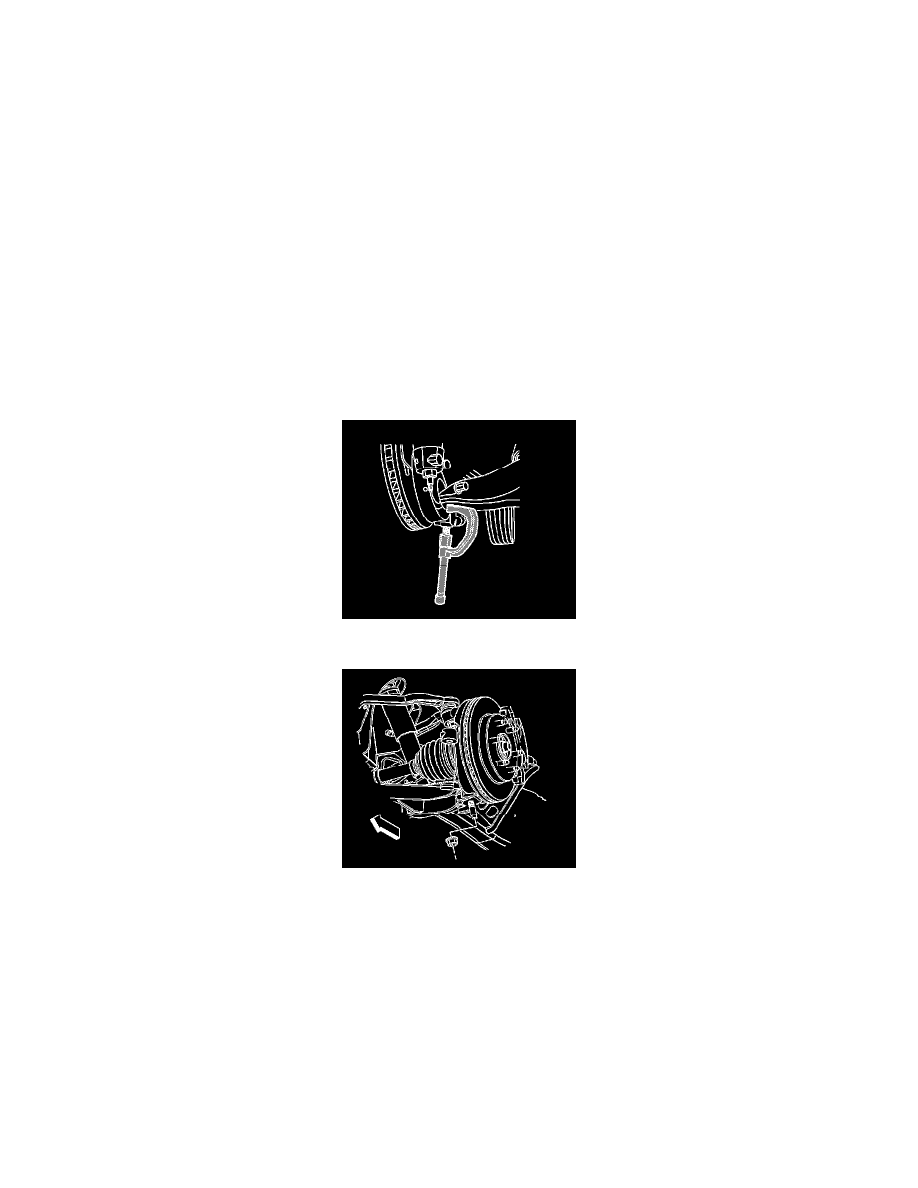
8. Using the J 43631 and the J 45851 , remove the lower ball joint from the steering knuckle.
9. Remove the lower ball joint retaining nut.